


2+1 years
Register Your Tool
All Mirka power tools have a standard two-year warranty. Get an additional 1 year of warranty free of charge by registering your tool within 30 days of purchase.
Keep your tools in excellent shape on myMirka where you can register, manage and order repair for your tools.
Replenish your stock, access marketing materials, view sales guides and read about upcoming product launches.

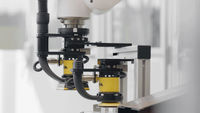
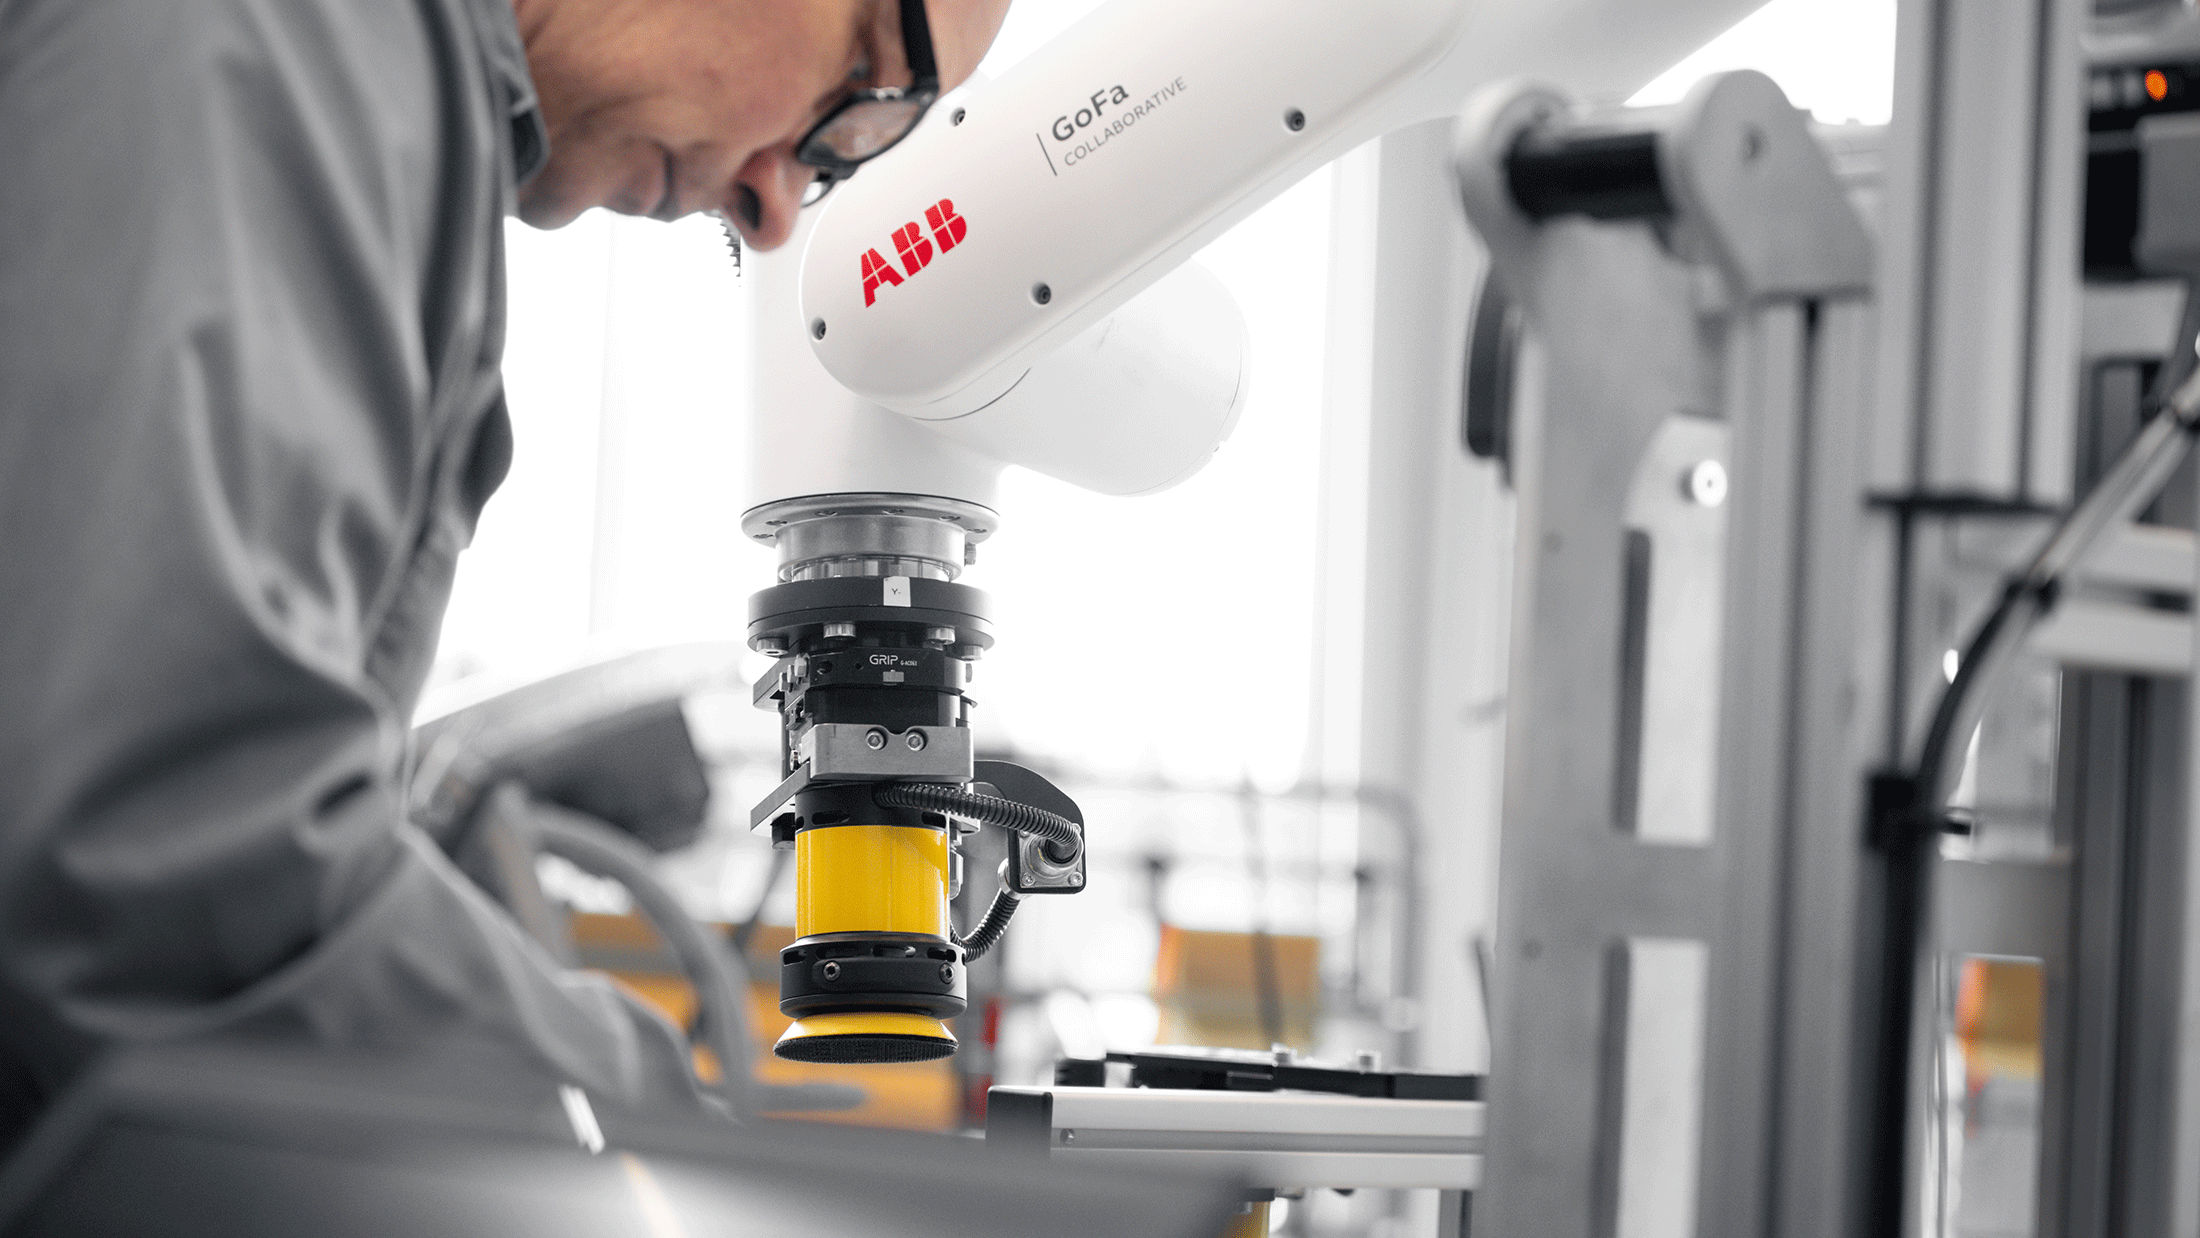
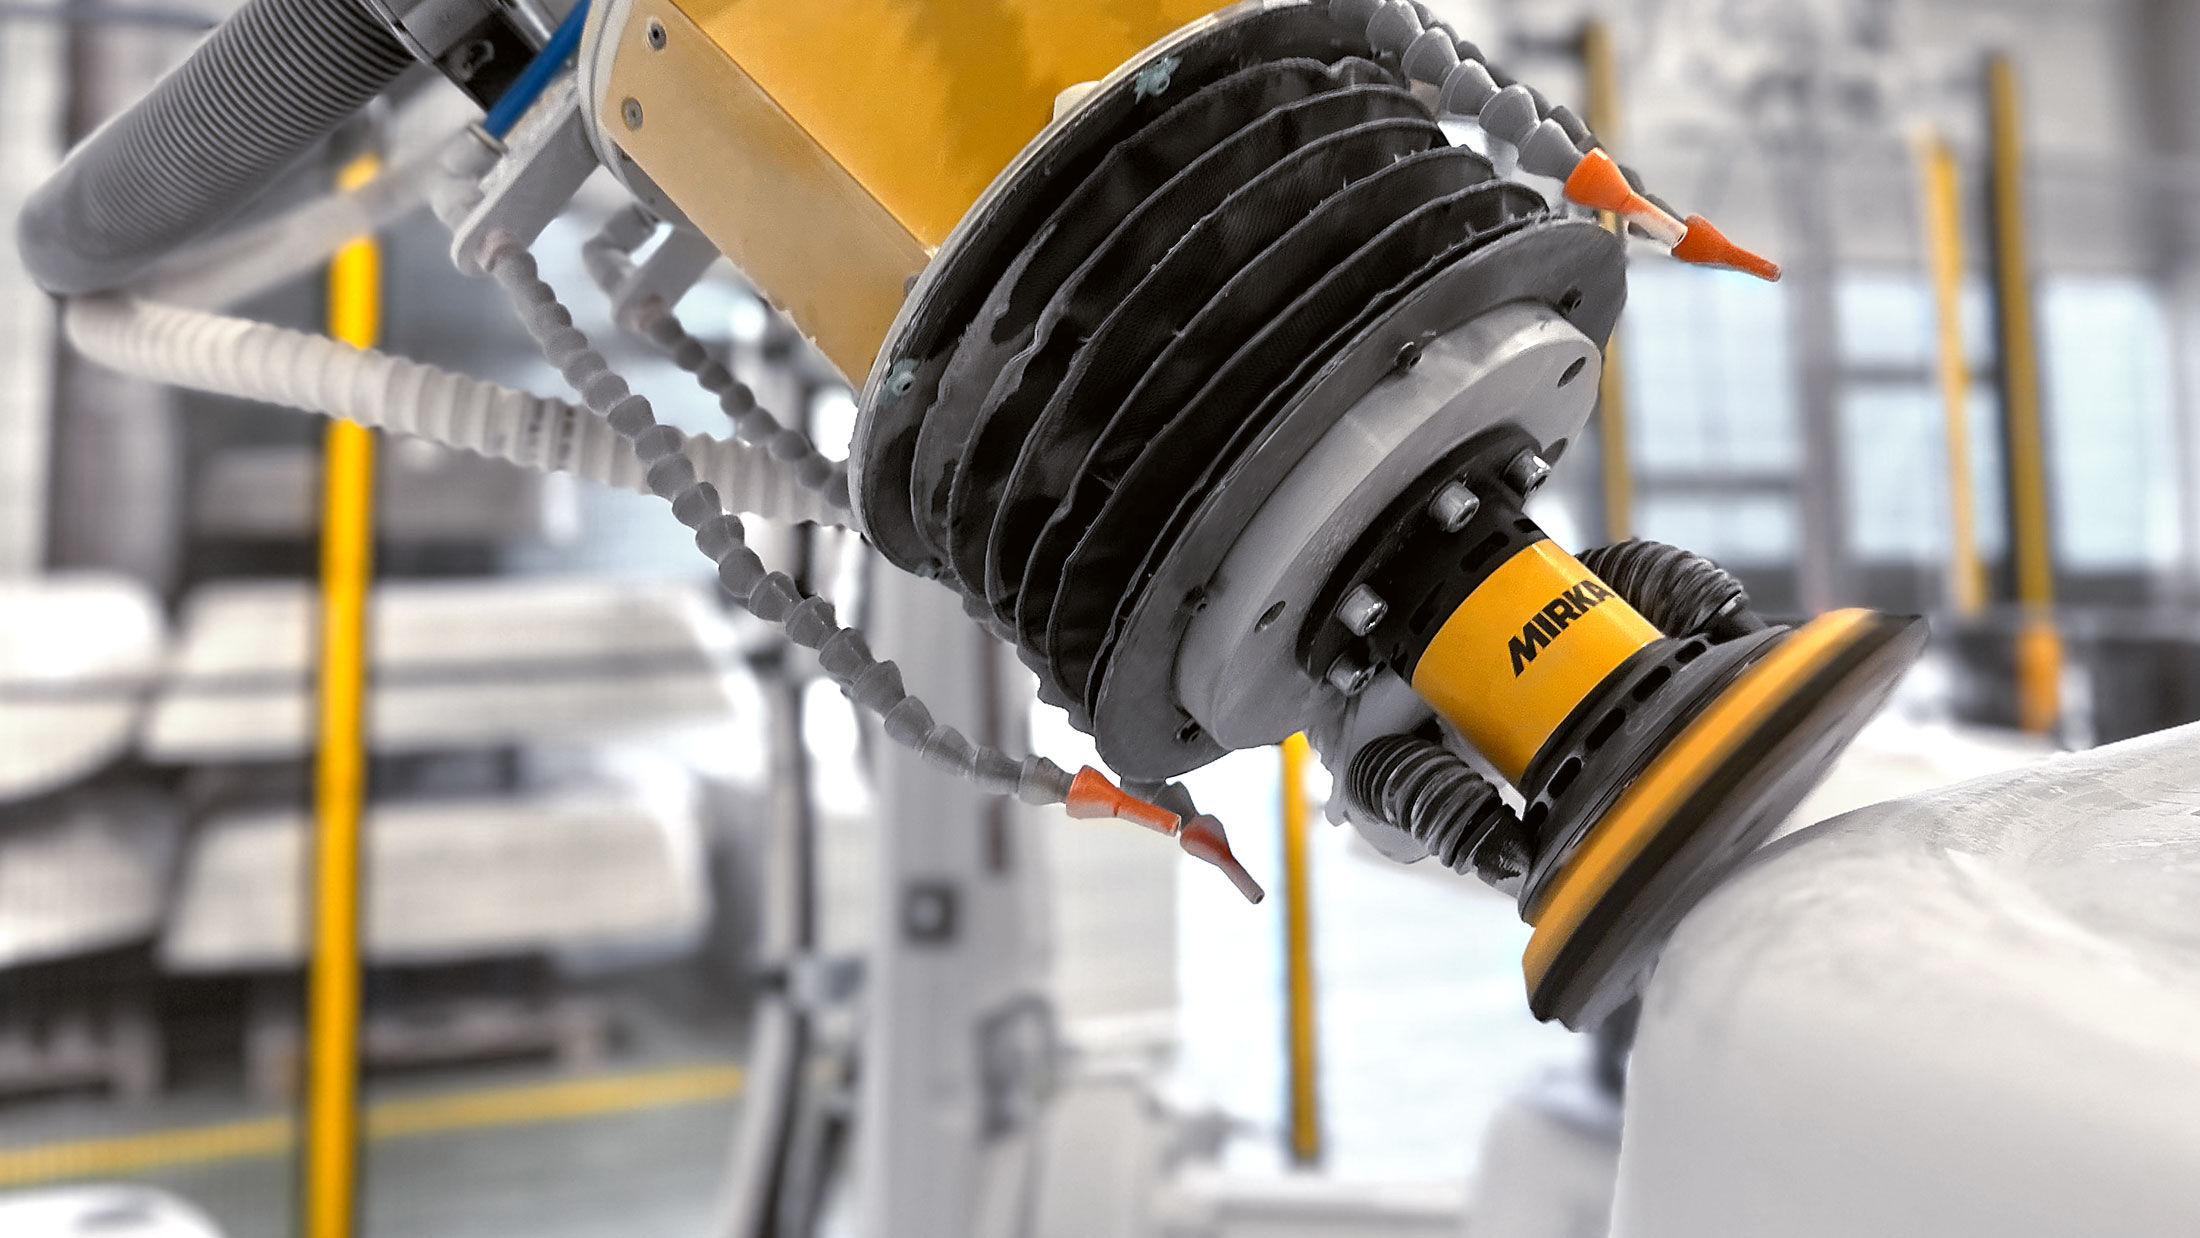
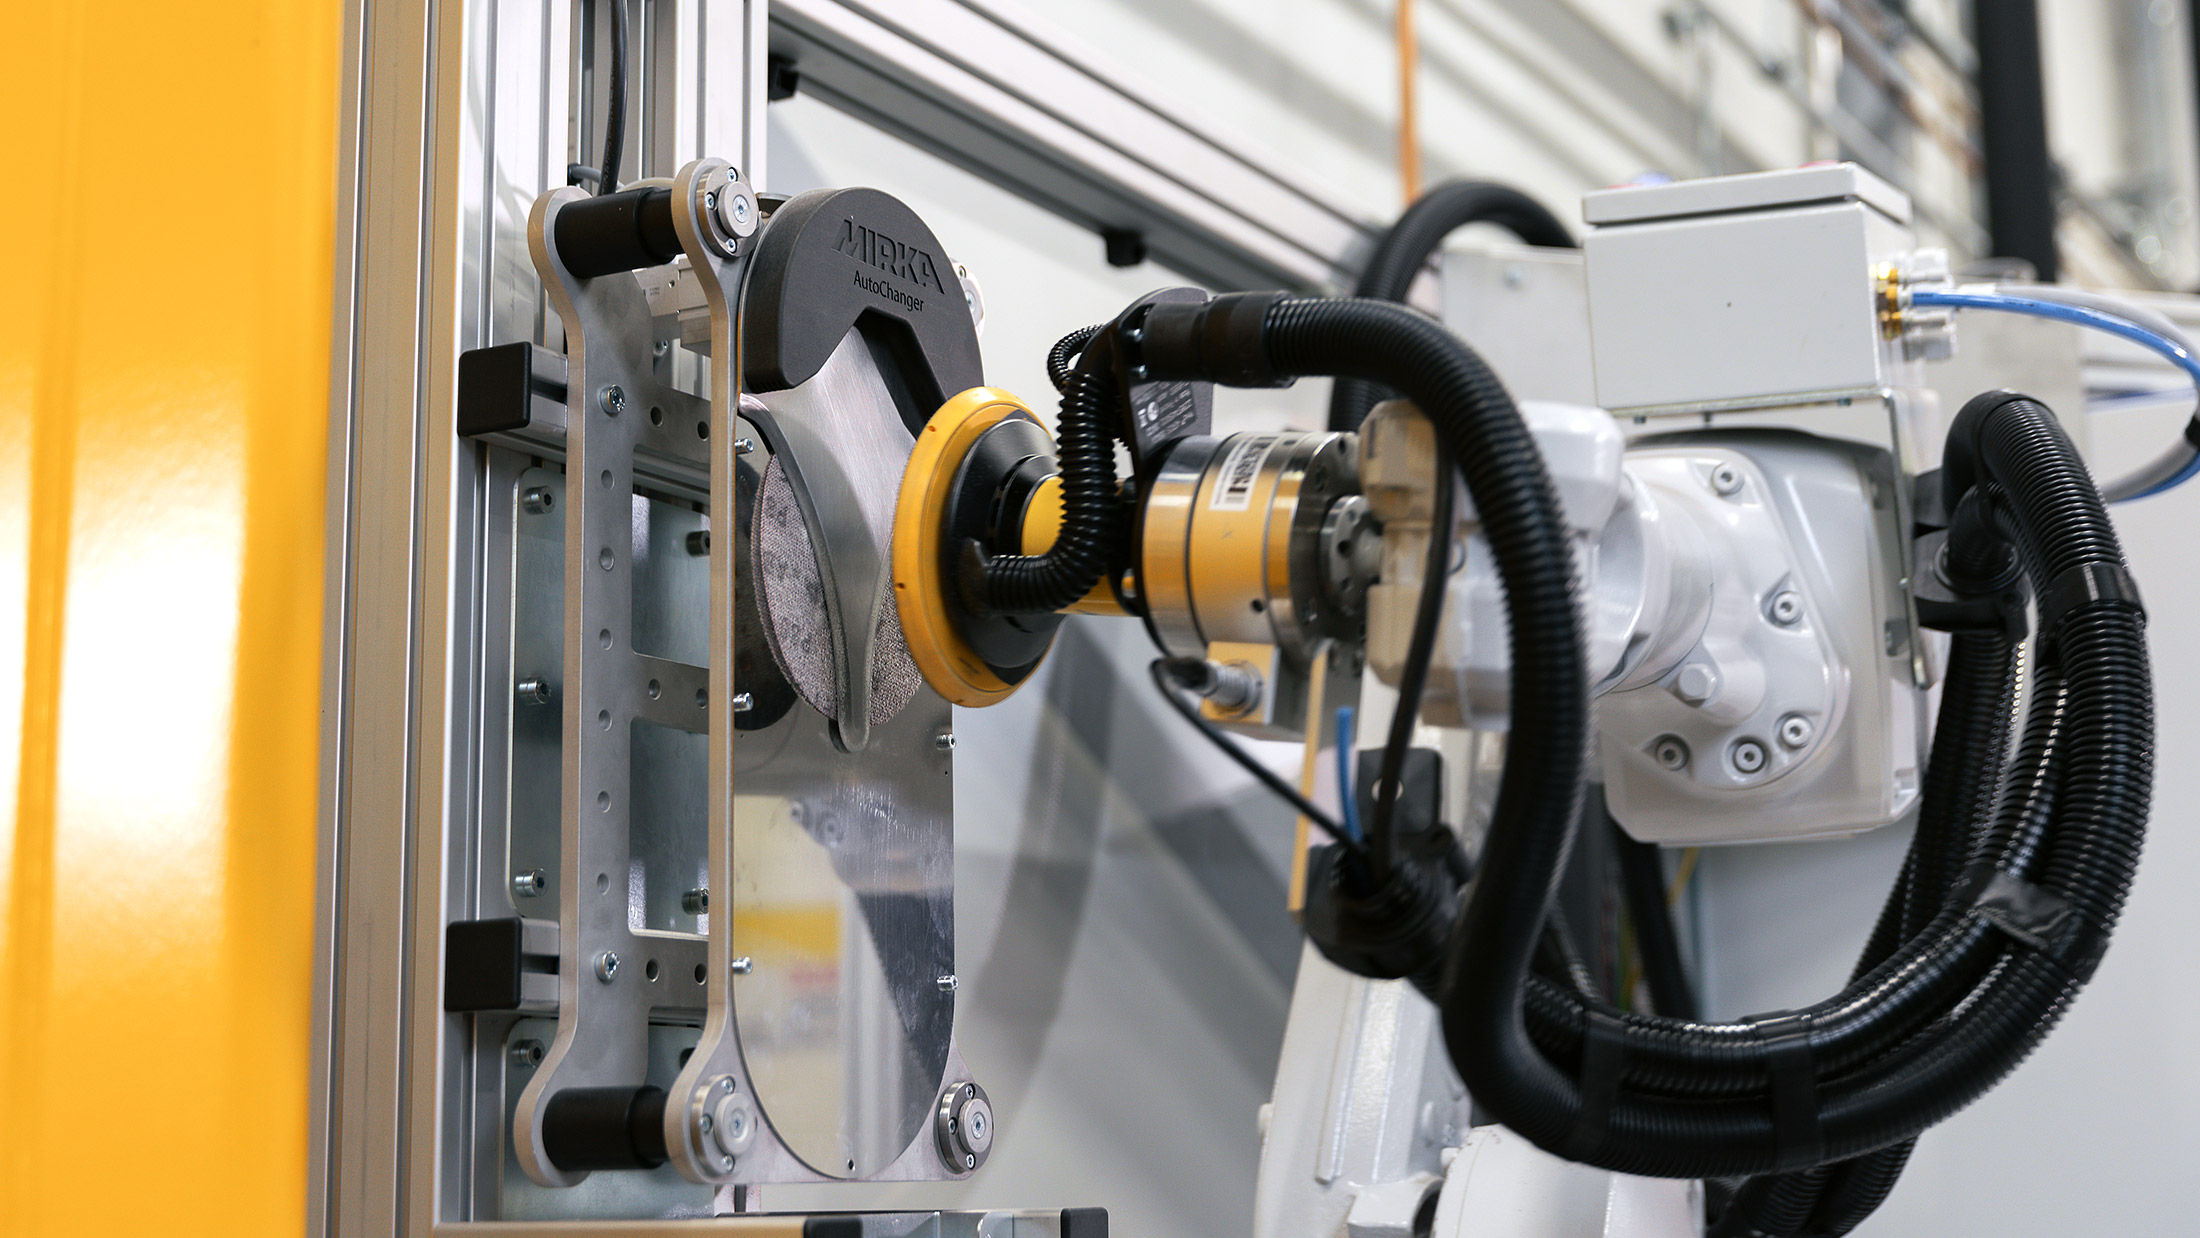
Designed specifically for Mirka’s robotic sanding and polishing tools, this solution enables automatic tool changes without additional power sources or complex setups. Now your production can run smoother and longer, reducing downtime and manual intervention.
Contact usInstalling and using the ToolChanger with Mirka's robotic sanders and polishers is easy, as the system features built-in electrical connections and offers full integration with robots and tools.
Designed to endure harsh industrial environments, this unit, when installed properly, provides excellent resistance to wear, dust, and extreme conditions, ensuring reliable performance even in dusty settings.
The ToolChanger unit is equipped with fail-safe locking mechanisms to ensure safe, error-free tool changes, protecting both the equipment and operators.
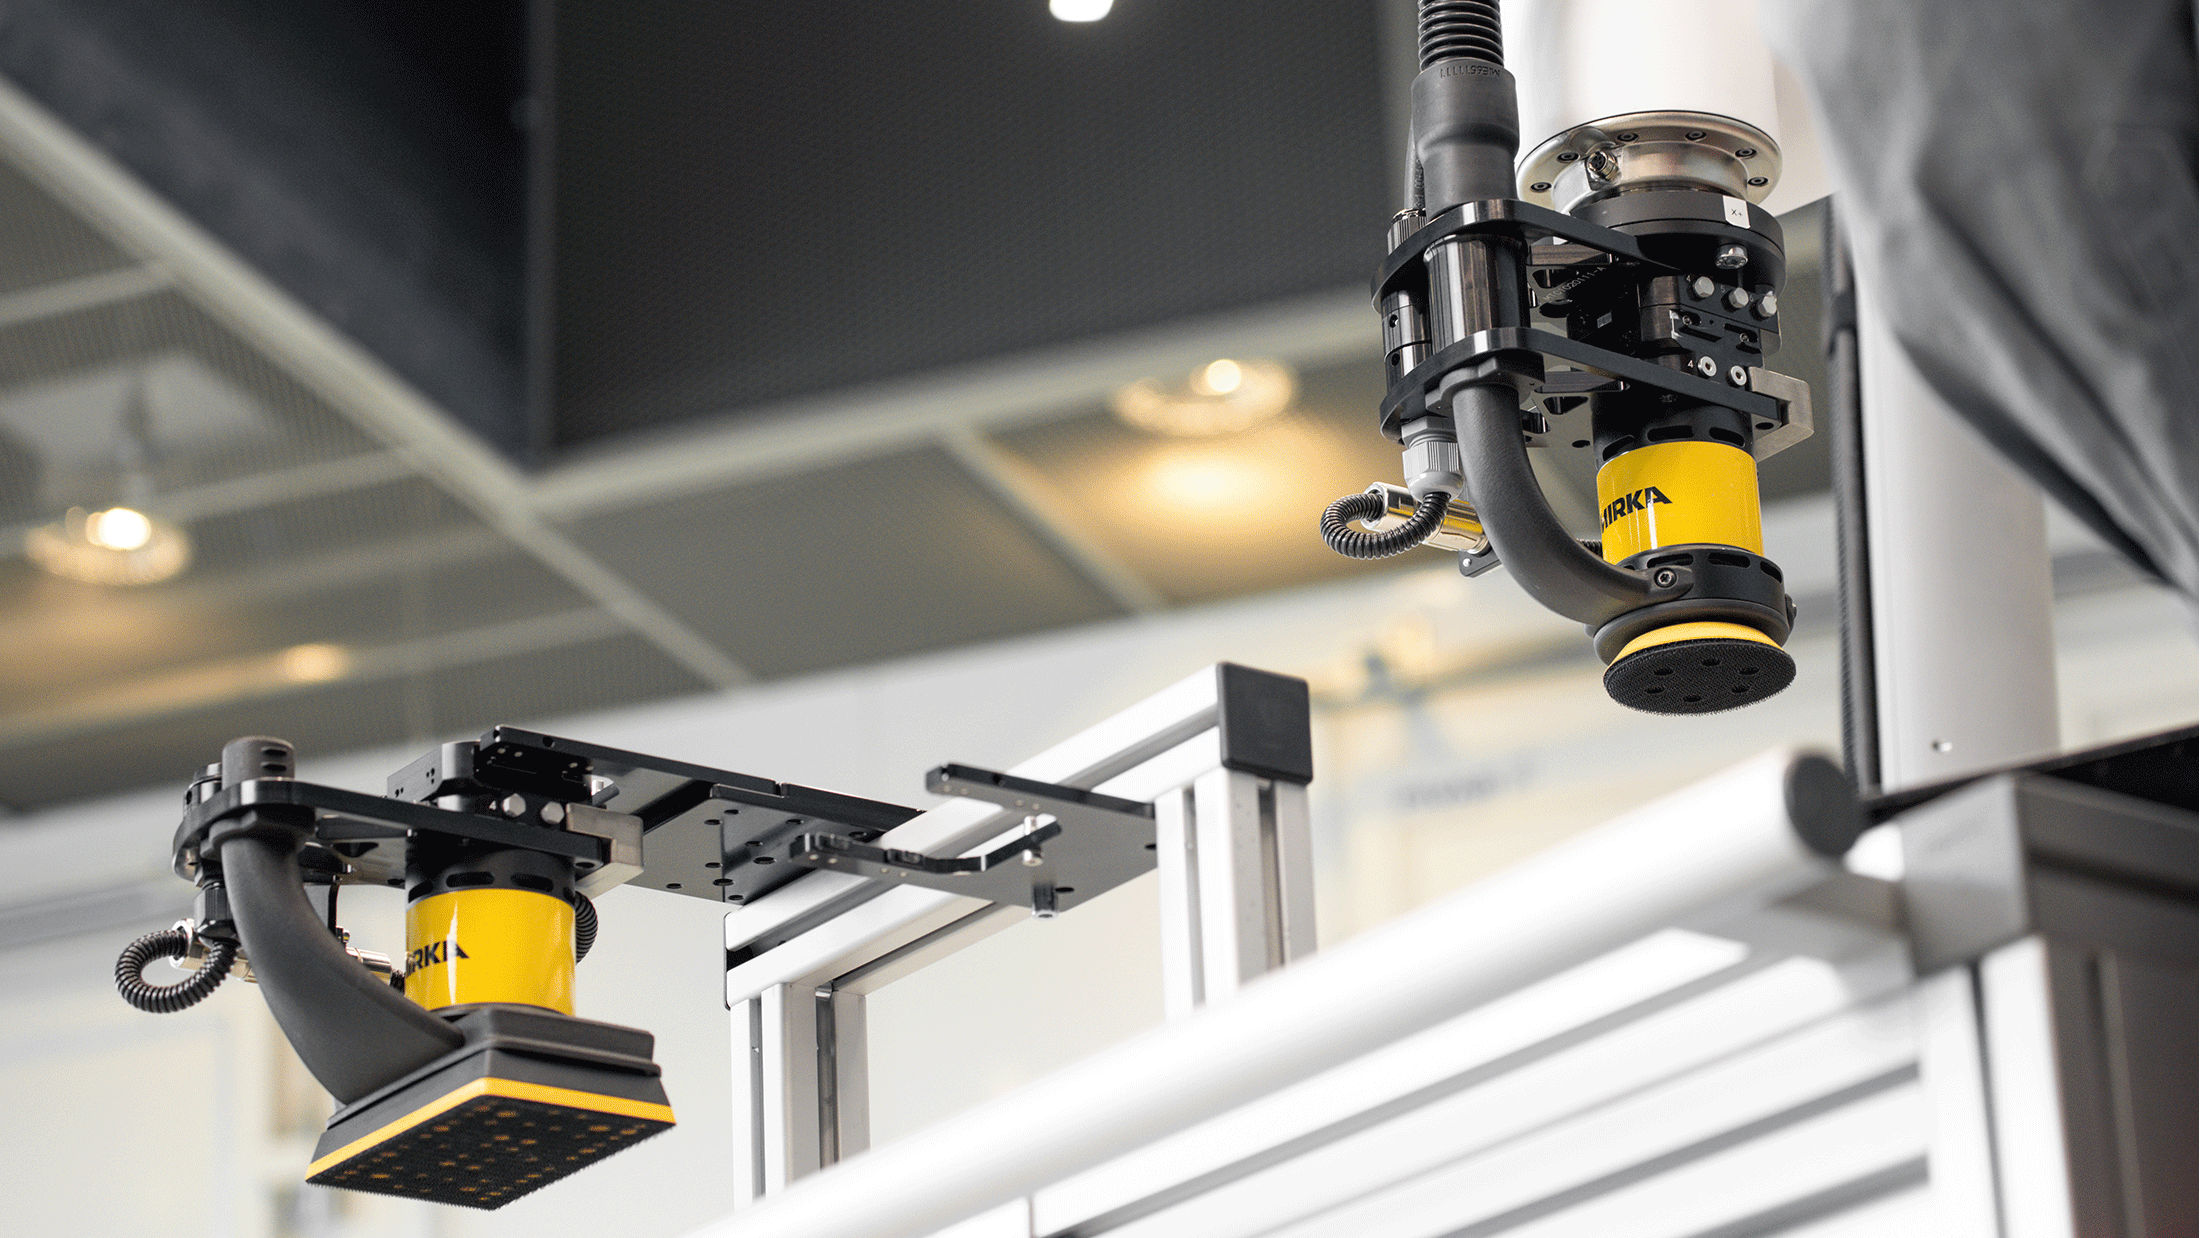
Different tasks require different tools. With the ToolChanger, your robot can seamlessly switch between tools equipped with abrasives of different grits, allowing you to maximise the full lifespan of the abrasive materials.
Automated tool changes also enable effortless transitions between sanding and polishing heads, making complex, multi-phase finishing jobs more efficient. Additionally, the ToolChanger allows your system to adapt to different surfaces – such as moving from flat panels to rounded or detailed contours – without the need for manual intervention.
Switch to a better solution with Mirka ToolChanger.
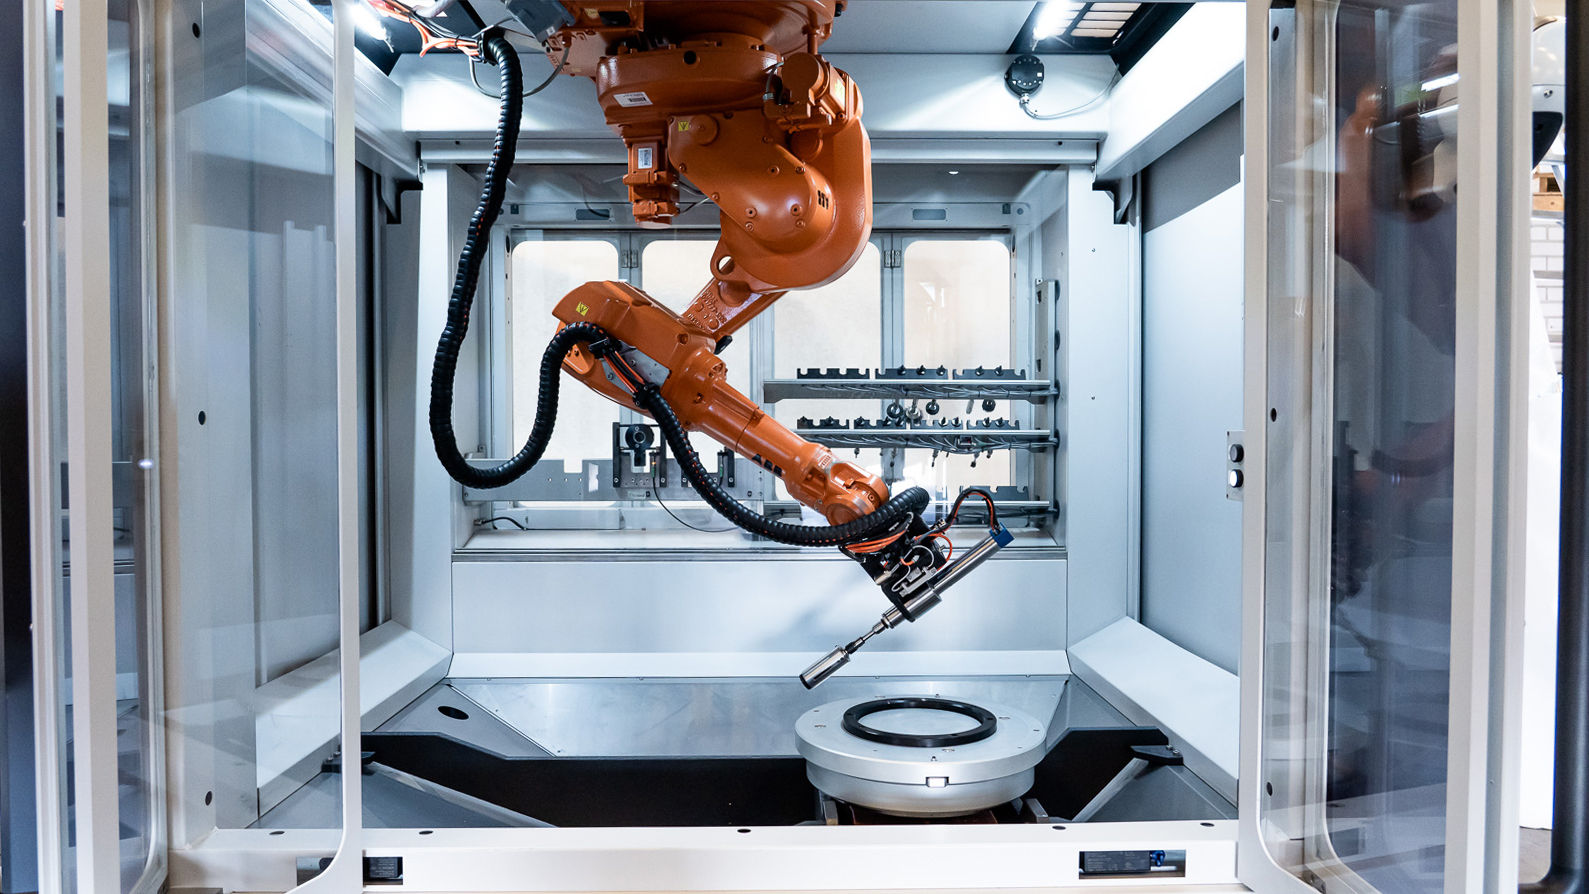
To assemble the Mirka ToolChanger, begin by removing the flange from the AIROS unit and attaching it to the Upper Bracket using the supplied bolts.
Mount the bracket to the robot arm, ensuring proper bolt length and torque, then attach the Upper Connector and connect the cables securely.
For the lower assembly, remove and rotate the dust extraction components and exhaust as required, depending on the AIROS model. Install the Lower Bracket, Cable Holder, counterweight, and Lower Connector using the specified bolts and torque settings, making sure guide pins and alignment arrows are correctly positioned.
Finally, secure the electrical connections and complete the assembly by hand-tightening the ToolChanger connector.
Download Manual
Read the manual and learn how to install and set up the Mirka ToolChanger.
Stay informed and inspired with exclusive updates
Discover surface finishing solutions, tips, and the industry trends – for professionals like you.