


2+1 years
Register Your Tool
All Mirka power tools have a standard two-year warranty. Get an additional 1 year of warranty free of charge by registering your tool within 30 days of purchase.
Keep your tools in excellent shape on myMirka where you can register, manage and order repair for your tools.
Replenish your stock, access marketing materials, view sales guides and read about upcoming product launches.
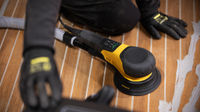
Engineered to perform both in confined spaces and on large surfaces
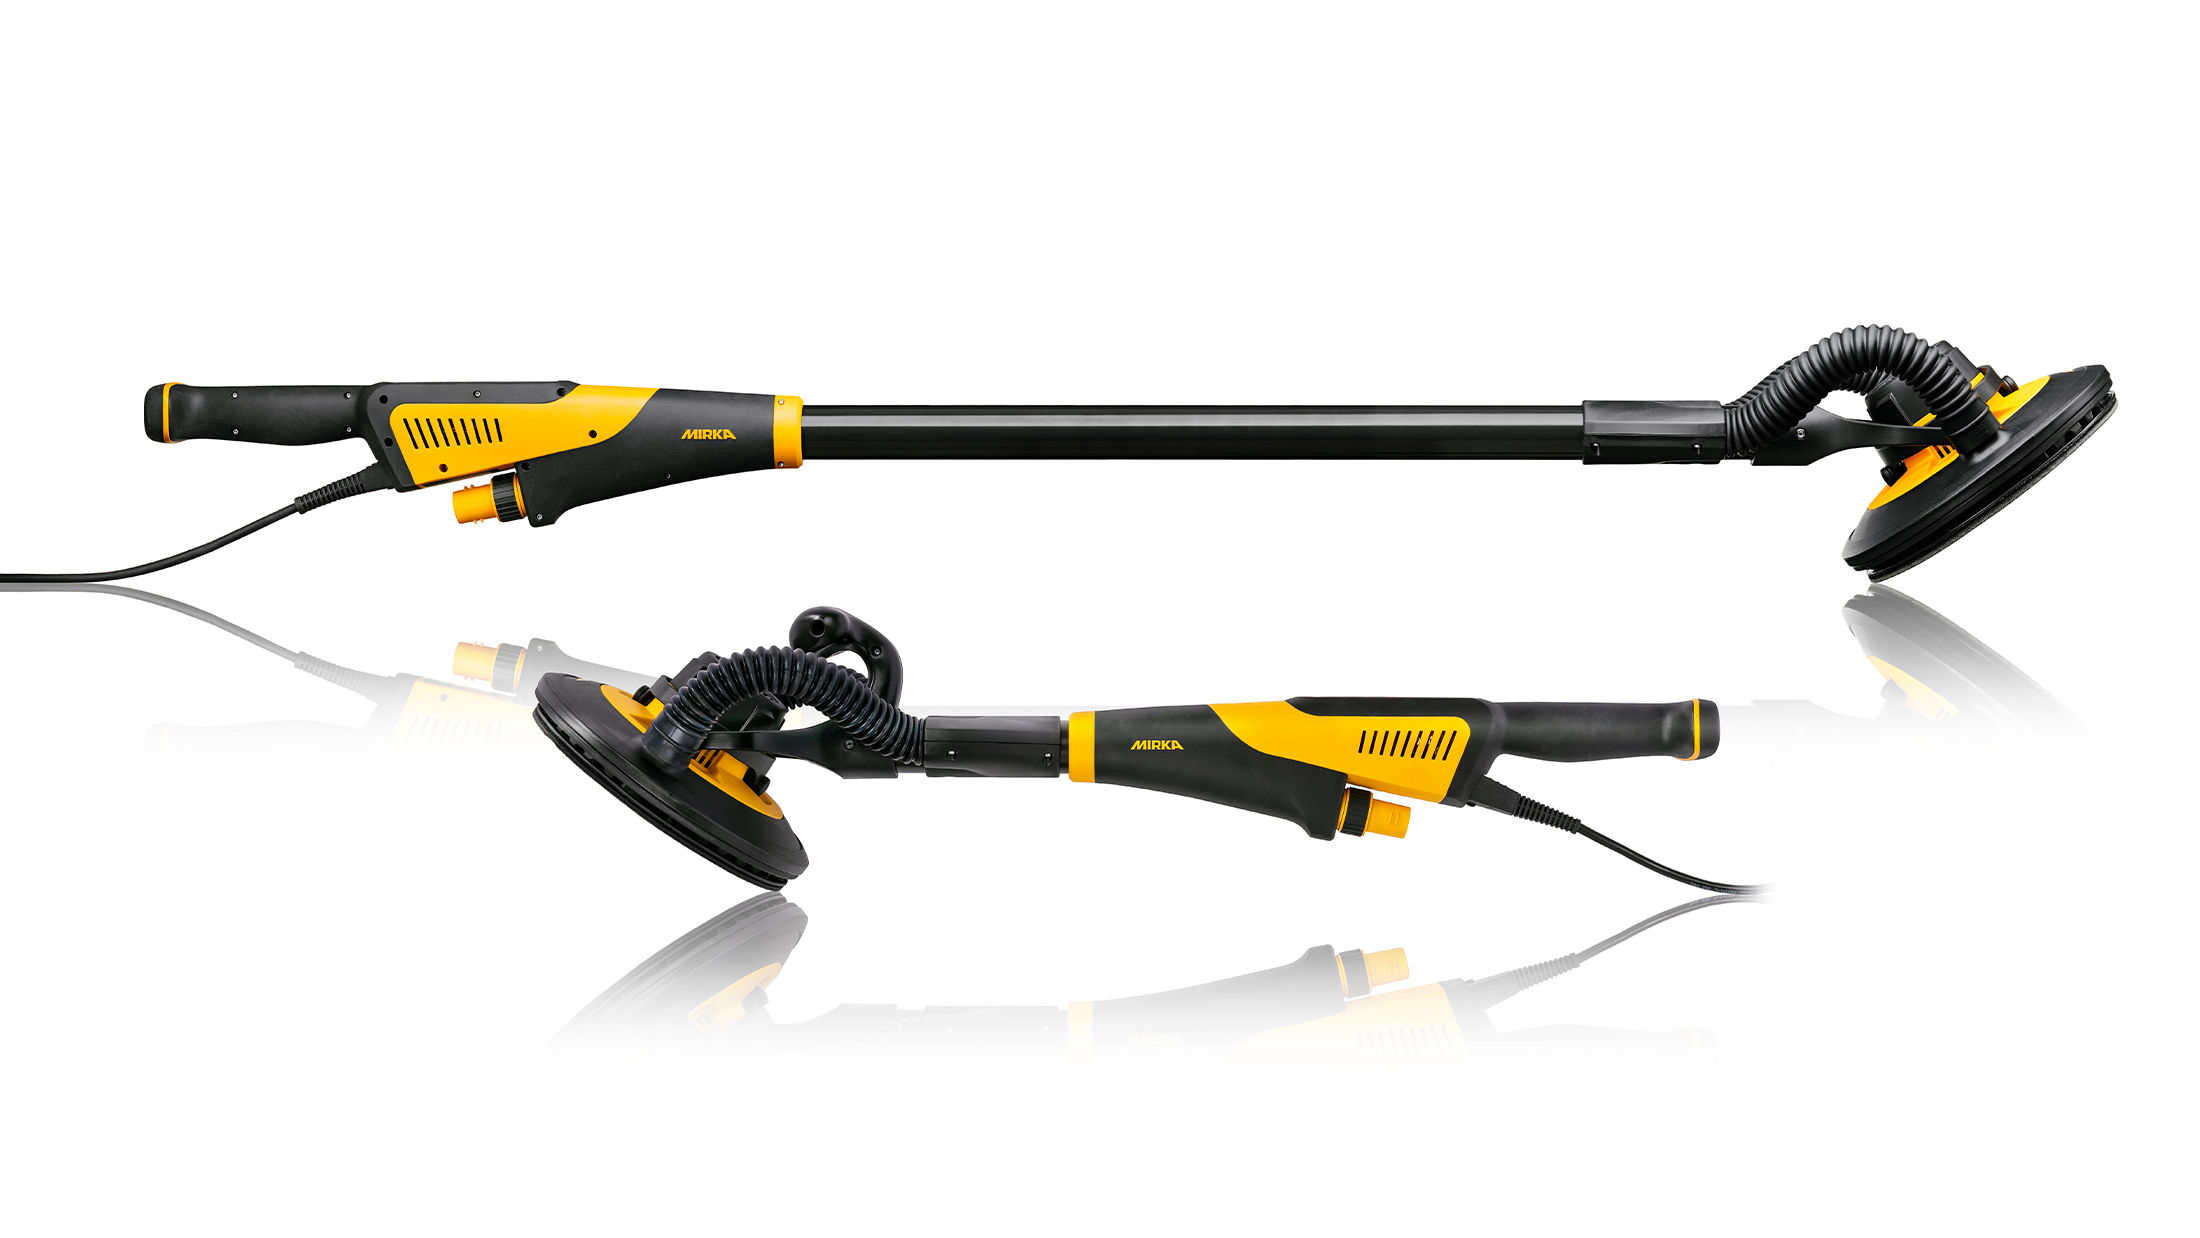
The new Mirka® LEROS-S 950CV is a compact length brushless sander with a highly flexible sanding head, designed for effortless sanding of large wood and composite surfaces in manufacturing.
With its amazing maneuverability Leros-S is also the ideal sander for drywalls, walls and large surfaces in the most difficult places.
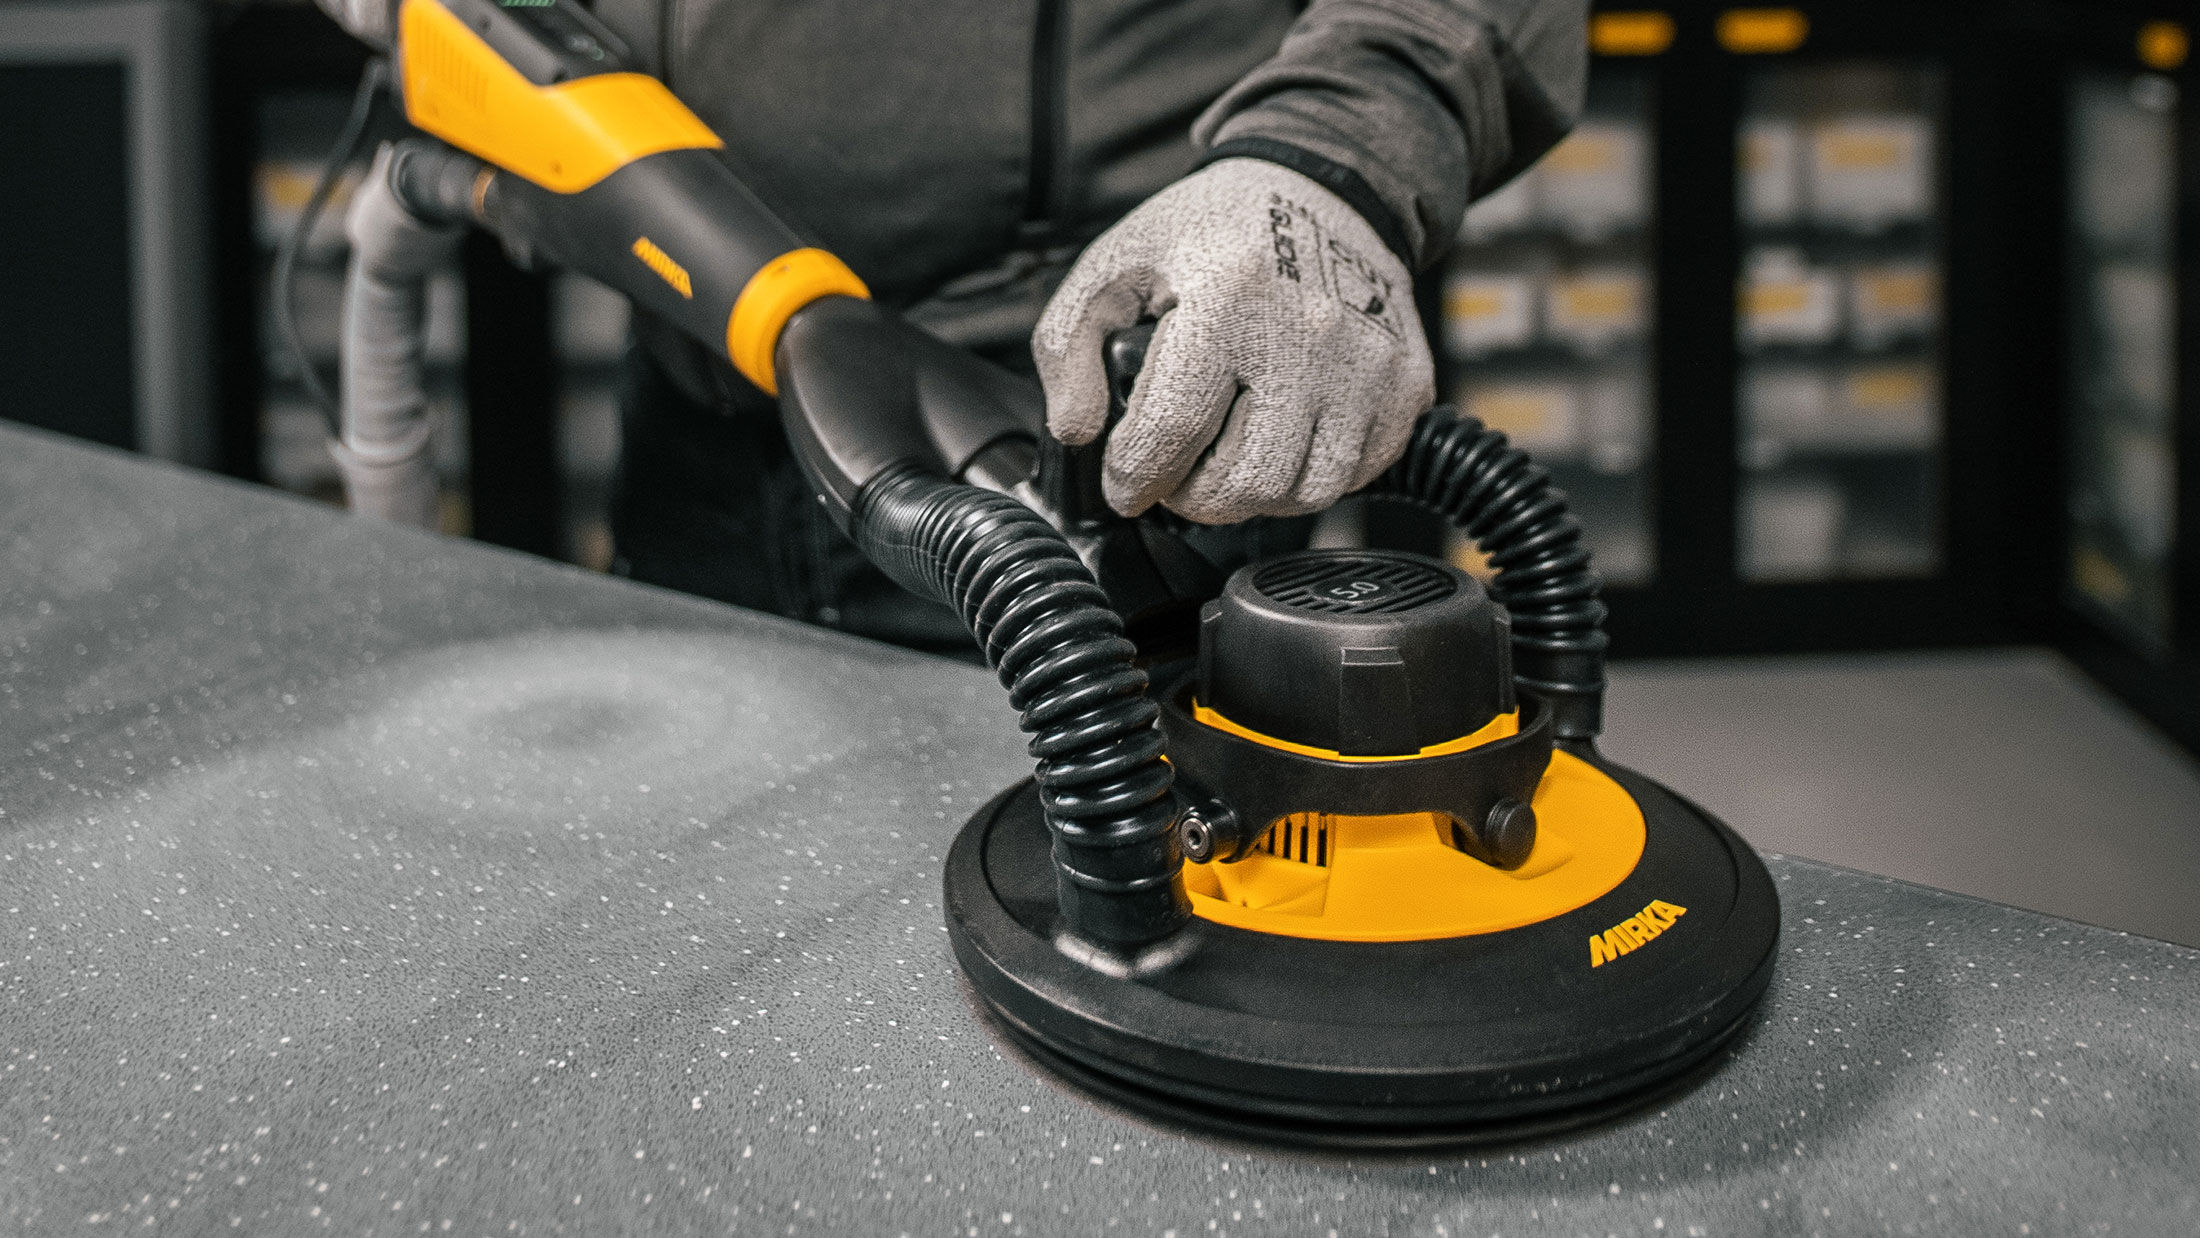
The LEROS-S is light, balanced and easy to handle, and its large 225mm sanding pad with a 5 mm random orbit makes it possible to work faster with a more even result, for a high surface finish quality. With two dedicated grip points, you have secure control of the sanding process – and when you need more reach, the LEROS-S can also be fitted with an extension.
Flexible head for reduced strain
The LEROS-S features a highly flexible sanding head to make sanding easier and more ergonomic. A better working position means fewer breaks are required, making sanding more effortless and improving the end result as well as productivity.
Light to handle
Thanks to its lightness, balance and easy manouverability, the LEROS-S makes it possible to sand large areas faster and easier.
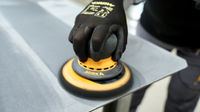
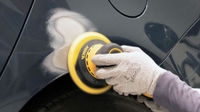
Great surface finish and easy to operate
The sanding tool is much easier to handle compared to rotary sanders. Its large sanding pad with a 5mm random orbit makes it posssible to work faster with a more even result, for a high surface finish quality.
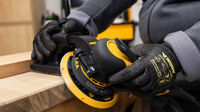
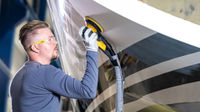
Ergonomic and secure grip
With two dedicated grip points, you have secure control of the sanding process.
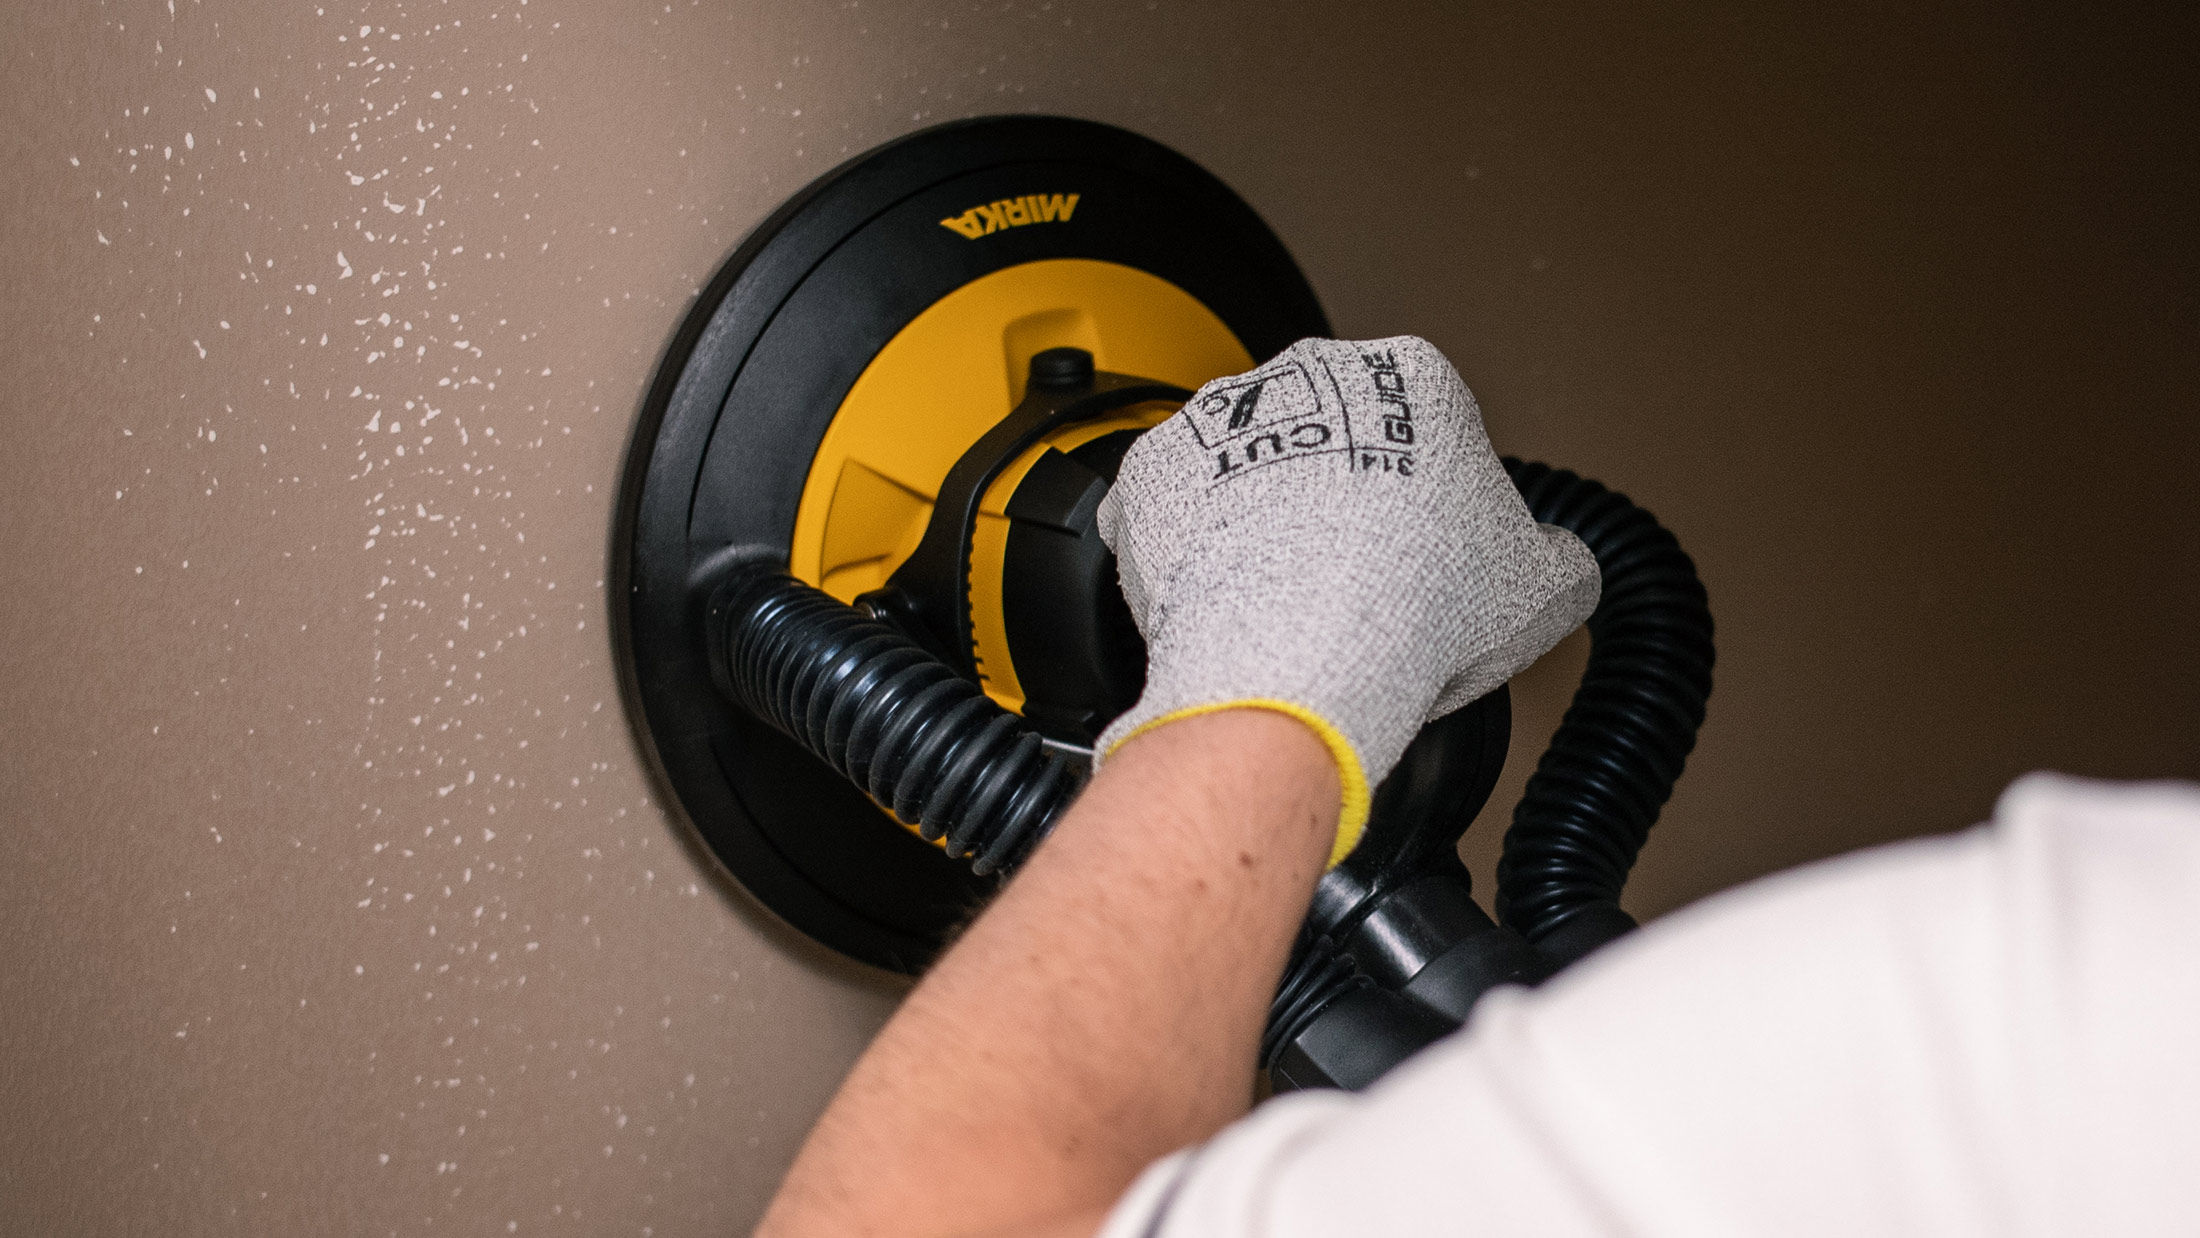
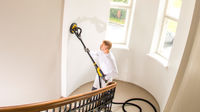
Easy to handle in tight spaces
In construction and decoration work, the LEROS-S shines in sanding bathroom walls, narrow corridors, walk-in closets and more, with two dedicated grip points for full control.
Steady grip. Less than 3.2 kg. High flexibility.
Mirka® LEROS received the Red Dot: Best of the Best Award 2018 for groundbreaking design 2018. It is now available in a compact version with the introduction of the LEROS-S model. Read more about the shorter LEROS.
Faster, cleaner and healthier
Combine Mirka LEROS-S with Mirka's dust-free net abrasives and a suitable dust extraction system to create a cleaner and healthier working environment when sanding drywalls. Not only will it speed up the sanding process, it will also save you time and money. Below you will find our suggested products for a complete and efficient system.
Two models, many tasks, lots of achievements
Which sander is best? Both orbital sanders are unique. They are well-regarded for their lightness, manoeuvrability and ease of use. The Mirka® LEROS is ideal for the preparation of drywalls, ceilings and large surfaces, while its shorter version, the Mirka® LEROS-S, is more compact and makes a perfect partner for large surface sanding and confined spaces.
Save your health, time, and money
Do you get covered in dust when sanding? Try the benefits of Mirka's pioneering sanding solutions and see how a dust-free working environment can boost your business.
Healthier working environment – Stop dust from getting into your lungs
Time-saving – No cleaning after sanding and clean abrasives cut better
Money-saving – No clogging lets you sand longer with the same abrasive
High-quality finish – Thanks to a finer scratch pattern
Stay informed and inspired with exclusive updates
Discover surface finishing solutions, tips, and the industry trends – for professionals like you.