


2+1 years
Register Your Tool
All Mirka power tools have a standard two-year warranty. Get an additional 1 year of warranty free of charge by registering your tool within 30 days of purchase.
Keep your tools in excellent shape on myMirka where you can register, manage and order repair for your tools.
Replenish your stock, access marketing materials, view sales guides and read about upcoming product launches.
Click here to see our privacy policy.
Dust from drywall sanding is one of the most persistent challenges on construction and renovation sites. It spreads quickly, settles on every surface, and creates safety risks for both workers and equipment. Cleanup takes time. Oversanding becomes harder to control. And in many cases, fine dust delays follow-up tasks like painting or sealing, adding pressure to already tight project schedules.
That is why more professionals are turning to dust-free drywall sanding. This approach not only improves surface visibility and finish quality but also saves time on cleanup and reduces the risk of costly rework.
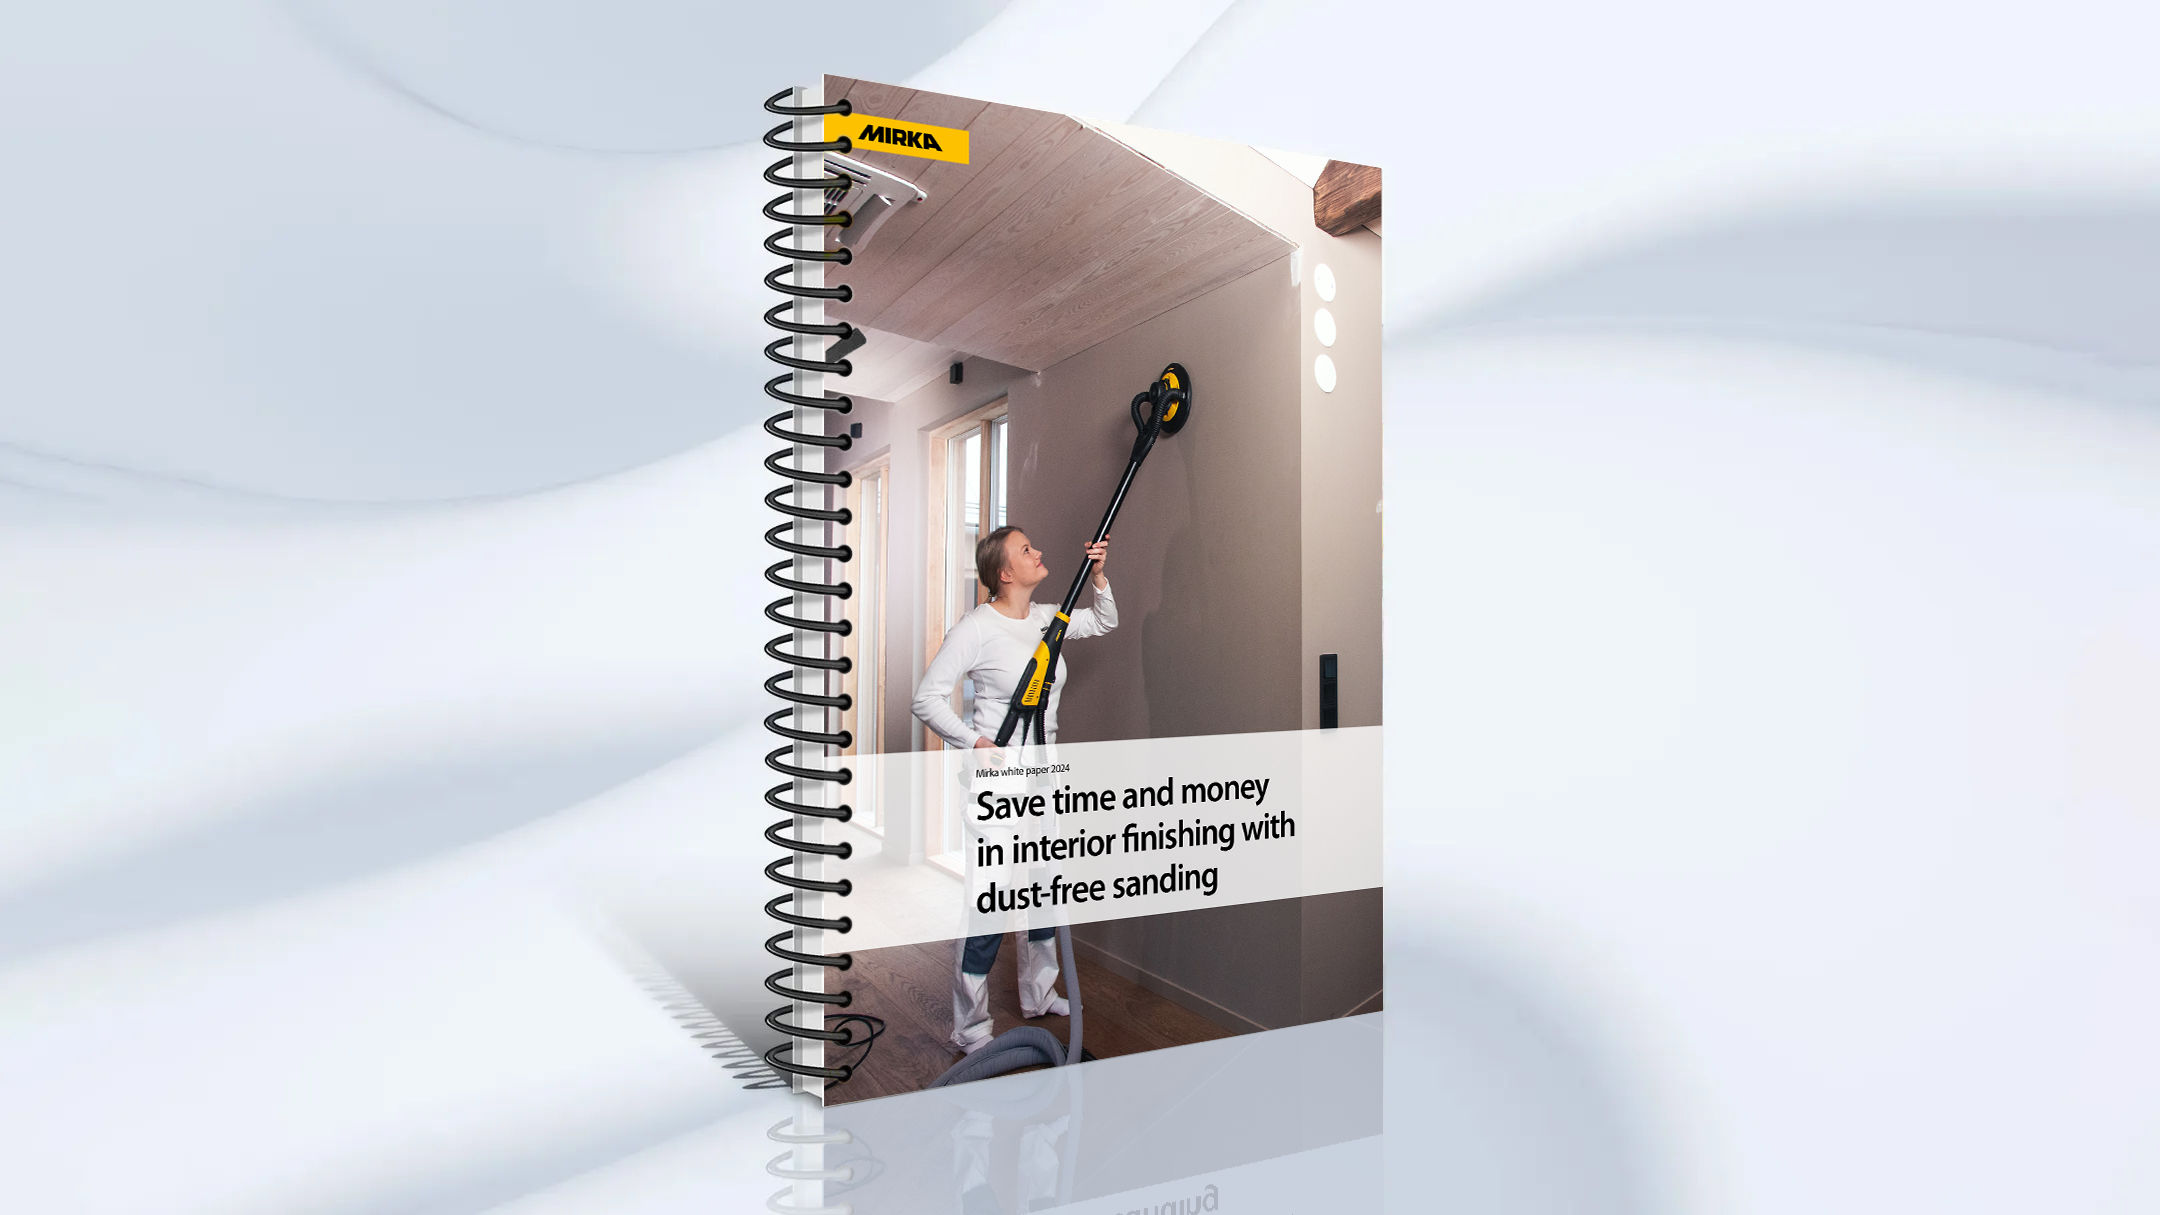
In this article, you will learn how to carry out dust-free drywall sanding using the right tools, techniques, and setup for clean, efficient results.
Dust-free sanding is not just a cleaner option. It is a smarter and more efficient process for professionals in construction and renovation. In active job sites, airborne dust can slow down progress, cover surface imperfections, and increase manual cleanup before painting or finishing begins.
A cleaner sanding process improves visibility on the surface, helping workers avoid oversanding and missed areas. It also protects nearby equipment, walls, and flooring from fine dust settling across the work zone.
According to the Mirka field data, dust-free sanding can save two to three full days that would otherwise be spent cleaning before finishing can begin. In traditional workflows, large amounts of fine dust settle across the workspace and delay progress. Removing this dust manually takes time and often requires protective covers, vacuums, and labor that add to project costs.
By eliminating the need for this stage, dust-free sanding supports a more continuous and controlled workflow. The result is faster project completion, lower cleanup effort, and a surface that is ready for finishing without delay.
For construction teams, this is a practical improvement that delivers cleaner surfaces, better efficiency, and more consistent job site results.
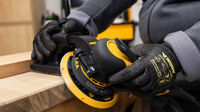
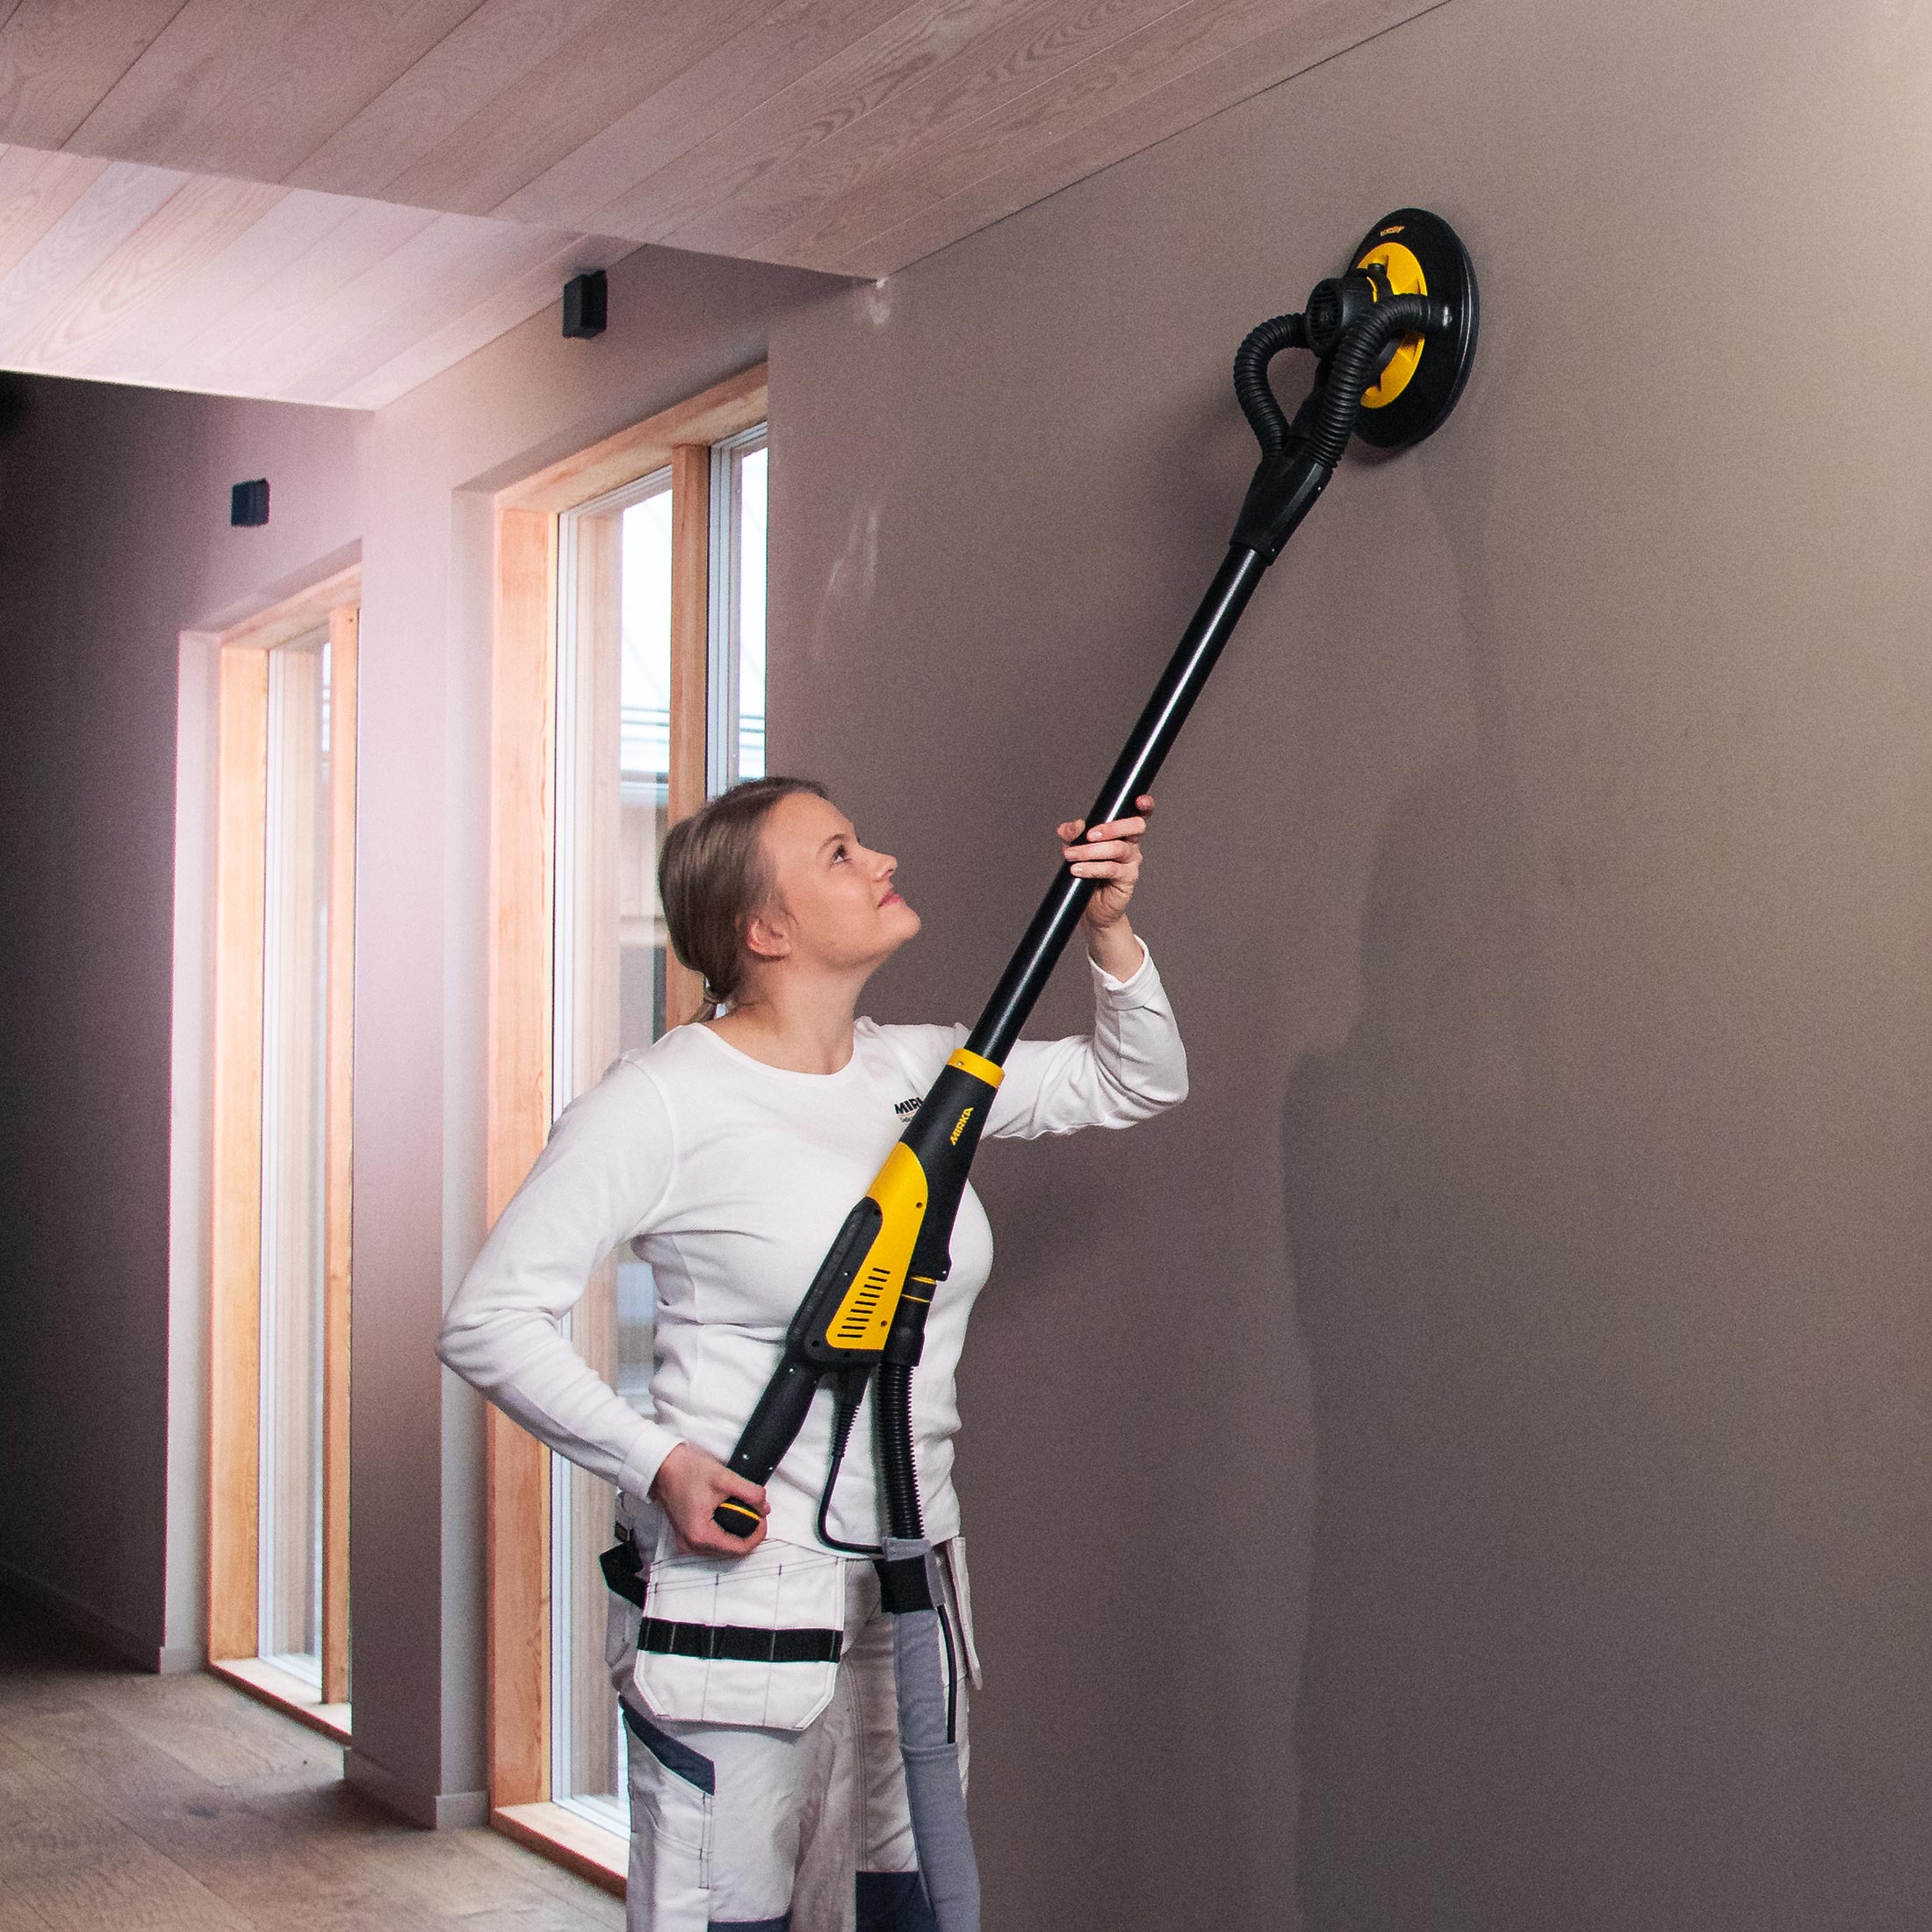
Start by preparing the Mirka® LEROS, a tool built specifically for large drywall and ceiling surfaces. Its advanced design helps professionals sand with precision and less fatigue, even during long sessions.
Using Mirka® LEROS is important because:
Key features of Mirka® LEROS:
Before attaching any accessories, follow these basic setup checks:
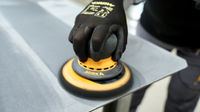
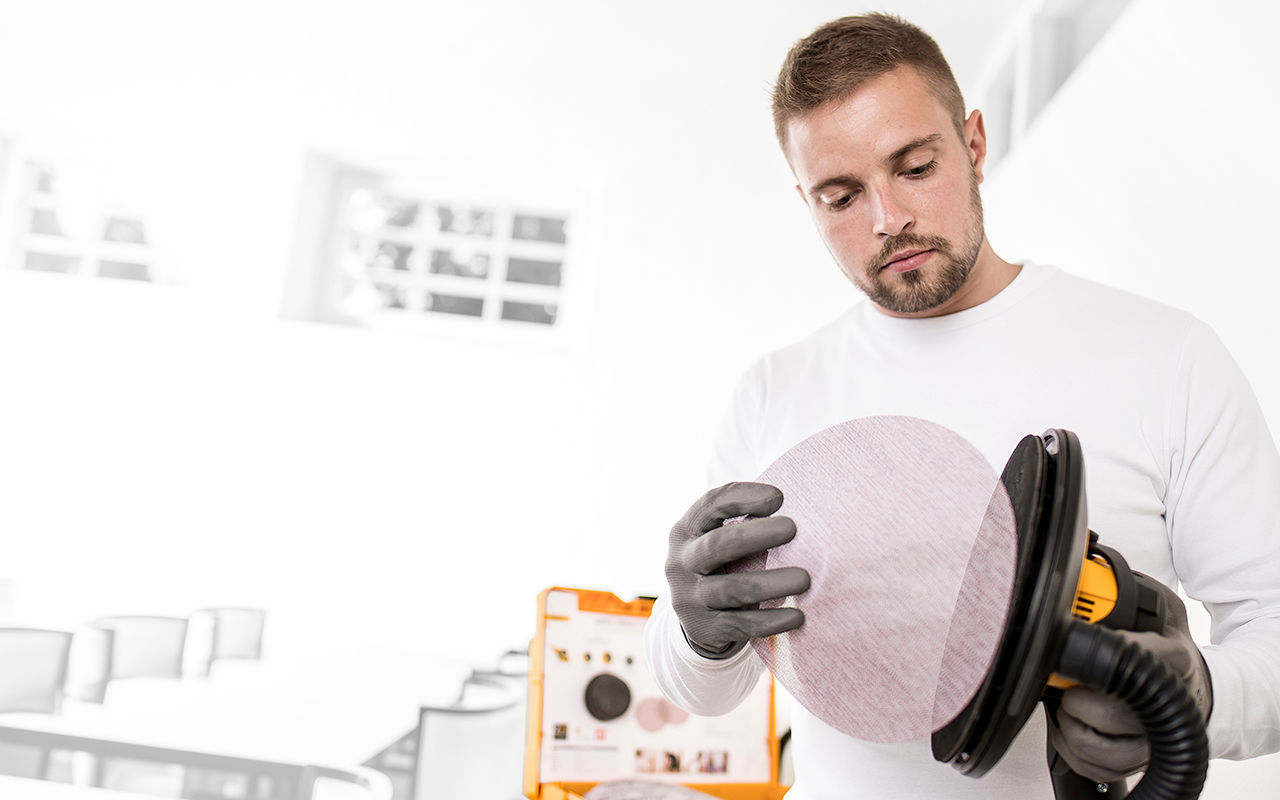
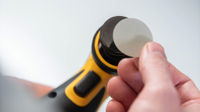
Once the sander is ready, attach a 9” Abranet® net abrasive disc. This disc is designed for wall and ceiling sanding with the Mirka® LEROS. It ensures full dust extraction coverage, helping maintain clear airflow and better visibility during drywall sanding.
For proper setup, use a 9” interface pad or backup pad between the LEROS sanding head and the Abranet® disc. These accessories improve grip and help cushion pressure during sanding, especially on uneven surfaces.
Why use Abranet® for drywall sanding:
Features of 9” Abranet® Disc:
To install the disc properly:
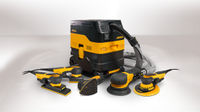
Now connect the Mirka® LEROS to the Mirka® Dust Extractor. This completes the dust-free setup, allowing dust to be removed directly from the sanding surface.
This connection plays a key role because:
Features of the Mirka® DE-1230-AFC Dust Extractor:
Before sanding, ensure the extractor is correctly connected to the Mirka® LEROS and AutoStart is enabled. This setup creates a clean sanding experience and reduces cleanup time.
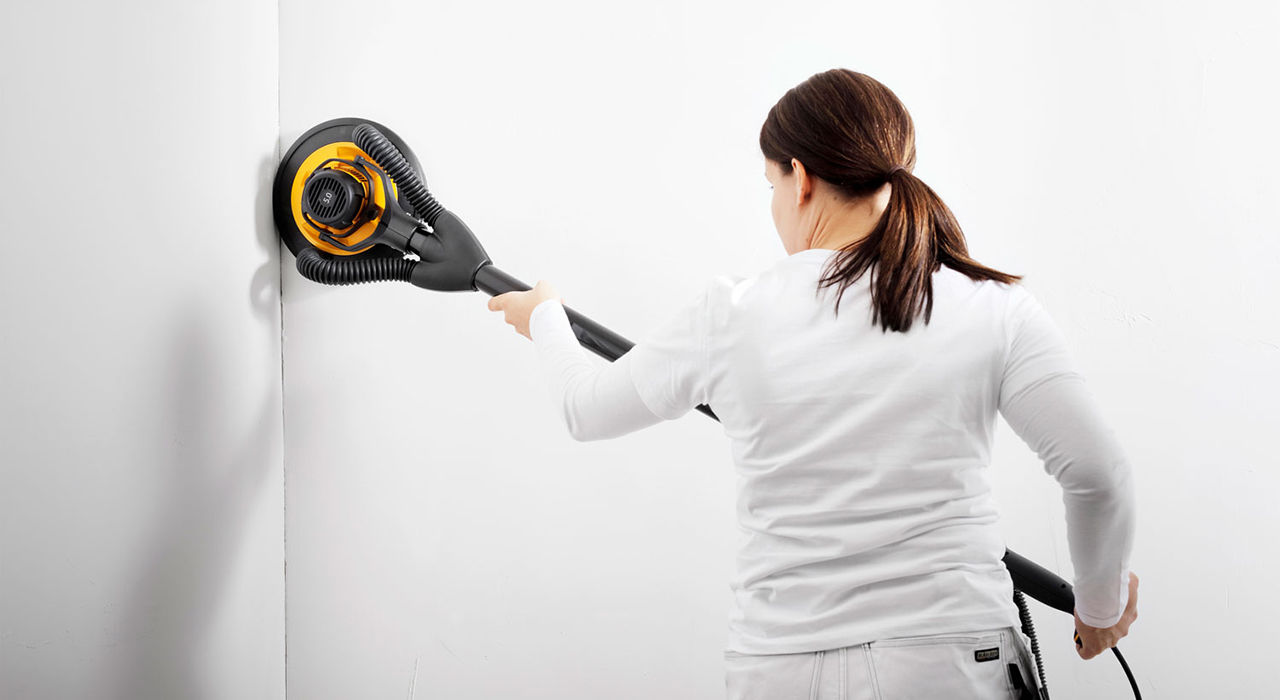
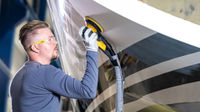
Once the system is running, begin sanding large wall and ceiling sections using steady, overlapping passes. The Mirka® LEROS is designed to follow your motion naturally, helping maintain balance and consistency.
Using proper sanding motion is important because:
The flexible sanding head of the Mirka® LEROS moves with your hand, adapting to the wall or ceiling surface. Its random orbital movement ensures a smooth finish while minimizing fatigue.
To sand effectively:
For ceilings or high walls, attach the Mirka® LEROS extension shaft. This addition increases your reach without needing a ladder, helping maintain correct body posture and tool control.
Using the extension shaft is helpful because:
Features of the Mirka MIW-EXT Extension Shaft:
When working above shoulder height, the extension shaft helps complete the job faster with less physical stress.
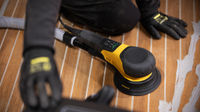
When sanding smaller surfaces or tight spaces like closets, stairwells, or under fixtures, use the Mirka® LEROS-S. This compact tool is made for close-range control without losing sanding quality.
Choosing Mirka® LEROS-S for confined areas makes sense because:
Key features of Mirka® LEROS-S:
Mirka® LEROS-S is a smart complement to the Mirka® LEROS, ensuring no surface is left unfinished in a dust-free workflow.
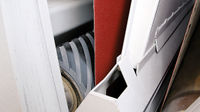
After sanding is complete, shut down and clean the equipment. Proper storage protects your tools and keeps the system ready for the next project.
Finishing the process with care is important because:
To store the system:
Efficient storage supports long-term tool performance and keeps your worksite clean and professional.
Dust-free drywall sanding offers more than a cleaner workspace. It improves surface control, reduces time spent on cleanup, and helps deliver a smoother finish with less effort. By following the right steps and using the proper tools, construction teams can avoid common issues like oversanding, poor visibility, and job delays.
Along with the right tools and setup, wearing proper personal protective equipment (PPE) helps ensure a safer and more controlled sanding experience. This approach supports a more efficient workflow and a higher standard of quality across every drywall and ceiling project.