

2+1 years
Register Your Tool
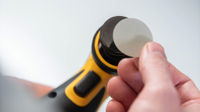
All Mirka power tools have a standard two-year warranty. Get an additional 1 year of warranty free of charge by registering your tool within 30 days of purchase.
Keep your tools in excellent shape on myMirka where you can register, manage and order repair for your tools.
Replenish your stock, access marketing materials, view sales guides and read about upcoming product launches.
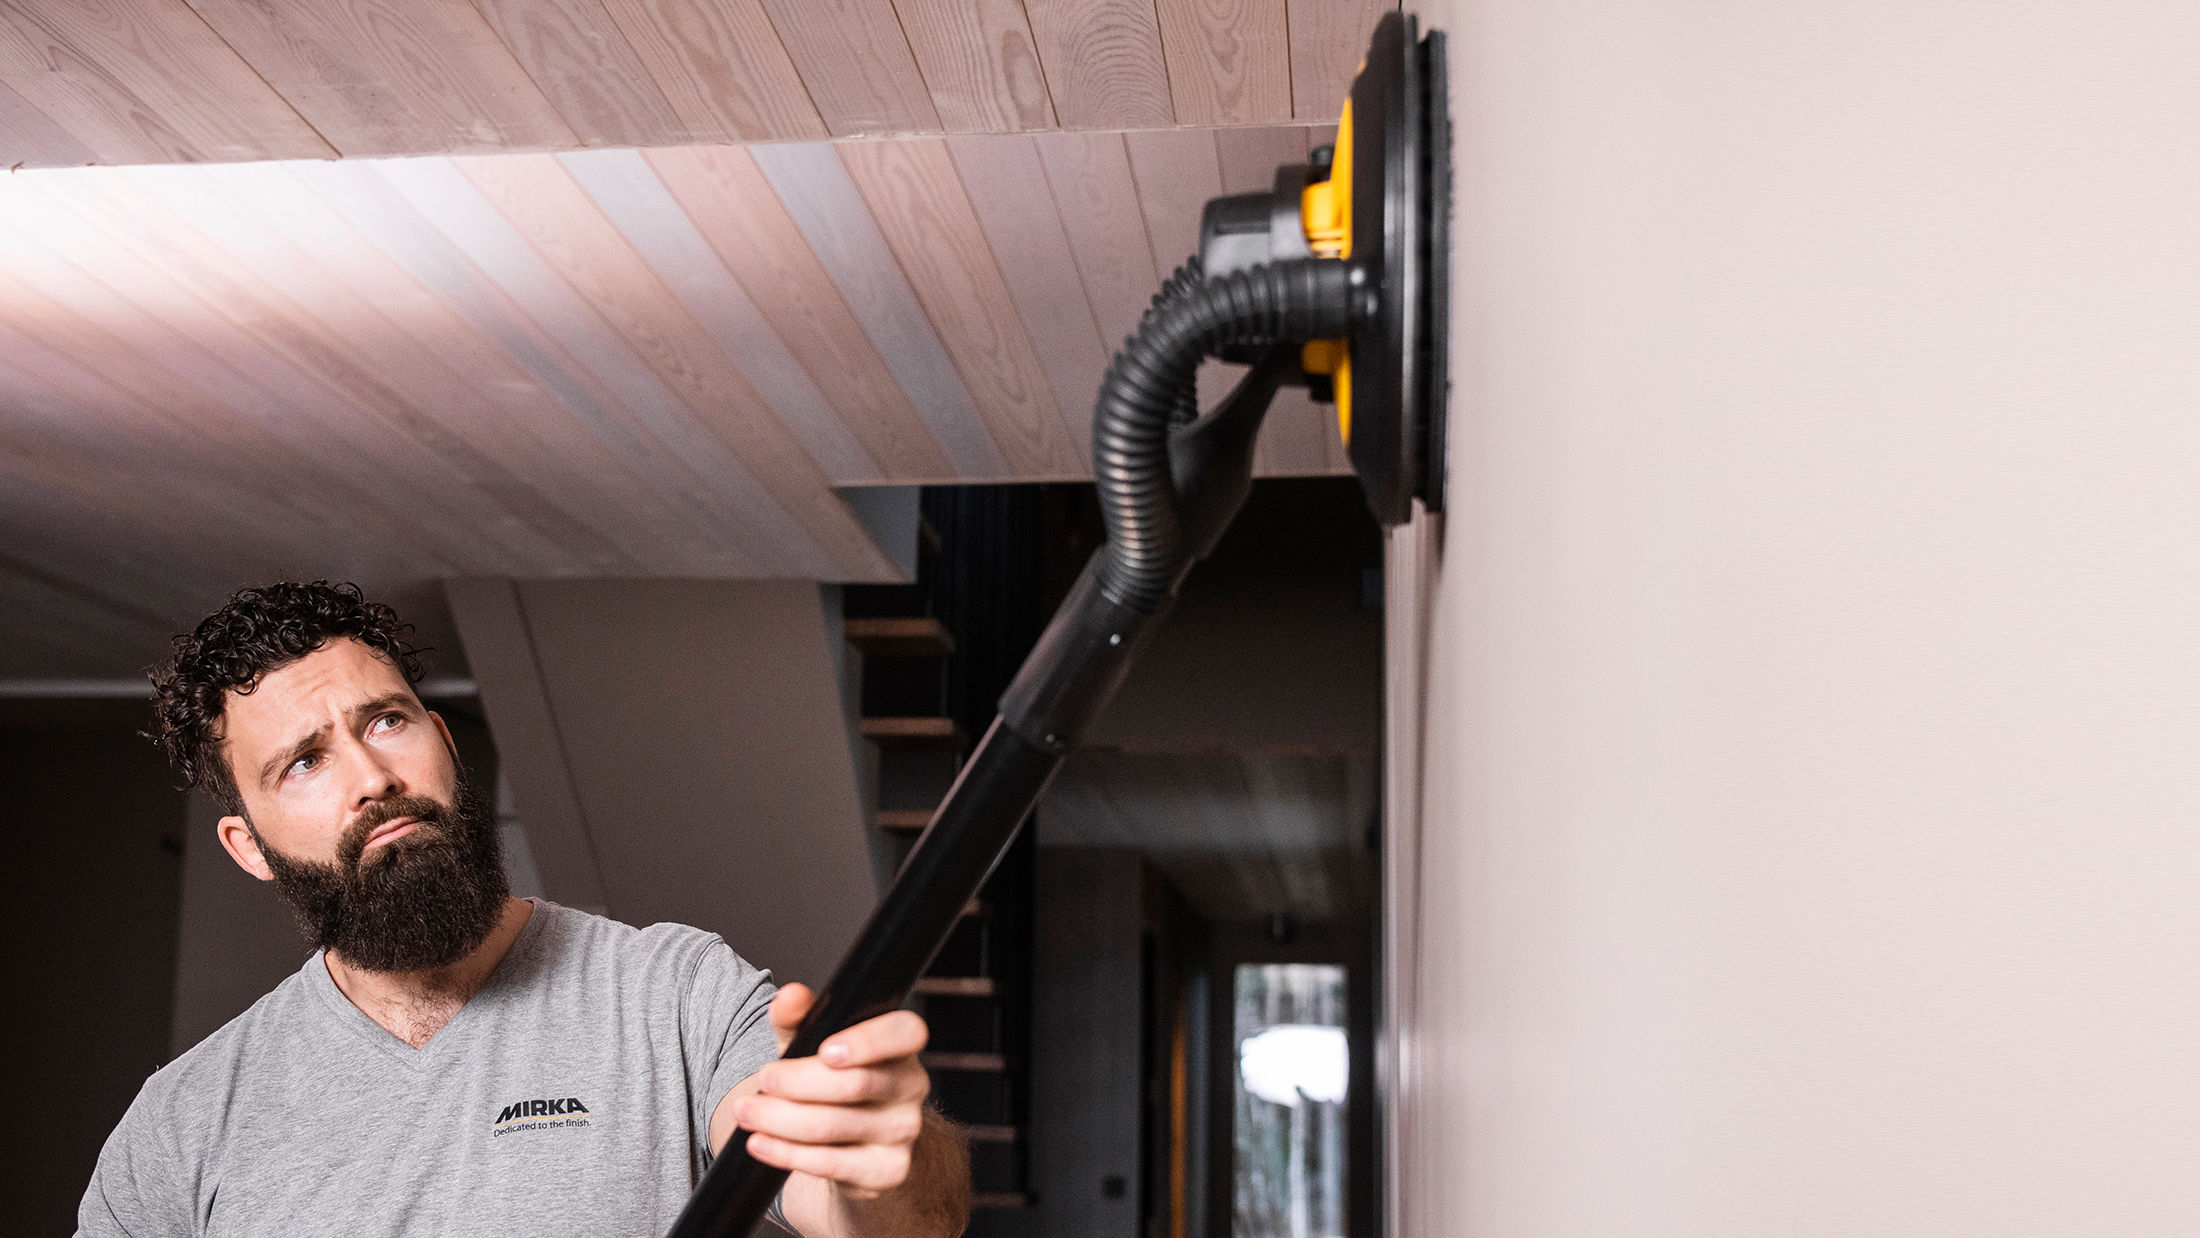
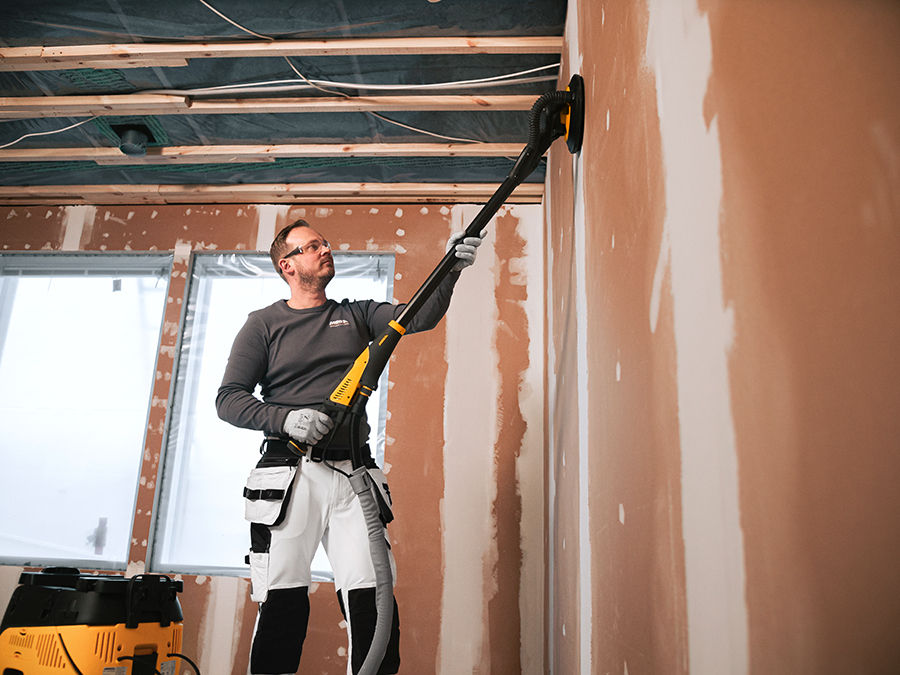
Spending hours finishing drywall and ceilings? Our LEROS Drywall Sanders streamline sanding for a fast yet excellent finish. With LEROS and LEROS-S, the best random orbital brushless wall and ceiling sanders on the market, operators can sand for long periods with less strain on the body. When part of a Dust-Free system, the solution becomes even more effective.
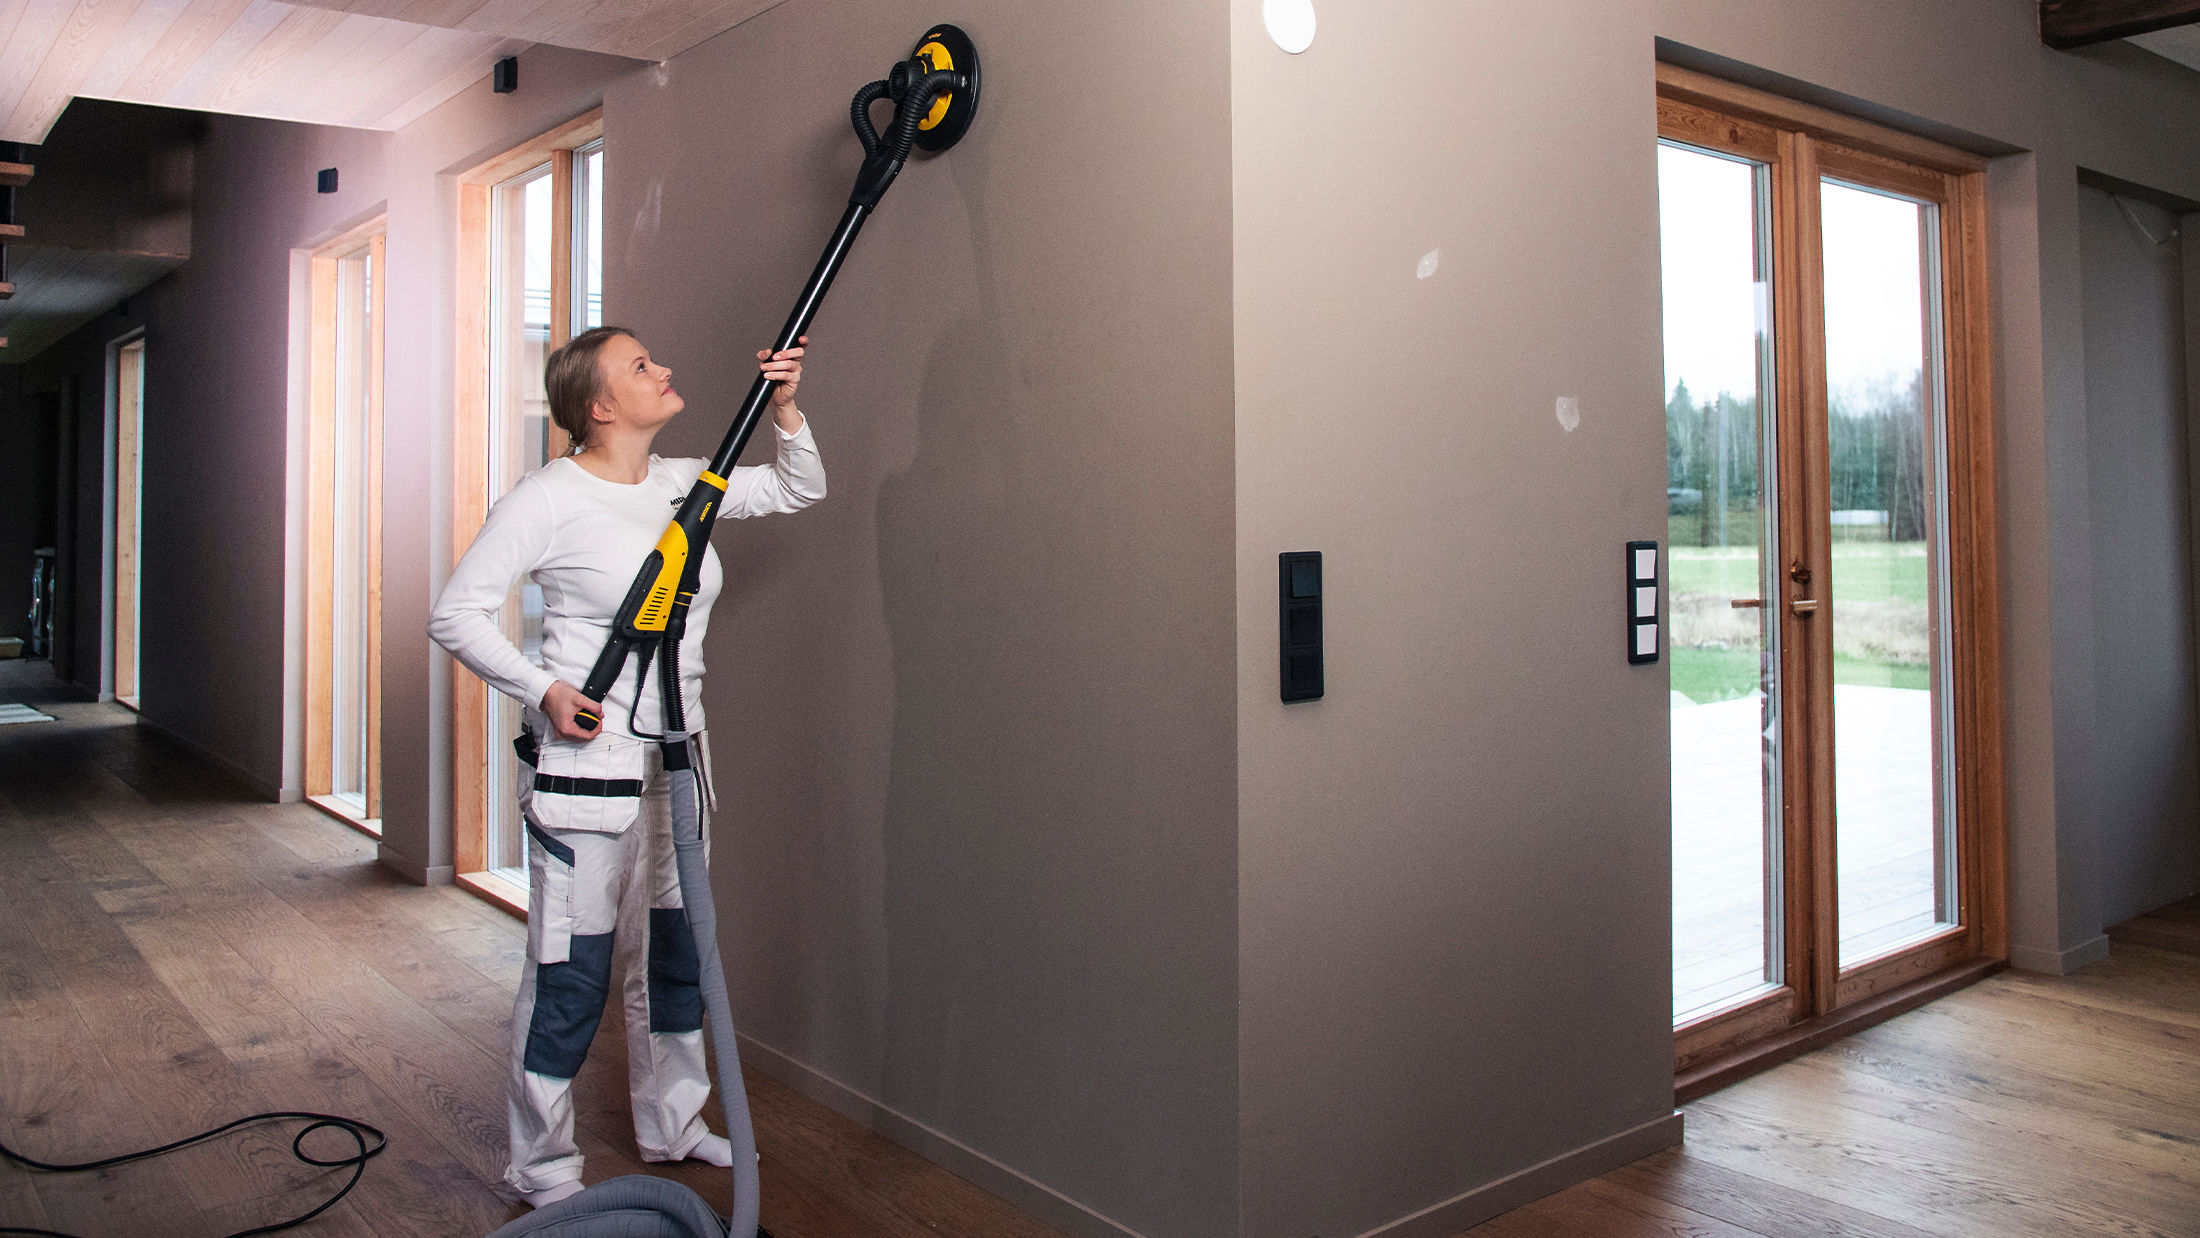
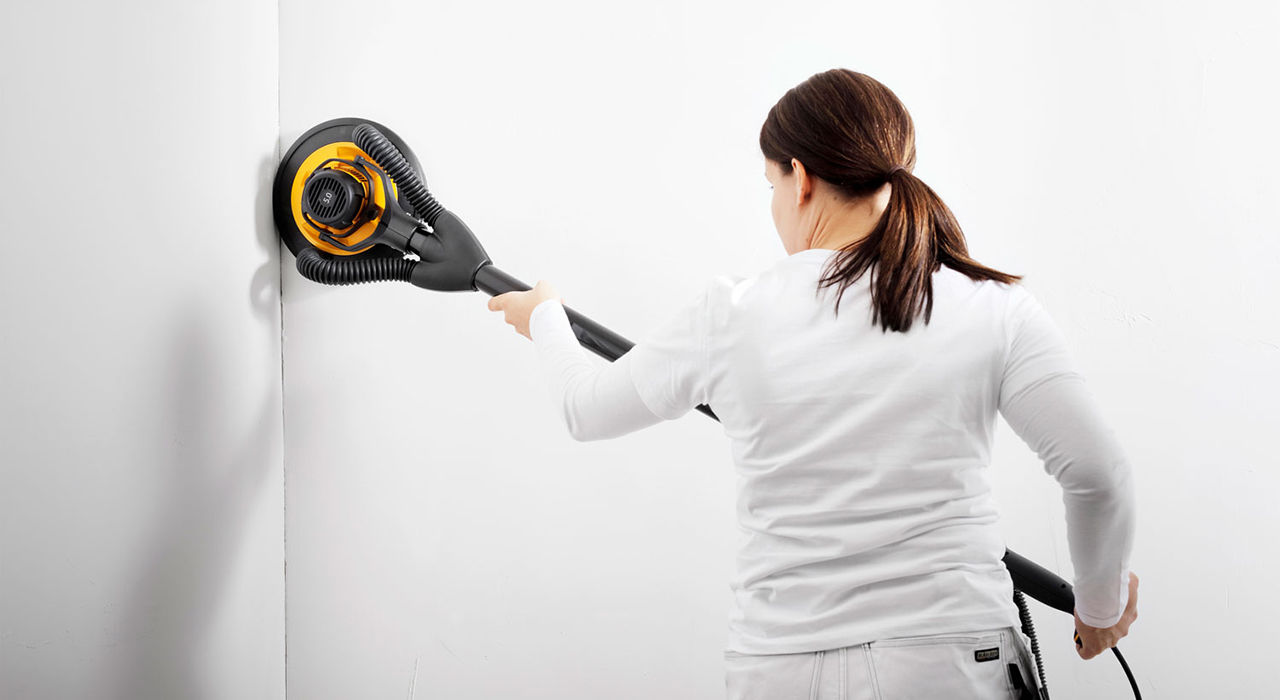
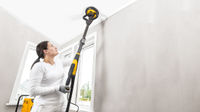
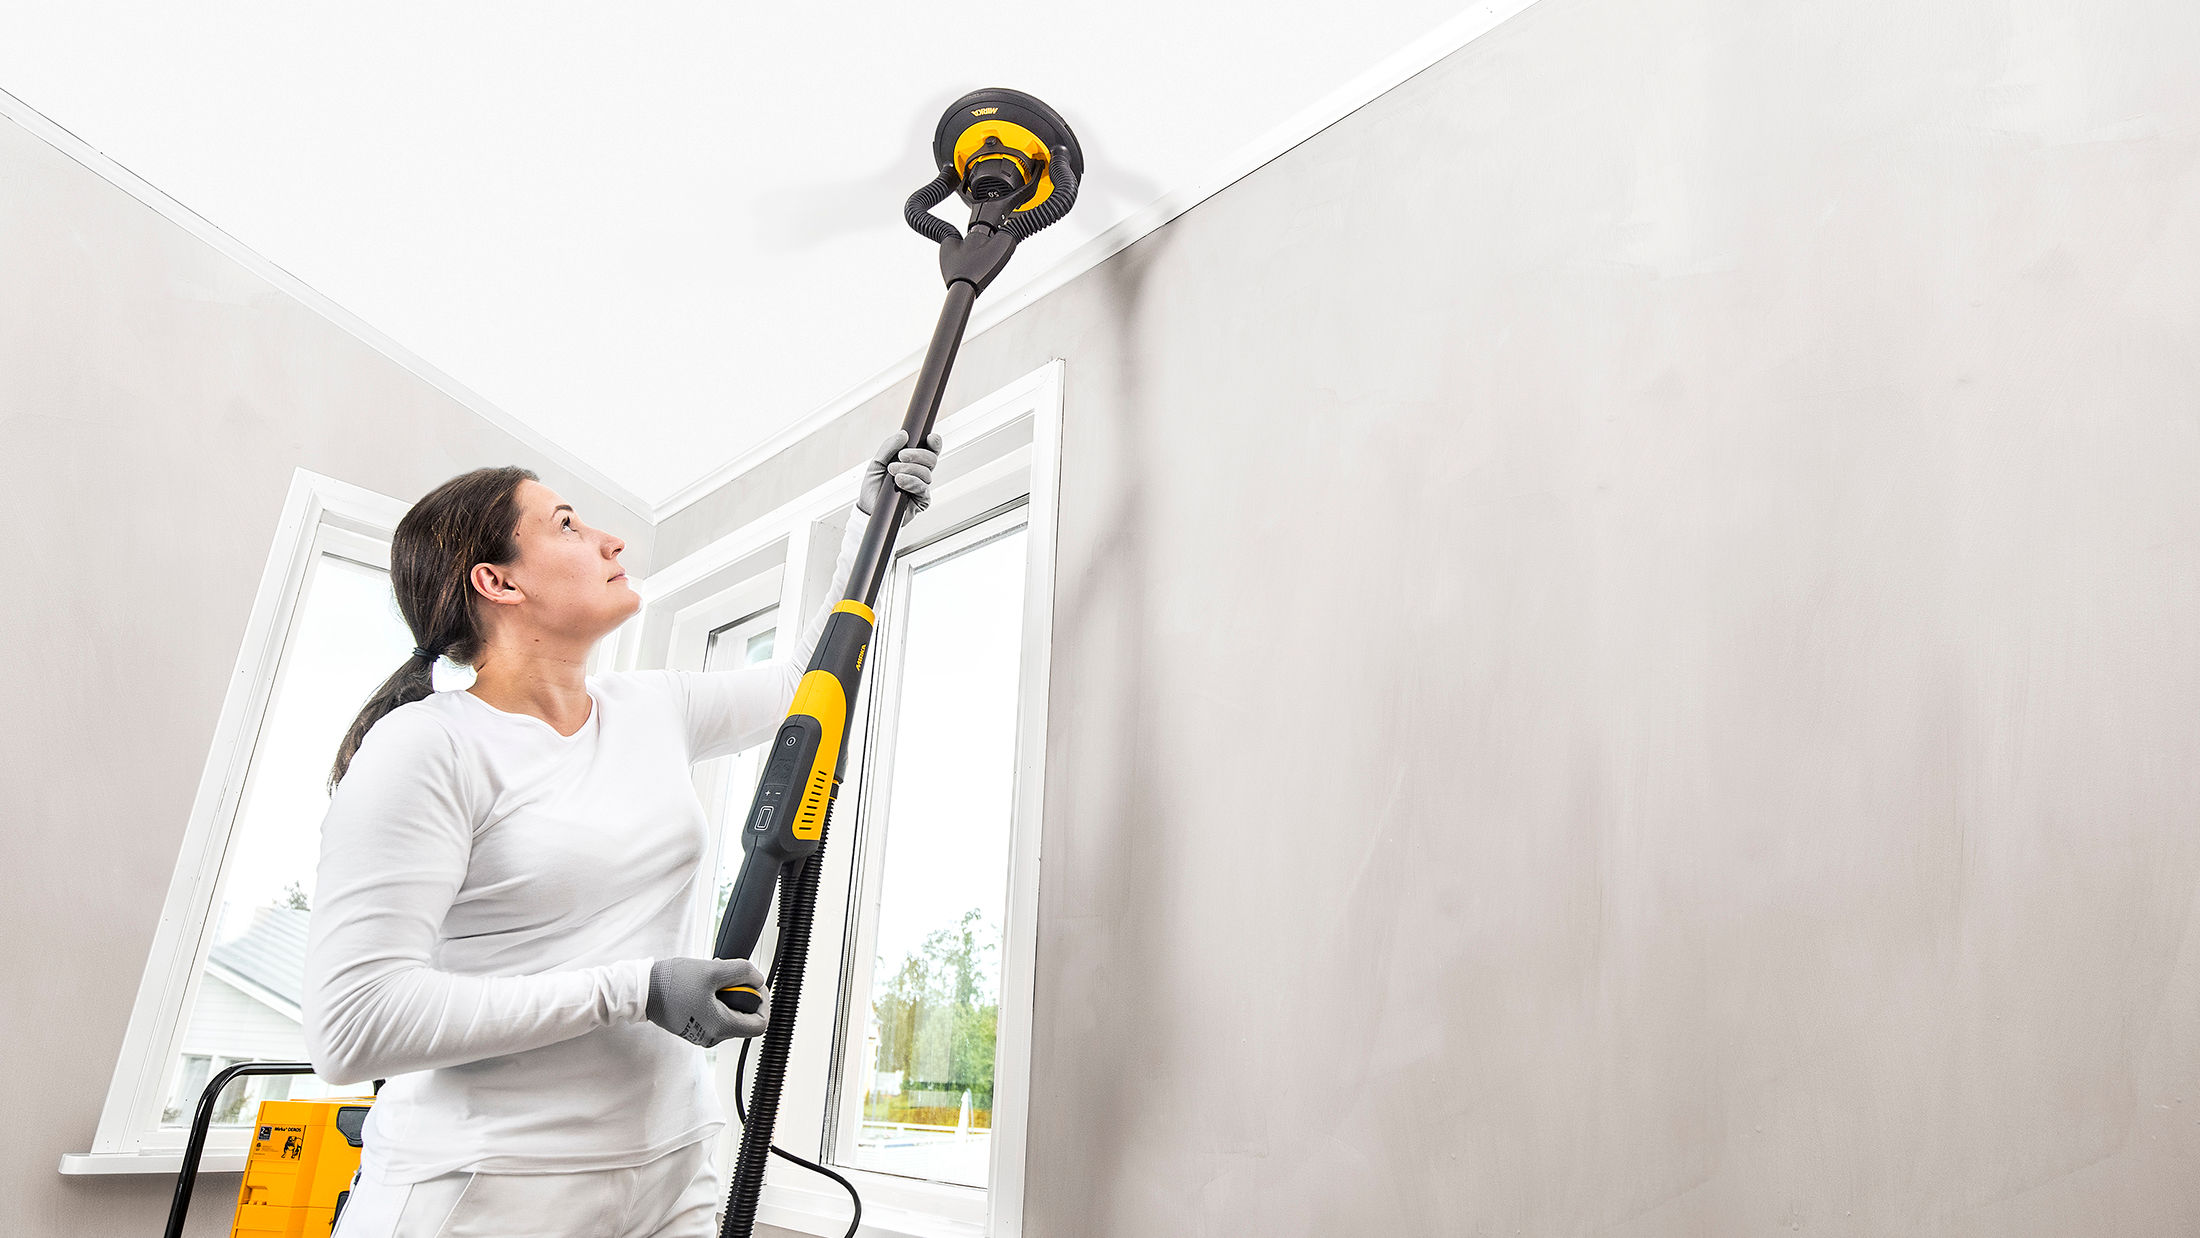
180° Flexibility. 100% Comfort.
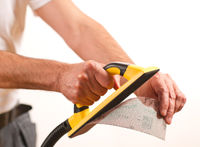
The Mirka LEROS drywall sander helps you reach the precision and smoothness you need for a job well done. Its innovative design includes a sanding head with 180 degrees of flexibility and a 5mm random orbital movement that gets you closer to corners. The ergonomic design frees you from any uncomfortable angles that can hurt your back, so you can sand comfortably for longer.
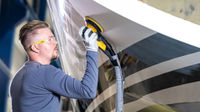
7.7 lbs. Lightweight, less fatigue, precision results
Weighing less than 7.7 pounds, the Mirka® LEROS drywall sander has a reduced impact on the back and shoulders and can be operated for hours with less fatigue. The ergonomic design eliminates working at awkward angles, so sanding is comfortable for longer periods.
The innovative sanding head with 180-degree flexibility and 5 mm random orbital movement follows the operator’s movements and gets close to corners, helping to achieve precision and smoothness with less effort.
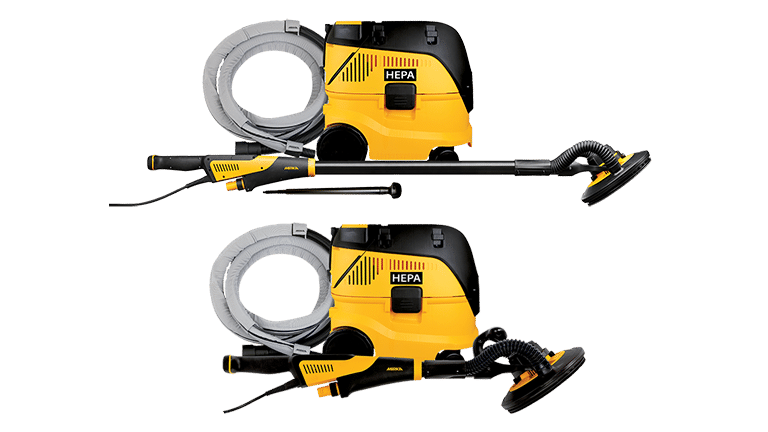
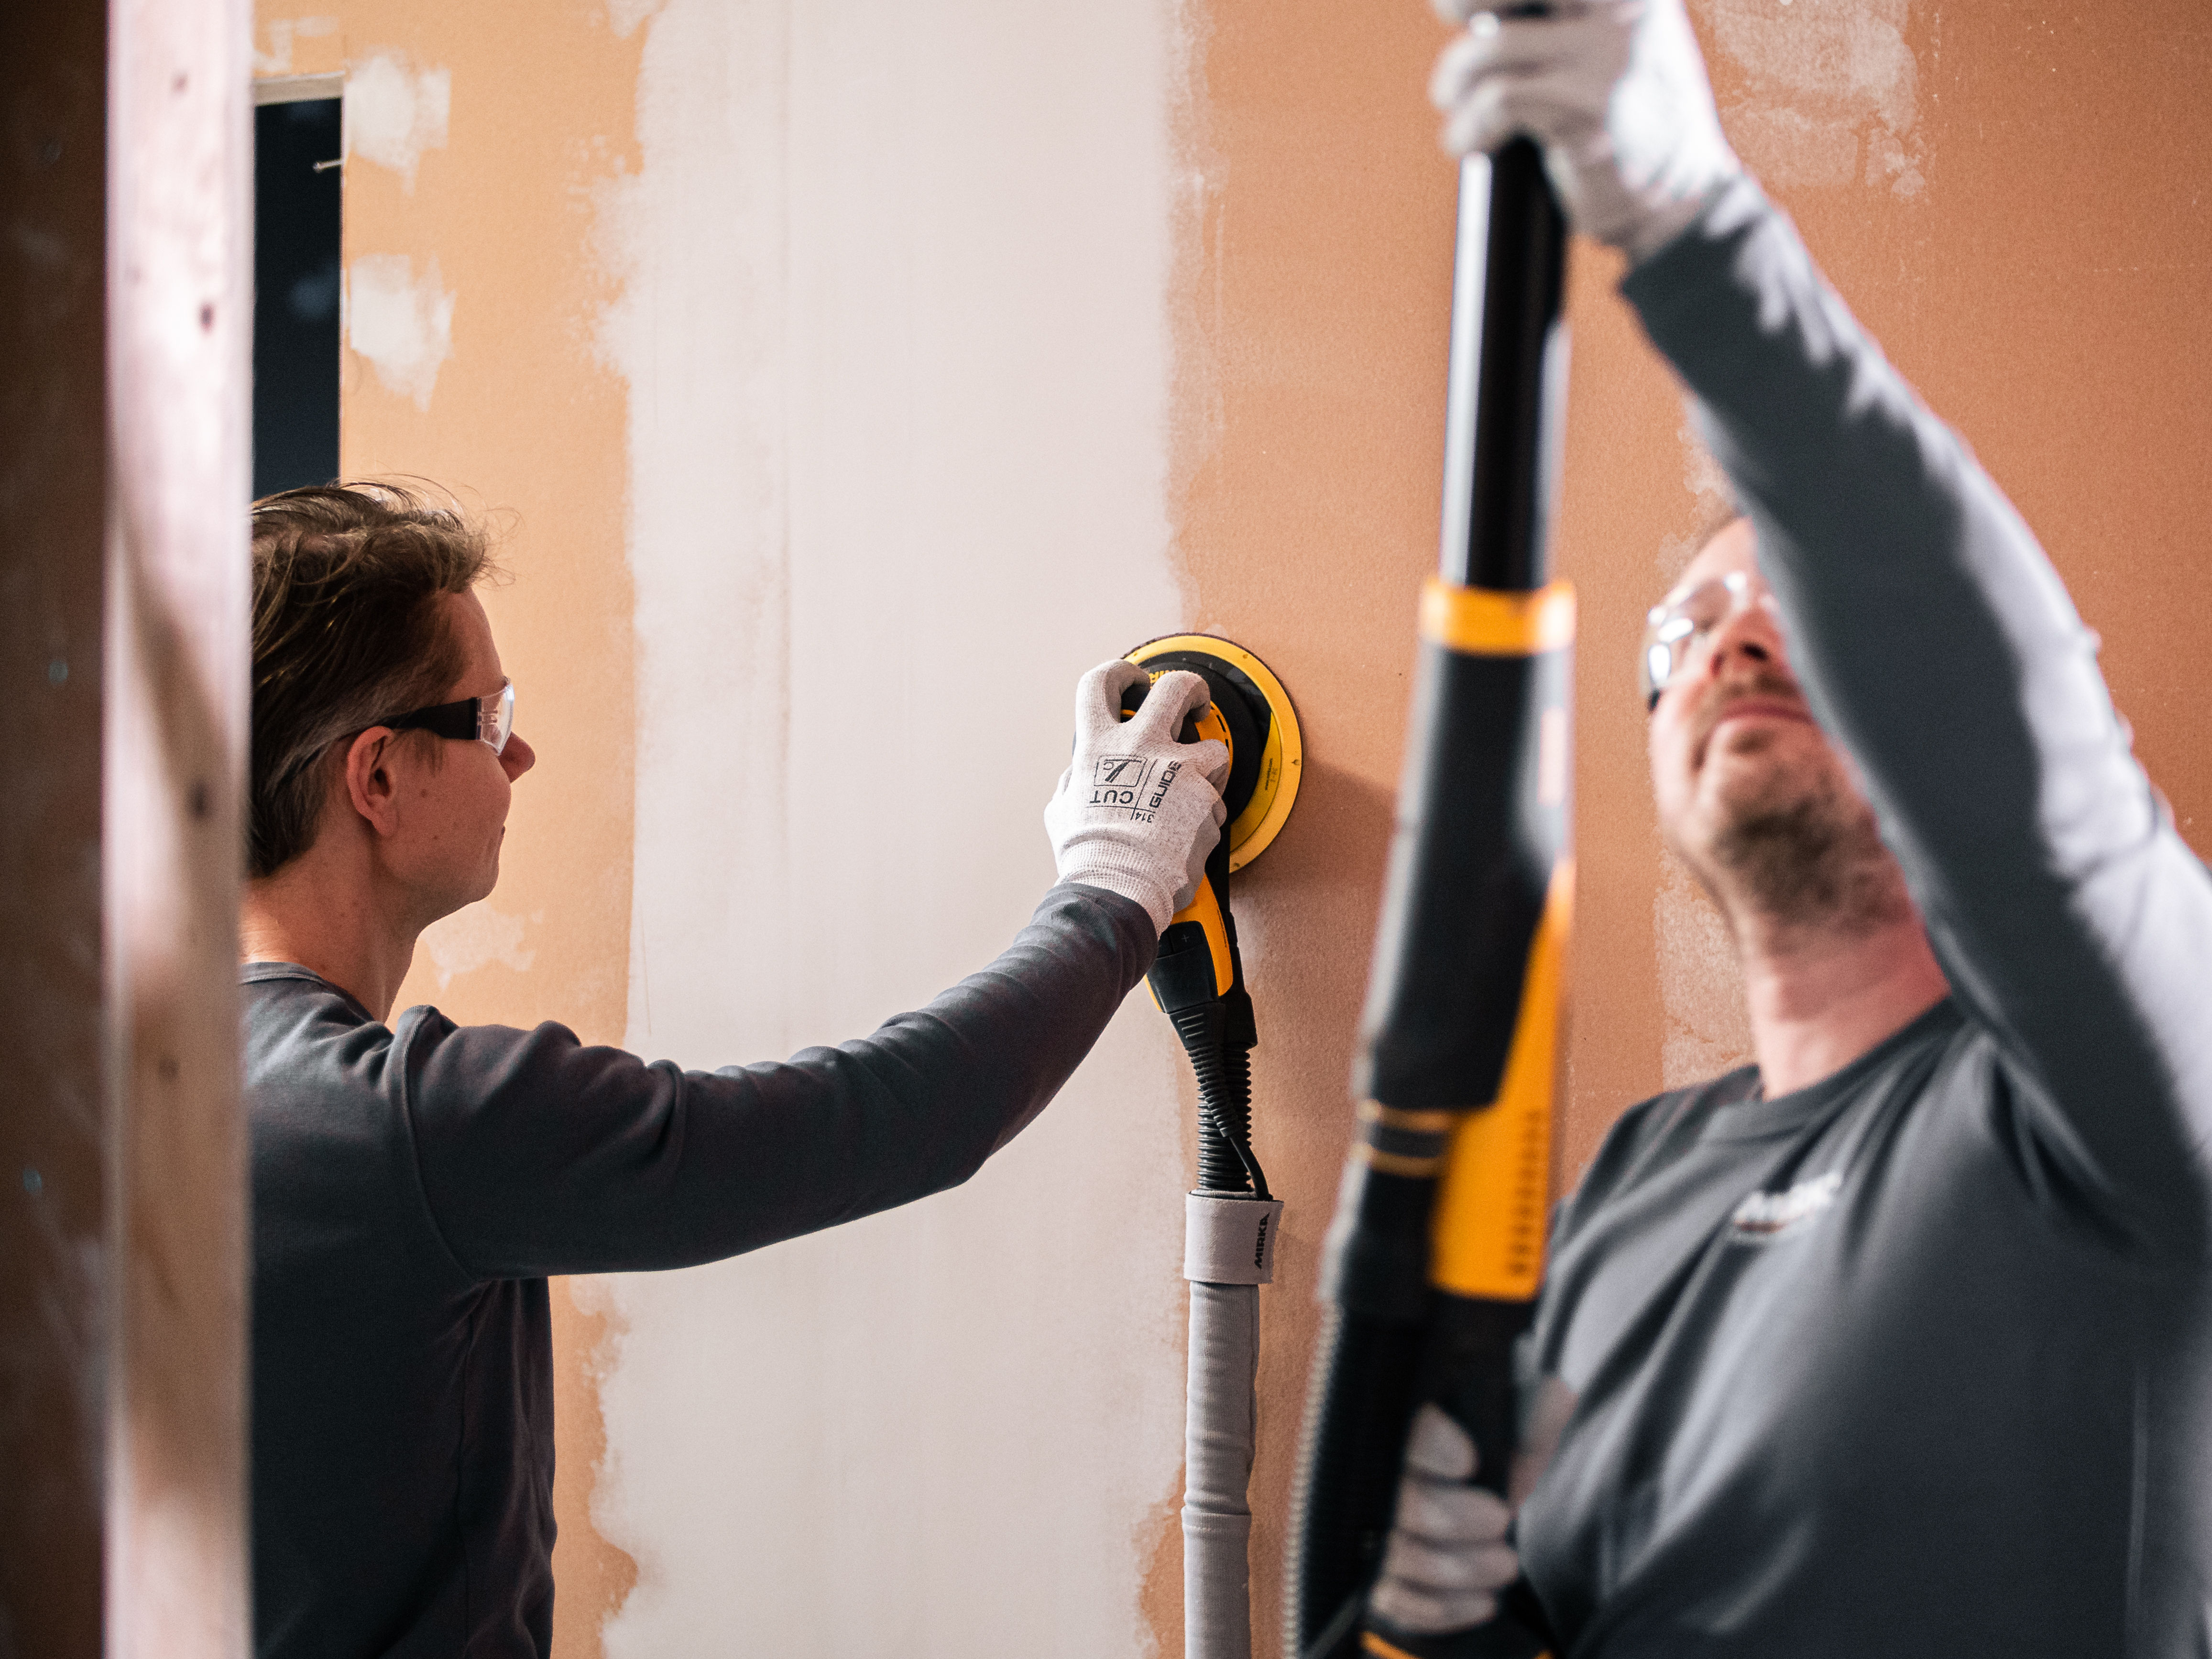
Fast, clean solution
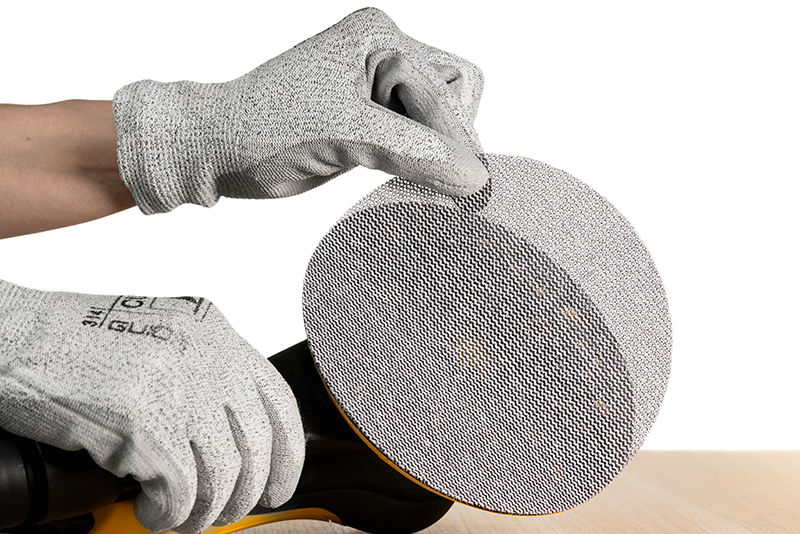
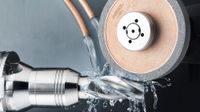
Sanding drywall has never been cleaner. Pair our dust-free net abrasives and a suitable dust extraction system with a Mirka LEROS drywall sander for a clean, healthy working environment and less time spent on prep work and cleanup.
Less dust also means less clogging of the abrasives. Reducing clogs results in less pilling to cause defects in the sanding surface. Without dust, operators see exactly what is happening at the sanding surface which can help to avoid errors like oversanding. Also, changing abrasives less often uses fewer abrasives per job.
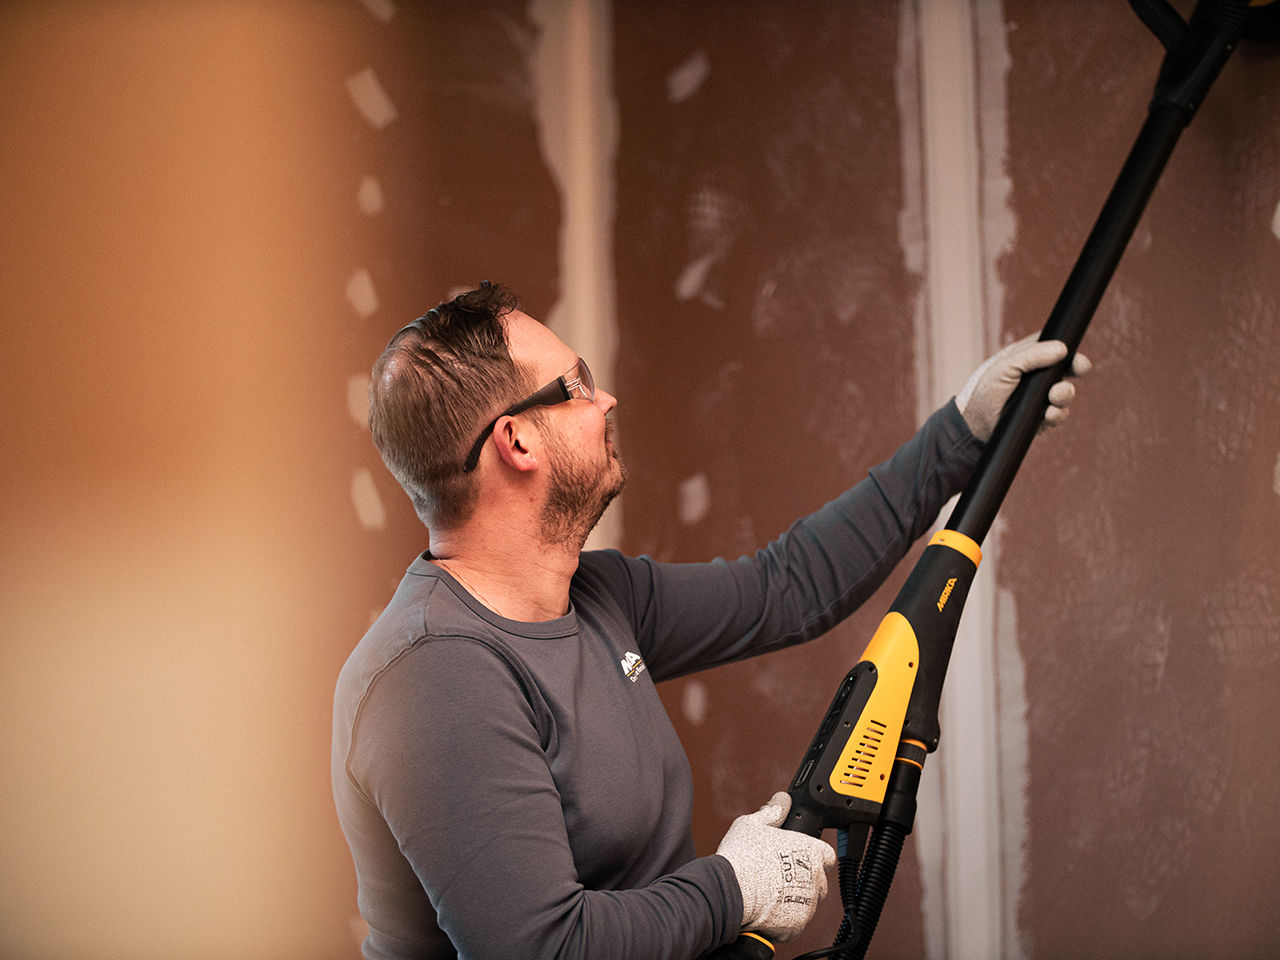
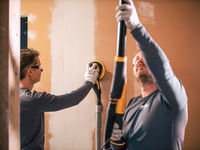
The magic of LEROS, but shorter
For those occasions that call for LEROS technology in smaller spaces, try the shorter length LEROS-S model. Its compact 35” length fits in confined spaces and its two dedicated grip points give full control when sanding large surfaces at closer range.
Red Dot: Best of the Best Award
Mirka® LEROS wall and ceiling sander received the Red Dot: Best of the Best Award 2018 for groundbreaking design. The Red Dot panel of experts awards this internationally recognized seal of quality to the best products in a category. Available in the full-size LEROS model and also in the compact LEROS-S. Read more about our LEROS family.
The power and precision of quality tools
LEROS users save time, effort, and costs, and get an unparalleled finish. Plus, Mirka tools are built to last. With proper maintenance, like changing backing pads regularly, users get the most out of Mirka sanders for years to come.
See what our clients have to say in the testimonials below.
Paint Pot Ladies, UK
Tired of feeling like a snowman when the working day is over? Try Mirka’s dust-free sanding solutions and save both time and money. Sarah Hillberg from Paint Pot Ladies told us what dust-free sanding means to her.
"It's not only great for me, but it's also great for my customers because there is no dust going into our lungs."
Decorative Painter, France
Having the right tools for the right sanding application is crucial if you want to exceed expectations in the finish, whether you work on something new or doing renovation work. For Alexandre Lardy, plasterer and decorative painter from France, choosing a dust-free solution from Mirka was an easy choice.
"One thing I’ve really liked and that struck me immediately is the dust extraction aspect.
I have the impression that I’m not sanding at all, so effective is the extraction – I get absolutely no dust."
Uneven drywall surfaces can lead to visible seams, tool marks, and poor paint adhesion. These defects increase the risk of costly rework and can delay project timelines. For construction and renovation professionals, surface quality is not just about appearance. It directly affects client satisfaction, long-term durability, and overall project efficiency. Poor preparation or incorrect sanding techniques often result in inconsistent finishes that require additional labor and materials to correct.
Drywall sanding is a critical process that helps eliminate surface imperfections and ensures a smooth, even base for finishing. Using the right tools, abrasives, and methods can significantly improve work quality while saving time and reducing waste. In this article, you will learn the essential tools, techniques, and best practices for sanding drywall like a pro.
Drywall sanding is the process of smoothing drywall surfaces after joint compound (mud) has been applied over seams, screw holes, and repairs. The goal is to create a flat, even surface ready for priming and painting.
Professionals use various sanding tools, including hand sanding blocks and power sanders, to remove ridges, bumps, and tool marks. Selecting the correct abrasive grit is essential to avoid damaging the drywall while achieving the desired surface smoothness.
Proper drywall sanding is an important step in delivering high-quality wall and ceiling finishes. Without it, joint lines, fastener locations, and patched areas can remain visible after painting, leading to customer dissatisfaction and potential rework.
Sanding ensures a smooth, even surface by eliminating tool marks, ridges, and surface irregularities left after joint compound application. This supports consistent paint coverage and adhesion, reducing the risk of future surface failures.
Industry findings confirm that increasing time and care during sanding can significantly reduce the effort and time required in later finishing stages. For example, field tests in surface finishing processes show that spending 20% more time on sanding can lower the time needed for subsequent finishing tasks by up to 30%. This approach not only improves surface quality but also enhances overall project efficiency for professionals in the construction and renovation industry.
Drywall sanding requires specialized tools to ensure speed, surface quality, and safety. For professional results in the construction and renovation industry, the following Mirka tools are recommended:
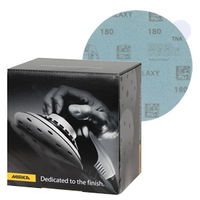
Selecting high-performance abrasives is essential for achieving a smooth finish while maintaining efficiency and safety:
To ensure operator safety and maintain an efficient workflow:
Begin by inspecting the drywall for imperfections. Check joints, screw holes, and repaired areas for uneven spots or ridges. Apply joint compound where needed and allow it to dry completely.
Before sanding, ensure the work area is clear of obstacles and well-ventilated. Protect surrounding surfaces and flooring to minimize dust exposure. Using Mirka’s dust-free sanding system during preparation helps maintain a clean workspace and reduces the risk of dust contamination. Preparing the surface correctly reduces sanding time and improves final finish quality, ensuring efficiency on job sites.
Choosing the correct grit sequence is essential for achieving a smooth finish without damaging the drywall. Start with a medium grit, such as 120 or 150, to remove ridges and high spots. Progress to a finer grit, like 180 or 220, for final smoothing.
Using Abranet® abrasives ensures consistent sanding and superior dust extraction. This reduces clogging and maintains performance across large surface areas.
Following a proper grit sequence minimizes rework and supports faster project completion, which is critical in the construction and renovation industry.
For small areas or touch-ups, hand sanding offers precision and control. Always use a sanding block or hand sanding tool to maintain even pressure. Sand in light, circular motions or follow the seam lines to prevent creating grooves.
Keep the tool flat against the surface to avoid gouging. Abranet® abrasives are recommended for hand sanding because their open mesh structure allows effective dust removal.
Proper hand sanding techniques reduce the chance of surface defects and support a clean, professional finish.
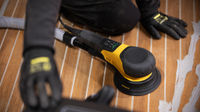
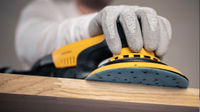
Power sanding is ideal for larger drywall areas. Use lightweight, ergonomic sanders that offer consistent movement and dust extraction. The Mirka® DEROS electric sander is designed for efficiency and operator comfort.
For walls and ceilings, the lightweight and ergonomic Mirka® LEROS or LEROS-S provides flexibility and reduces fatigue. Keep the sander moving evenly across the surface. Avoid pressing down too hard, which can damage the drywall. Consistent, even sanding speeds up the process and delivers a smooth surface ready for finishing.
Effective dust management protects workers and improves sanding performance. Mirka’s dust-free sanding systems combine net abrasives like Abranet® with high-performance dust extractors.
This system captures dust at the source, keeping the workspace cleaner and reducing airborne particles. Minimizing dust improves visibility, reduces cleanup time, and protects your health.
In addition, maintaining a clean environment helps abrasives last longer and ensures consistent sanding results throughout the project.
Professional drywall sanding may be the best choice in certain situations where do-it-yourself (DIY) work could increase risks or lower quality. Consider hiring professionals when:
By engaging experienced drywall sanding professionals, construction and renovation firms can reduce project risks, maintain high standards, and meet client expectations efficiently.
If you’re handling drywall sanding yourself, using professional tools like Mirka’s dust-free sanding systems, Abranet® abrasives, and ergonomic sanders such as LEROS and DEROS can help you work faster, achieve smooth results, and reduce fatigue.
Drywall sanding is an essential step to achieve smooth, durable wall and ceiling finishes. Proper sanding techniques help remove imperfections, improve paint adhesion, and reduce the risk of surface defects. By selecting the right tools, using the correct grit sequence, and maintaining effective dust control, construction and renovation teams can deliver consistent, high-quality results. Whether handling small repairs or large projects, careful surface preparation and sanding contribute to overall efficiency, client satisfaction, and long-term durability of the finished space.
Drywall finishing can be time-consuming and costly when not done correctly. Construction and renovation professionals often face issues such as uneven surfaces, visible seams, cracking, and excessive sanding work.
These problems not only delay project timelines but also increase labor costs and lead to client dissatisfaction. Achieving a smooth, durable finish requires the right techniques and tools, yet many teams struggle to maintain consistency across projects.
To address these challenges, understanding each step of the drywall finishing process is essential. Learning how to properly prepare surfaces, apply joint compound, tape seams, and sand efficiently can improve both the quality and speed of work.
Drywall finishing is the process of covering the seams, joints, and fasteners of installed drywall sheets. It creates a smooth, uniform surface ready for painting or further treatment.
The process involves applying joint tape and multiple coats of joint compound, followed by sanding to achieve a seamless appearance.
For the construction and renovation industry, drywall finishing is a standard practice that affects both the appearance and durability of interior surfaces. A properly finished drywall surface hides imperfections, strengthens joints, and provides a solid base for decorative finishes. Each step, from taping to final sanding, contributes to the surface’s quality and performance.
In the construction and renovation industry, proper drywall finishing is important for delivering professional results. It directly impacts the visual appeal, durability, and safety of interior spaces.
A smooth, well-finished drywall surface enhances the appearance of walls and ceilings. It eliminates visible seams, fasteners, and defects. This not only improves aesthetics but also creates a reliable surface for paint, wallpaper, or other finishes.
Poor drywall finishing can lead to uneven textures, cracks, and costly repairs, which affect both project timelines and client satisfaction.
Proper finishing also contributes to the long-term performance of the structure. Well-sealed joints reduce the risk of cracking due to building movement or environmental changes. In commercial and residential spaces, this reduces maintenance needs and extends the life of the interior surfaces.
For professionals in construction and renovation, quality drywall finishing reflects workmanship standards and builds trust with clients. It also helps meet building codes and industry best practices, supporting the overall success of the project.
Begin by inspecting the drywall panels for any loose fasteners, rough edges, or damaged corners. Tighten any screws that are not flush with the surface and recess any that stick out. Damaged sections should be repaired or replaced before continuing.
It is important to ensure all panels are securely attached and that gaps between sheets do not exceed 1/8 inch. This prevents future movement or cracking in the finished surface.
Next, clean the entire surface to remove dust, debris, or grease. Any contaminants can reduce the adhesion of the joint compound. Wiping the surface with a damp cloth or vacuuming with a brush attachment is often the most effective method.
Pay close attention to corners and seams where debris often collects. Working in a well-lit area is essential because proper lighting will help reveal imperfections that could be missed, especially at joints and corners.
Finally, lightly sand any rough spots or high edges using a sanding block or appropriate tool. This will create a smooth, even surface that allows the joint compound to bond effectively and reduces the amount of sanding required later in the process.
Start by applying a thin layer of joint compound over each seam using a drywall knife. This first layer, known as the bedding coat, helps secure the tape to the surface. Immediately after applying the bedding coat, press the joint tape firmly into the wet compound. For inside corners, crease the tape along its center before positioning it to ensure a snug, precise fit.
Using the drywall knife, smooth the tape into the compound. Apply firm, even pressure to embed the tape fully while removing any excess compound. It is important to avoid trapping air beneath the tape, as air bubbles can lead to weak spots or future cracking.
If a bubble forms, gently lift that section of tape and reapply it. The tape should lie flat against the drywall with no wrinkles or folds, which can cause visible defects later.
When working in inside corners or confined areas, use a narrower drywall knife. This allows better control and reduces the risk of damaging the tape or applying too much compound.
Taking the time to apply the tape accurately and smoothly will reduce the need for corrections in later steps and improve the final appearance.
Once the tape is in place, apply the first full coat of joint compound over the taped seams. Use a wider drywall knife, typically between 8 and 10 inches, to spread the compound smoothly and evenly.
Extend the compound slightly beyond the tape’s edges to create a gentle, gradual transition between the seam and the surrounding drywall. This minimizes visible lines once the surface is painted or finished.
Apply even pressure as you work to feather the edges of the compound. Pressing harder at the outer edges and lighter in the center helps prevent ridges and reduces the amount of sanding required after drying.
Keep the layer thin to avoid cracking or shrinking as the compound dries. Smooth, continuous strokes are essential for maintaining consistent thickness and reducing knife marks.
Allow the compound to dry completely before moving to the next step. Drying times vary based on the type of compound used and the environmental conditions at the job site, such as humidity and temperature.
Rushing this step can lead to poor adhesion or surface defects that will affect the durability and appearance of the final finish. Using proper technique and allowing adequate drying time ensures a smooth, professional result that will hold up over time.
Once the first coat of joint compound has dried completely, sanding is necessary to remove ridges and create an even surface. Begin by visually inspecting the seams and corners.
Look for any high spots or tool marks. Use a hand sander or sanding block to smooth small areas. For larger surfaces or higher efficiency, professional sanding tools are recommended.
For sanding large areas such as walls and ceilings, use the Mirka® LEROS Electric Sander. It features a flexible 180-degree sanding head and ergonomic design, making it ideal for extended use with minimal fatigue. Its compatibility with Mirka’s Dust-Free System and random orbital movement ensures a clean, even surface while reducing airborne dust.
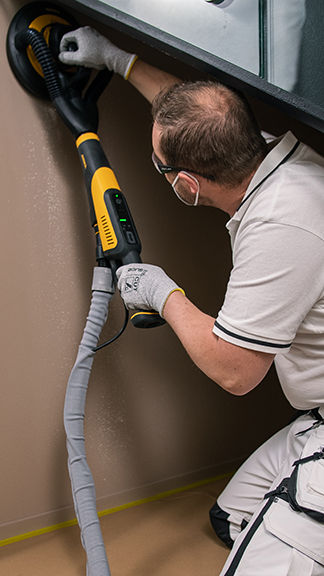
In small or specific areas, the Mirka® DEROS electric sander offers compact power with a brushless motor and low vibration. It provides smooth, controlled sanding where larger tools may not fit. When paired with Abranet® abrasives and a dust extractor, DEROS supports a cleaner workspace and consistent surface results.
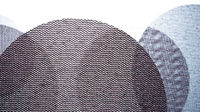
Abranet® is a net-structured abrasive made with premium aluminum oxide grains and thousands of holes. This design improves dust extraction, reduces clogging, and maintains high sanding performance across all coats.
Work evenly across all seams and corners. Apply light pressure to avoid damaging the drywall surface. Proper sanding at this stage reduces the effort needed for subsequent coats and improves the final finish quality.
After sanding the first coat, apply the second coat of joint compound. Use a wider drywall knife, typically 10 to 12 inches, to spread the compound further beyond the edges of the first coat. This widens the tapered area and helps create a seamless transition between the joint and the drywall surface. Apply the compound smoothly and feather the edges to minimize ridges.
Allow the second coat to dry completely. For sanding larger surfaces such as walls and ceilings, use the Mirka® LEROS electric sander. It provides even pressure and ergonomic handling for consistent results.
In tighter spaces like bathrooms or corners, the Mirka® DEROS electric sander offers compact power and precision. Both tools are compatible with Mirka’s Dust-Free System, which reduces airborne dust and cleanup time.
Use Abranet® abrasives, designed with an open mesh that prevents clogging and improves extraction. This keeps the surface clean and ensures fast, efficient sanding without compromising finish quality.
The final coat should be thin and cover a wider area than the second coat. Use a drywall knife that is 12 inches or wider. Apply the joint compound evenly and feather the edges carefully. The goal is to blend the joints completely into the drywall surface so that no seams are visible after painting.
Keep the layer thin to prevent shrinkage or cracking during drying. Smooth, continuous strokes will reduce tool marks and limit the amount of sanding required after drying.
Ensure that all corners and seams are fully covered and that transitions between coated areas and bare drywall are as seamless as possible. A well-applied final coat will minimize final sanding effort and improve the overall surface appearance.
After the final coat has dried completely, perform a detailed surface inspection. Look for tool marks, ridges, or any remaining imperfections. Proper lighting will help detect flaws that might not be visible under normal light.
For final sanding, use a Mirka® LEROS electric wall sander combined with Abranet® abrasives and a Mirka dust extractor. The LEROS is designed for large wall and ceiling areas. It features a flexible sanding head and dual grip points for full control. Its lightweight and ergonomic build reduces operator fatigue during extended use.
Abranet® abrasives allow even sanding without clogging, and the dust extractor keeps the workspace clean. Together, they ensure a consistent finish and a healthier work environment.
Sand lightly to smooth the surface without cutting through joint compound layers. Once sanding is complete, clean the area to remove any remaining dust. This final step prepares the drywall for painting or finishing and ensures a professional result.
One frequent mistake is failing to properly prepare the drywall surface before applying joint compound. Surfaces must be clean, dry, and free from dust or debris.
Any loose fasteners should be tightened, and rough edges should be sanded smooth. Skipping this preparation can lead to poor adhesion and visible defects after finishing.
Applying too much joint compound is another common error. Excess compound increases drying time and can lead to cracking or shrinking. It also requires more sanding, which adds time and effort to the project. Thin, even coats reduce these risks and improve finish quality.
Inadequate sanding between coats often results in uneven surfaces and visible seams. Each coat should be fully dry and sanded smooth before applying the next layer. Rushing this step or using improper sanding techniques can cause ridges, tool marks, or air bubbles.
Trapping air beneath the joint tape is another issue. Air bubbles create weak spots that can crack or peel over time. Properly embedding the tape into a fresh layer of joint compound prevents this problem.
Lastly, ignoring dust control creates an unhealthy work environment and increases cleanup time. Using tools designed for dust extraction can improve safety and efficiency. In professional settings, dust-free sanding systems are essential for maintaining air quality and reducing cleanup efforts.
Proper drywall finishing creates a smooth surface, hides seams and fasteners, and prepares walls and ceilings for paint or other finishes. It improves the appearance, strength, and durability of interior surfaces.
Each step, from preparation to final sanding, must be completed with care and the right tools. A well-finished drywall surface reduces future maintenance and meets client expectations. It also reflects the quality and professionalism of the contractor or company.
Have questions or want more information?
Please contact us and we will be in touch.