


2+1 years
Register Your Tool
All Mirka power tools have a standard two-year warranty. Get an additional 1 year of warranty free of charge by registering your tool within 30 days of purchase.
Keep your tools in excellent shape on myMirka where you can register, manage and order repair for your tools.
Replenish your stock, access marketing materials, view sales guides and read about upcoming product launches.
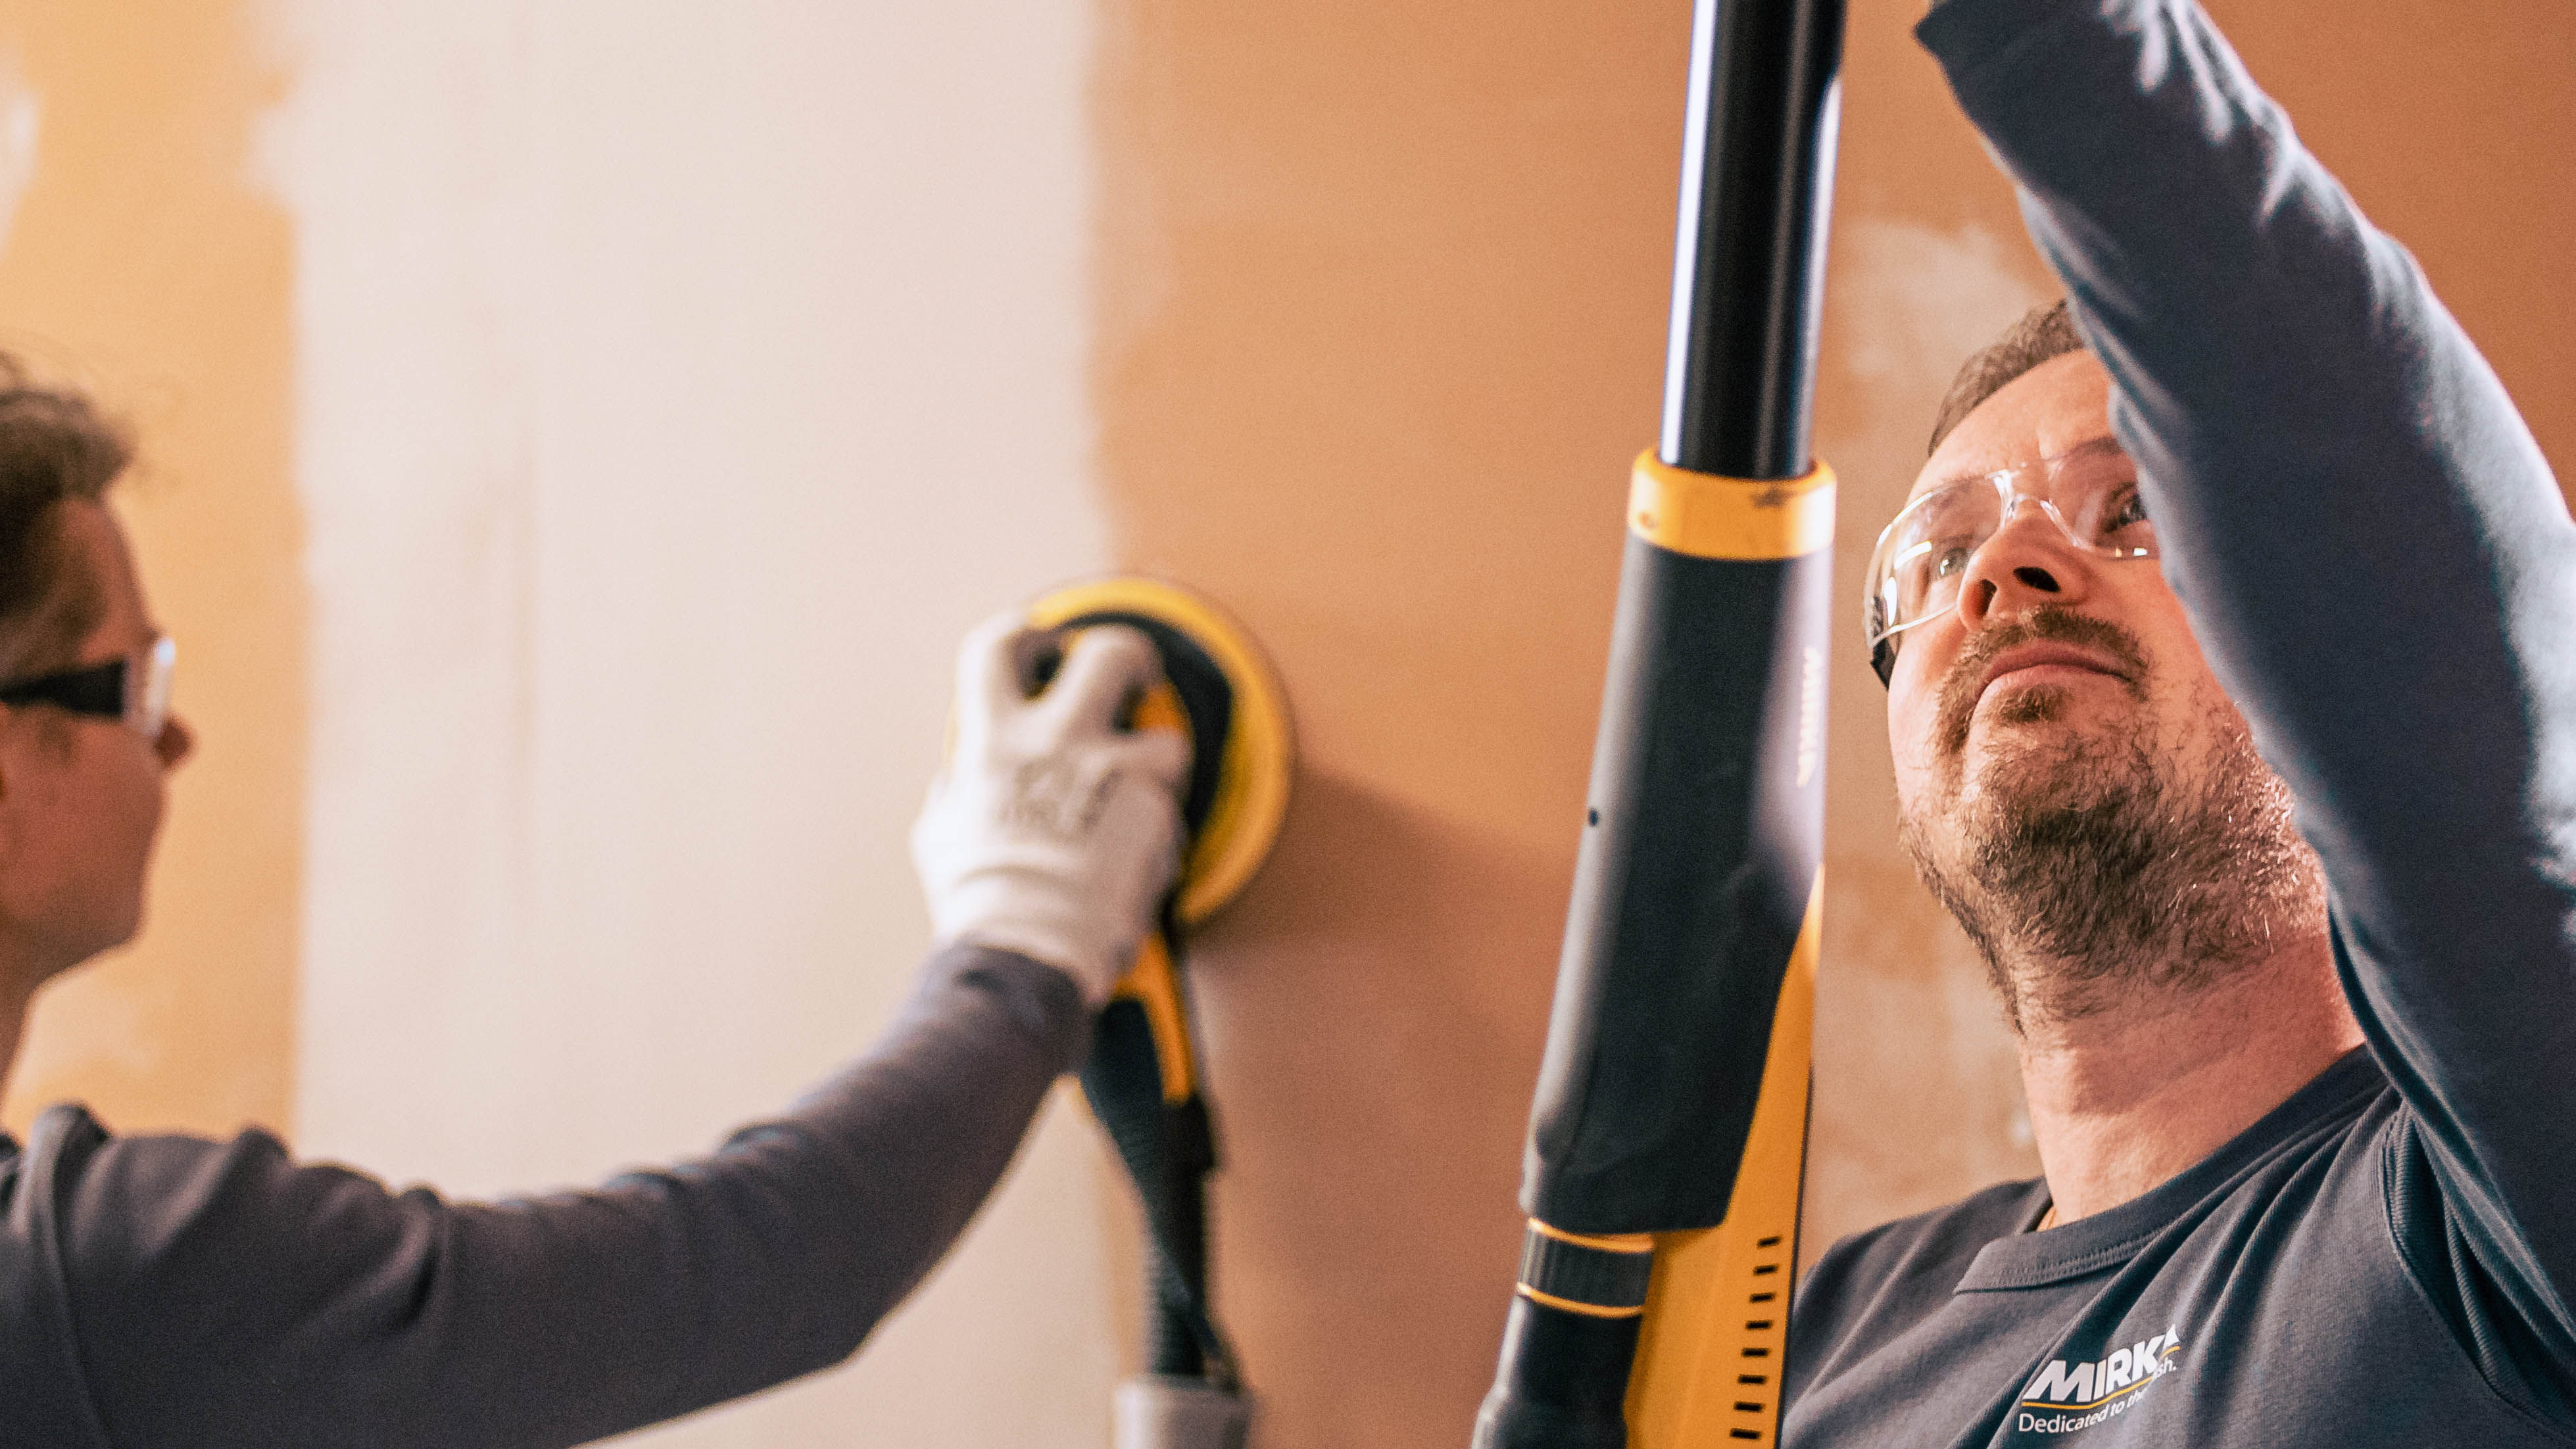
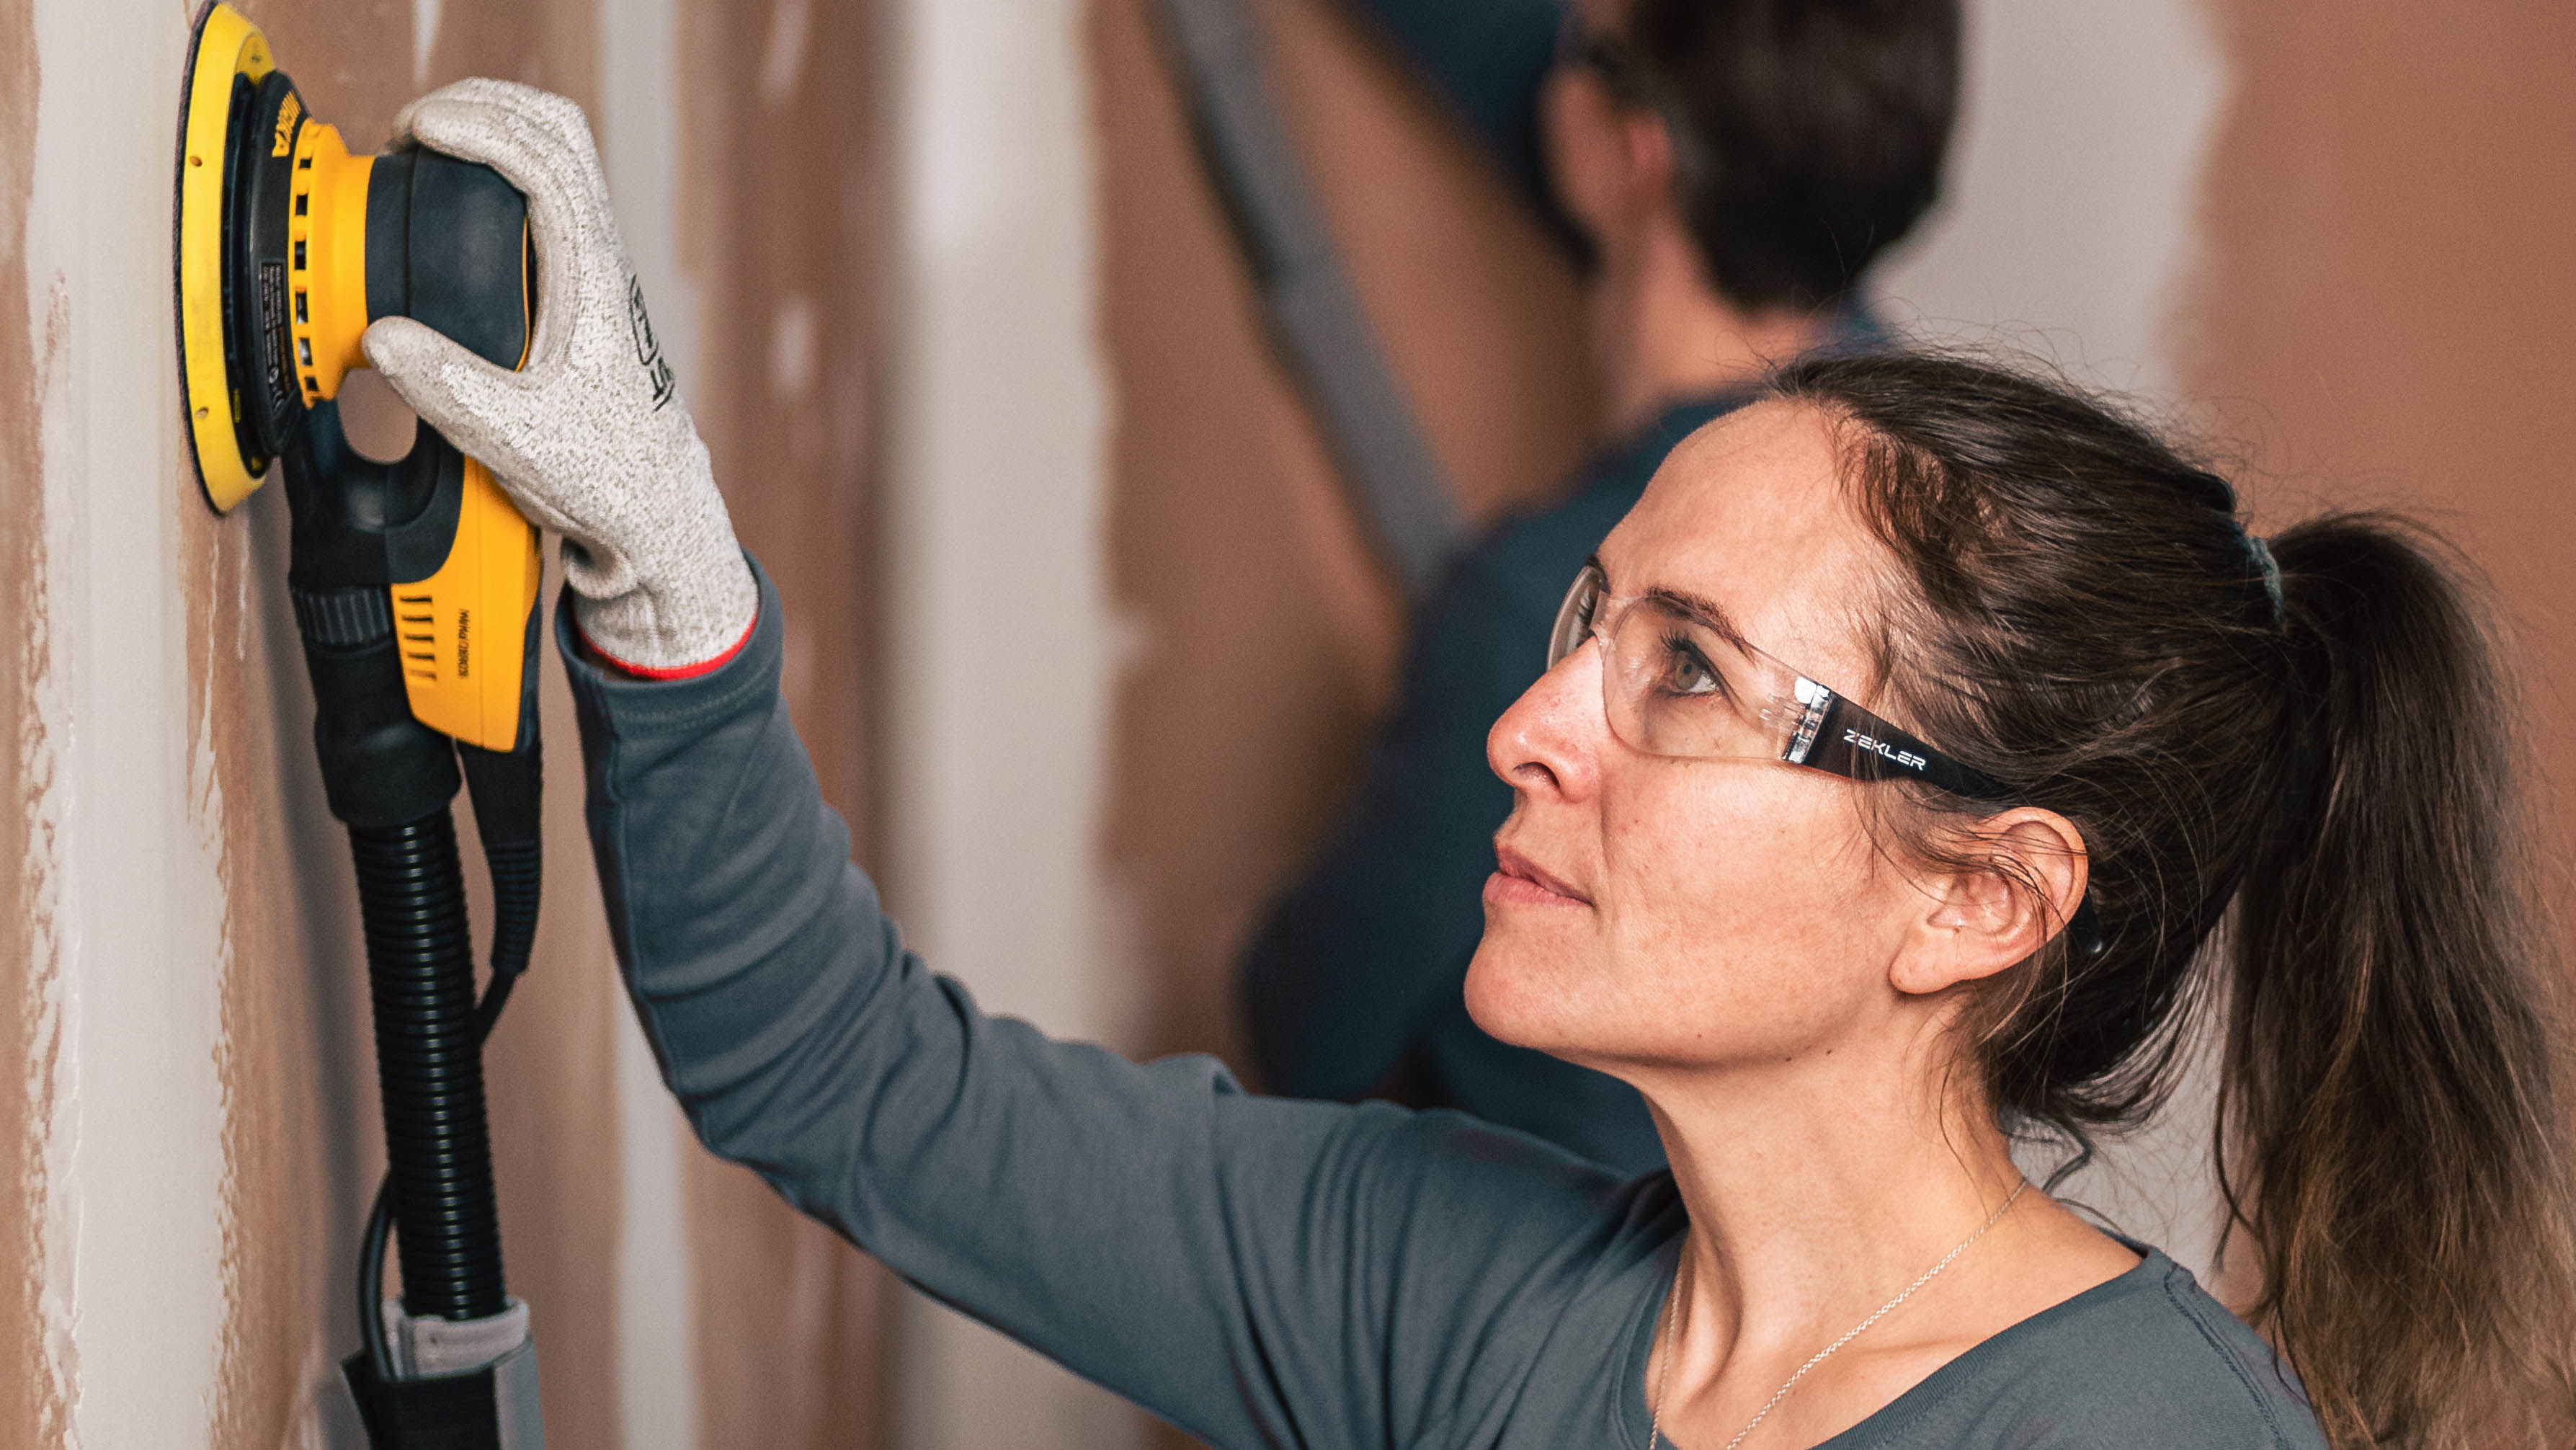
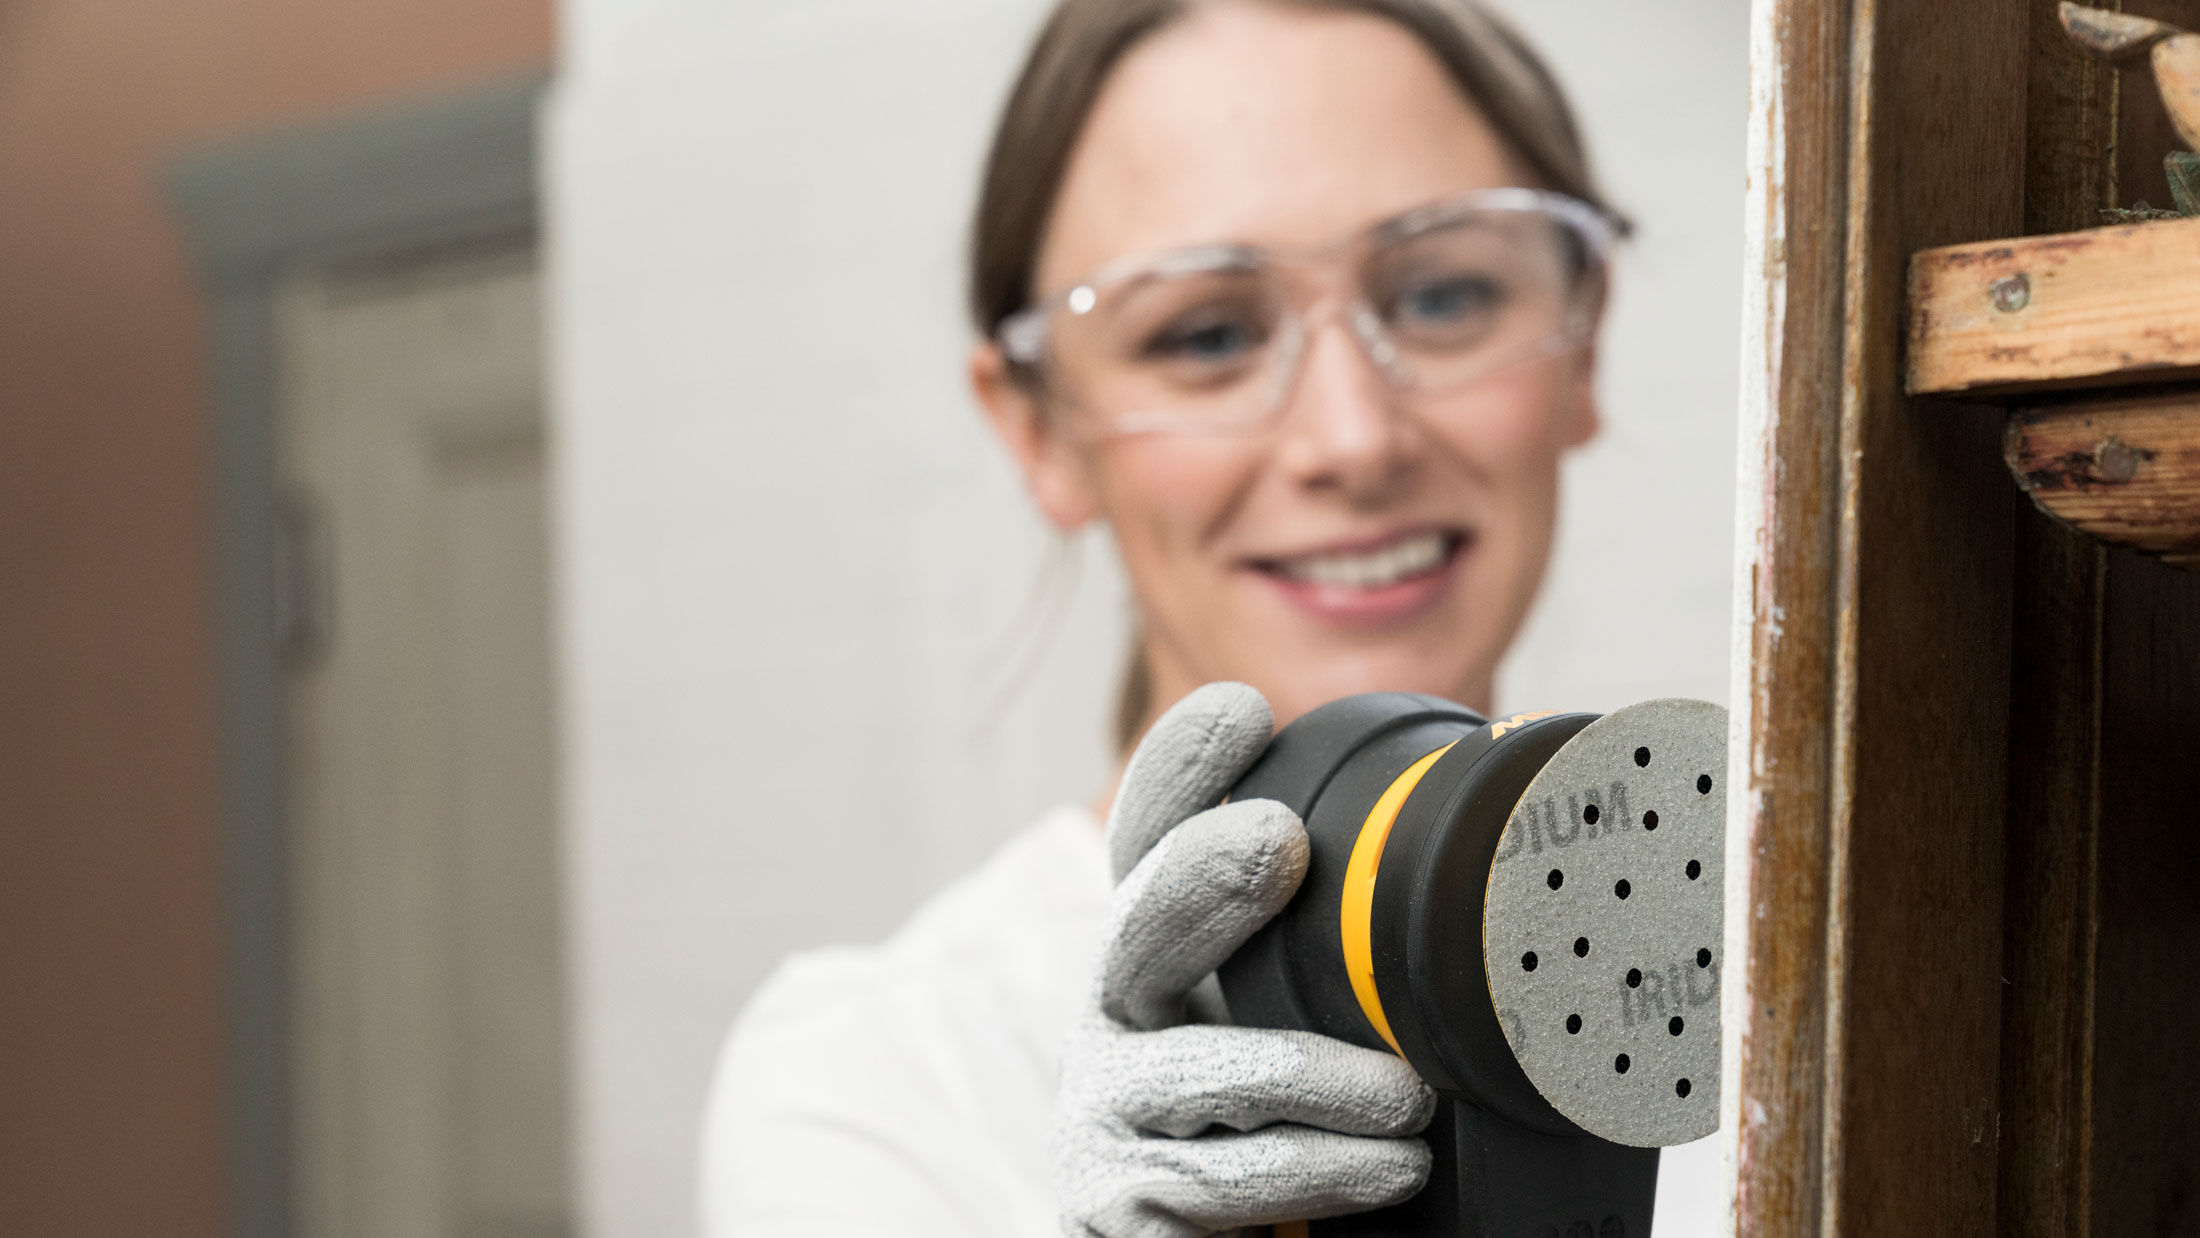
The better you prepare the plastered walls before painting or wallpapering, the better the endresult. Reaching for a perfect sanding result can be time-consuming and uncomfortable, but it doesn’t have to. You don’t need to compromise the perfect sanding result if you choose the best solutions for the job at hand.
Inhaling dust is dangerous for your health. This is why we at Mirka take removing dust seriously. We know that time is money, and with Mirka dust-free solutions you can invest your time on the actual work instead of cleaning up.
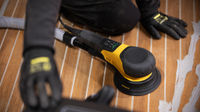
Sanding walls after plastering can be hard on your back and shoulders. With Mirka award-winning tools you can finish your job and begin a new one with ease and comfort.
When you want to protect your health and move to the next project faster, Mirka dustless drywall sanding solutions are the answer.
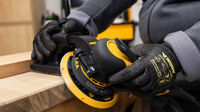
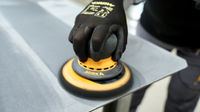
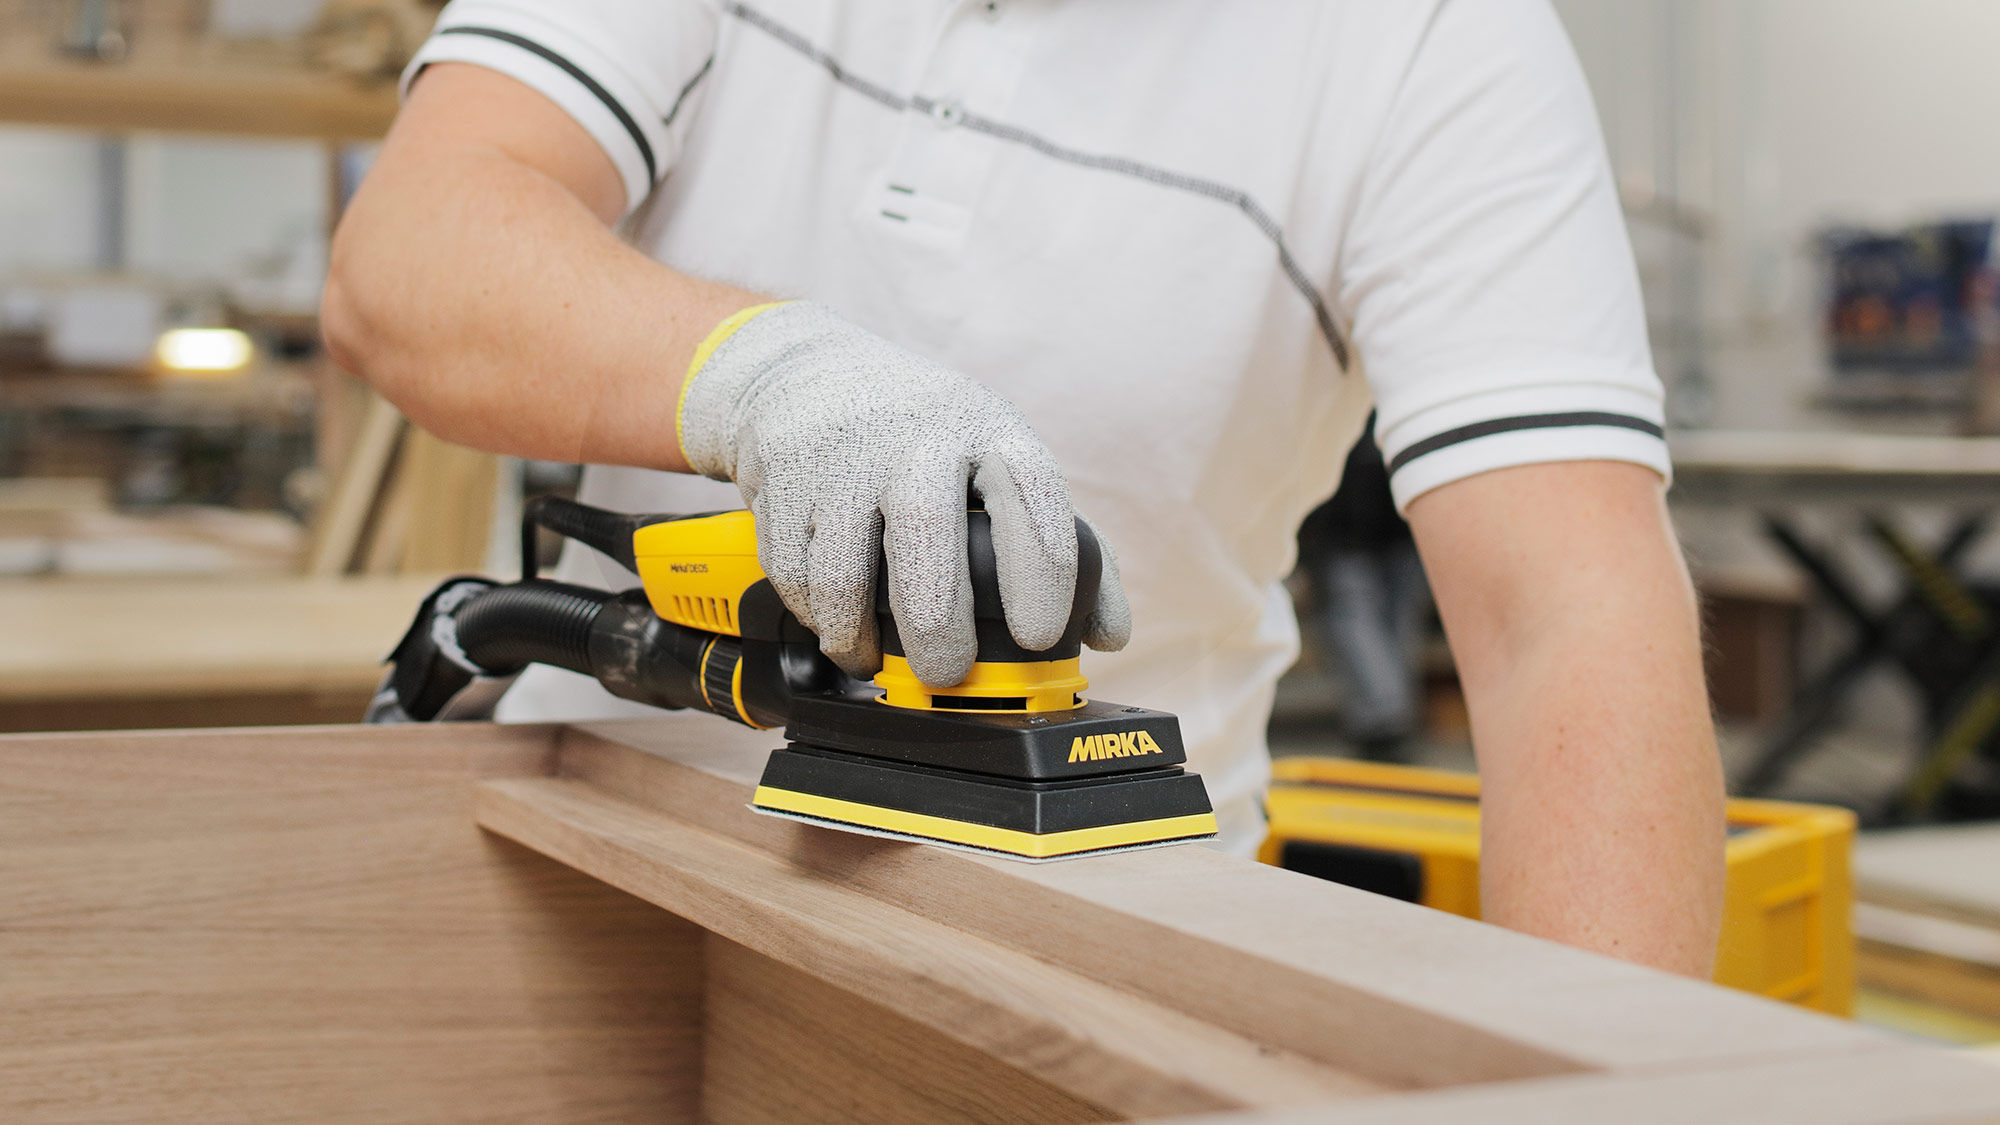
DEROS®, LEROS® and DEOS®
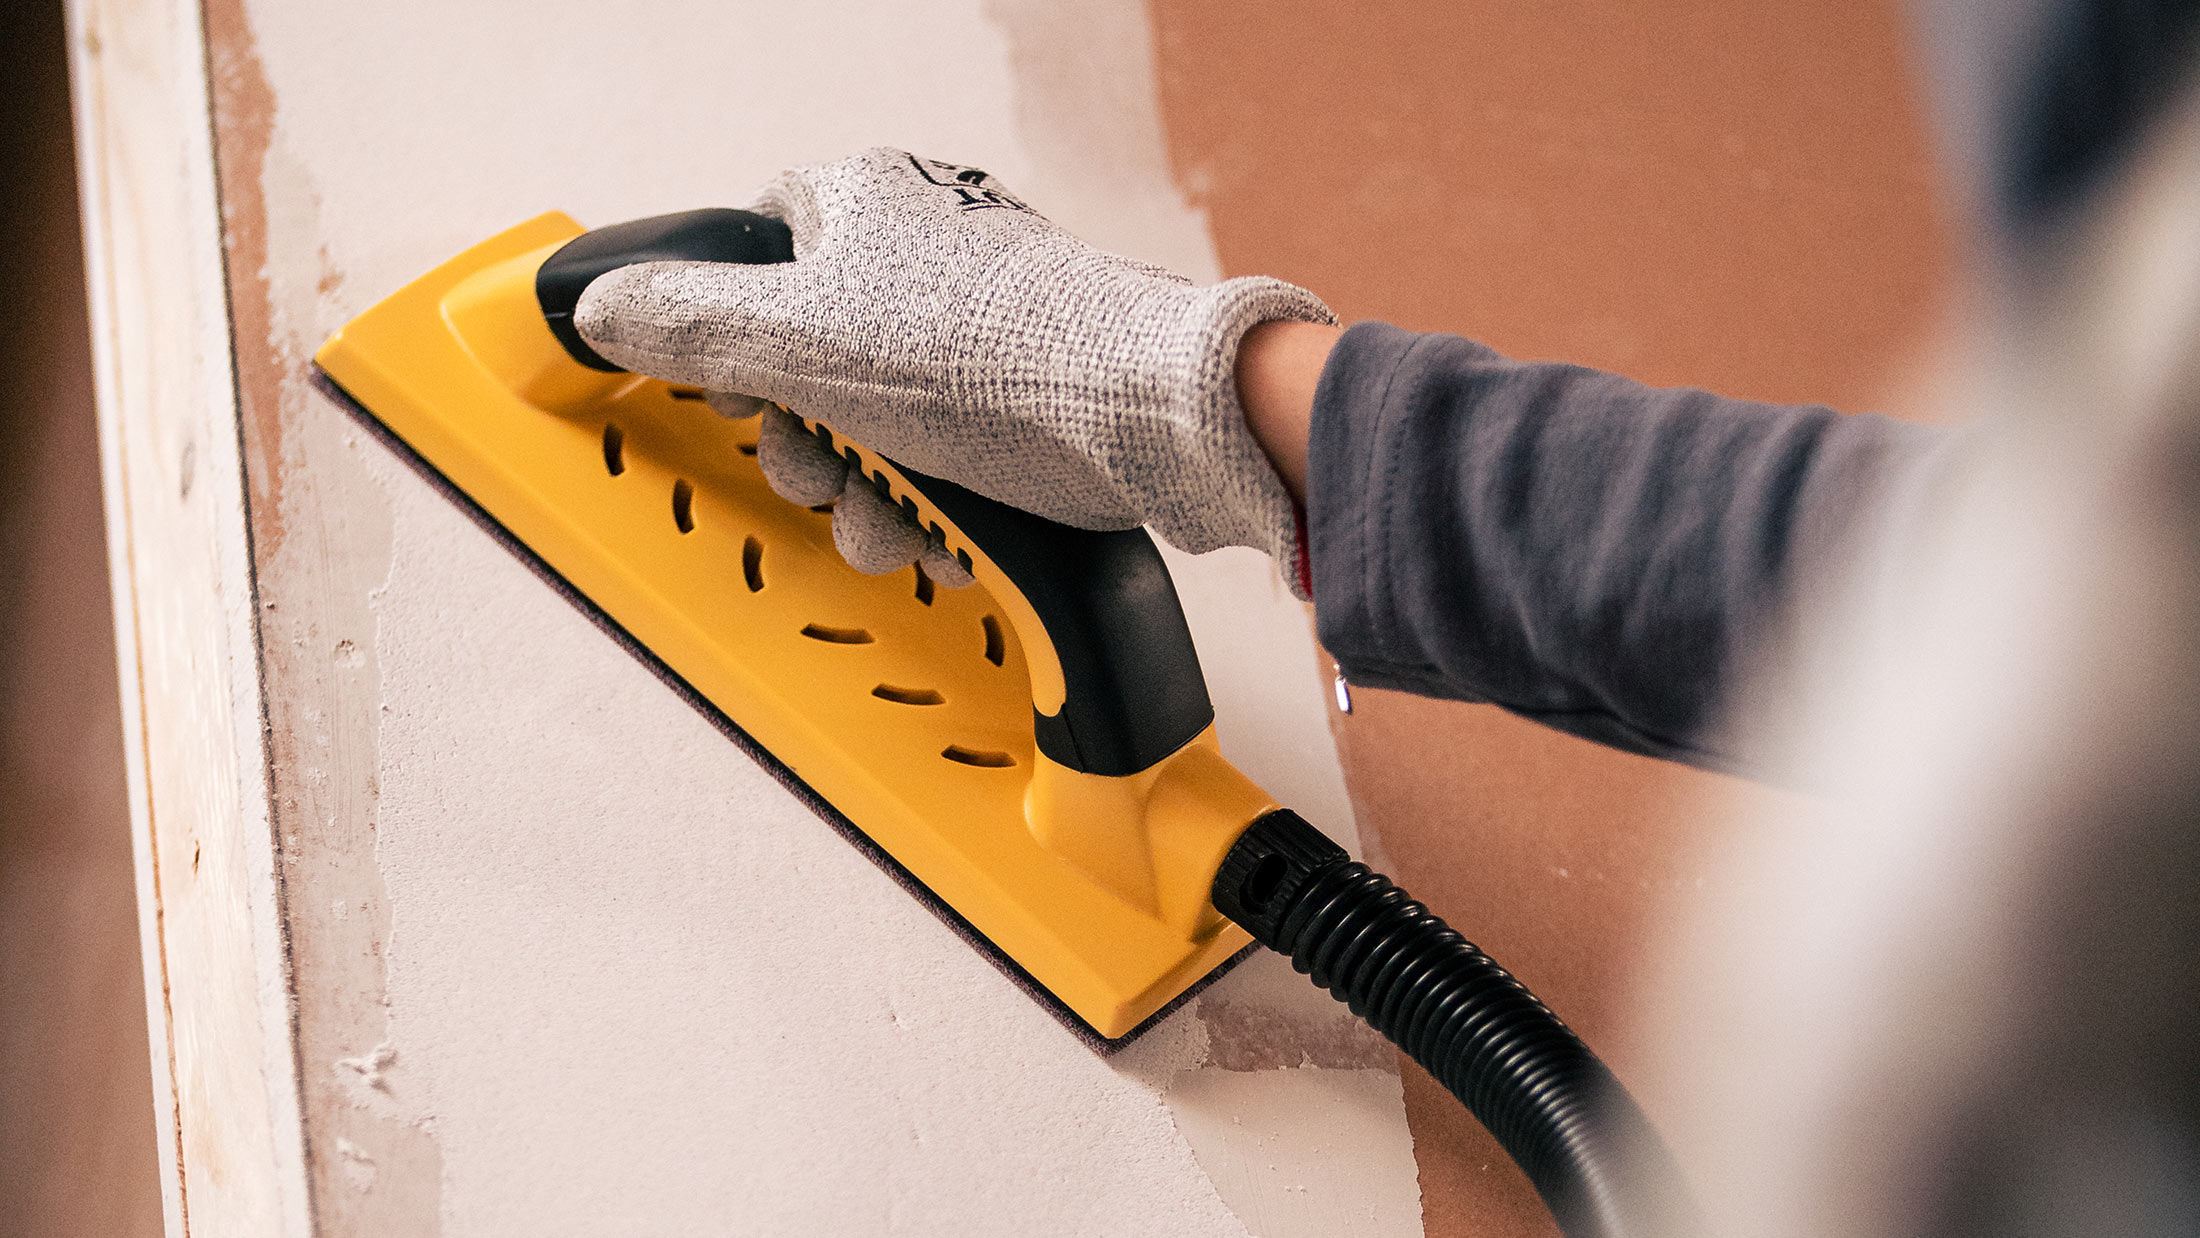
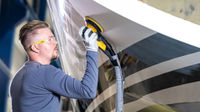
For sanding partial walls, the DEROS orbital sander is your perfect choice. For larger surfaces and ceilings, we would recommend the LEROS 950CV drywall sander – and if you want to reach closer, LEROS-S 950CV is a shorter version of the iconic LEROS, a perfect machine for smaller rooms.
For corners and edges, DEOS 81 × 133 as well as DEOS Delta can help you reach even the most difficult spots. In addition, Mirka® Handy hand sanding kit is a useful and ergonomic choice when there is no electricity available.
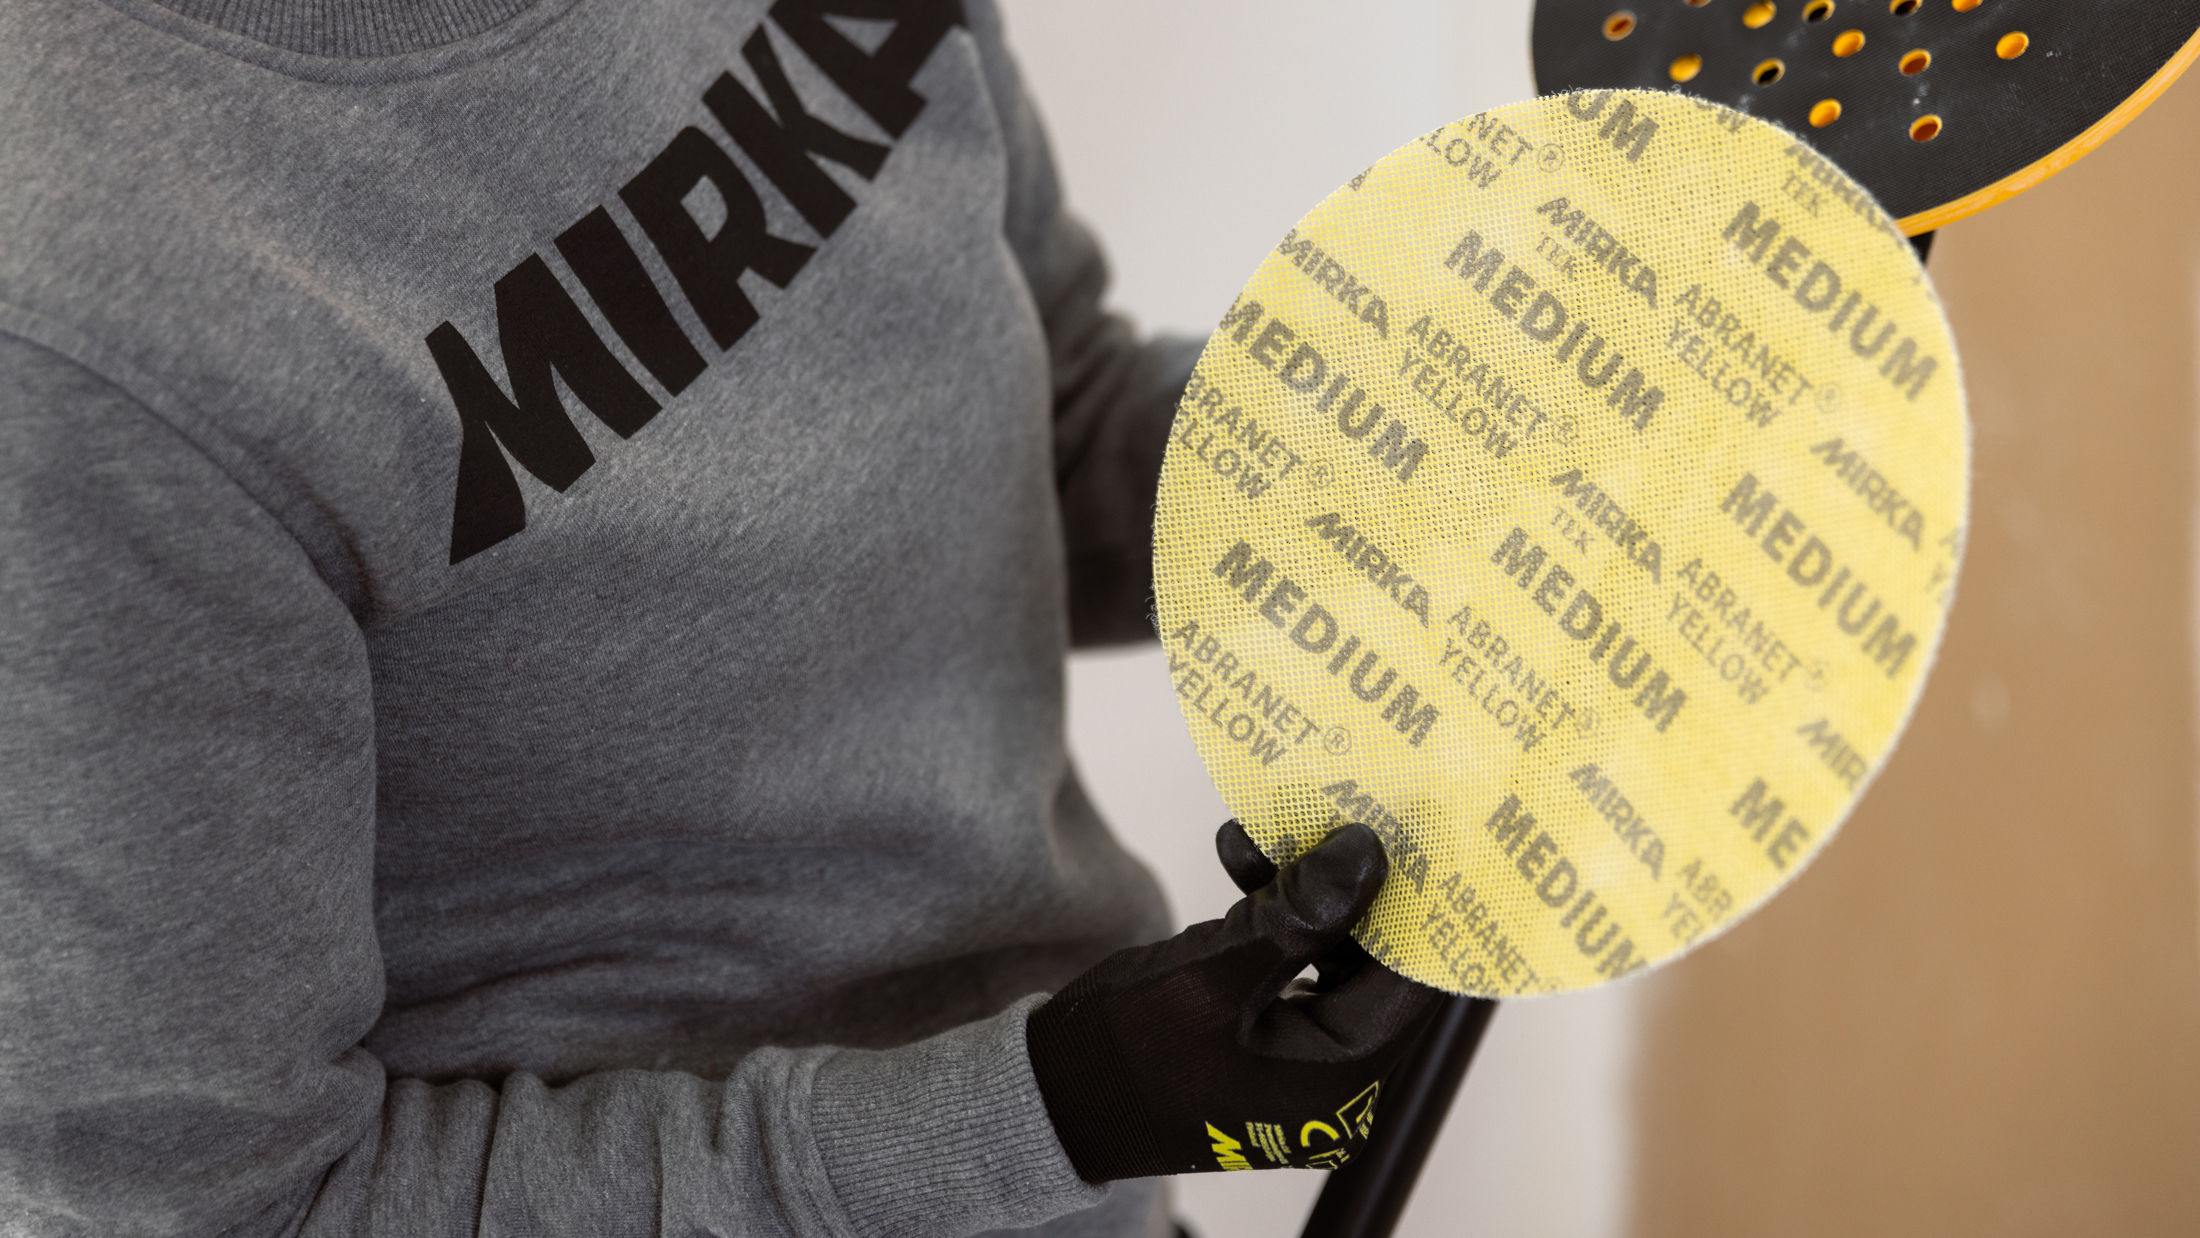
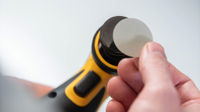
Abranet® Yellow
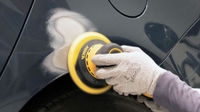
When sanding paint or putty on walls, we recommend using Abranet® Yellow.
It is a soft, net-based abrasive made for sanding walls and ceilings. It is compatible with both rotary and random orbital wall sanders and also works well with hand sanding blocks, pole sanders, and other manual uses.
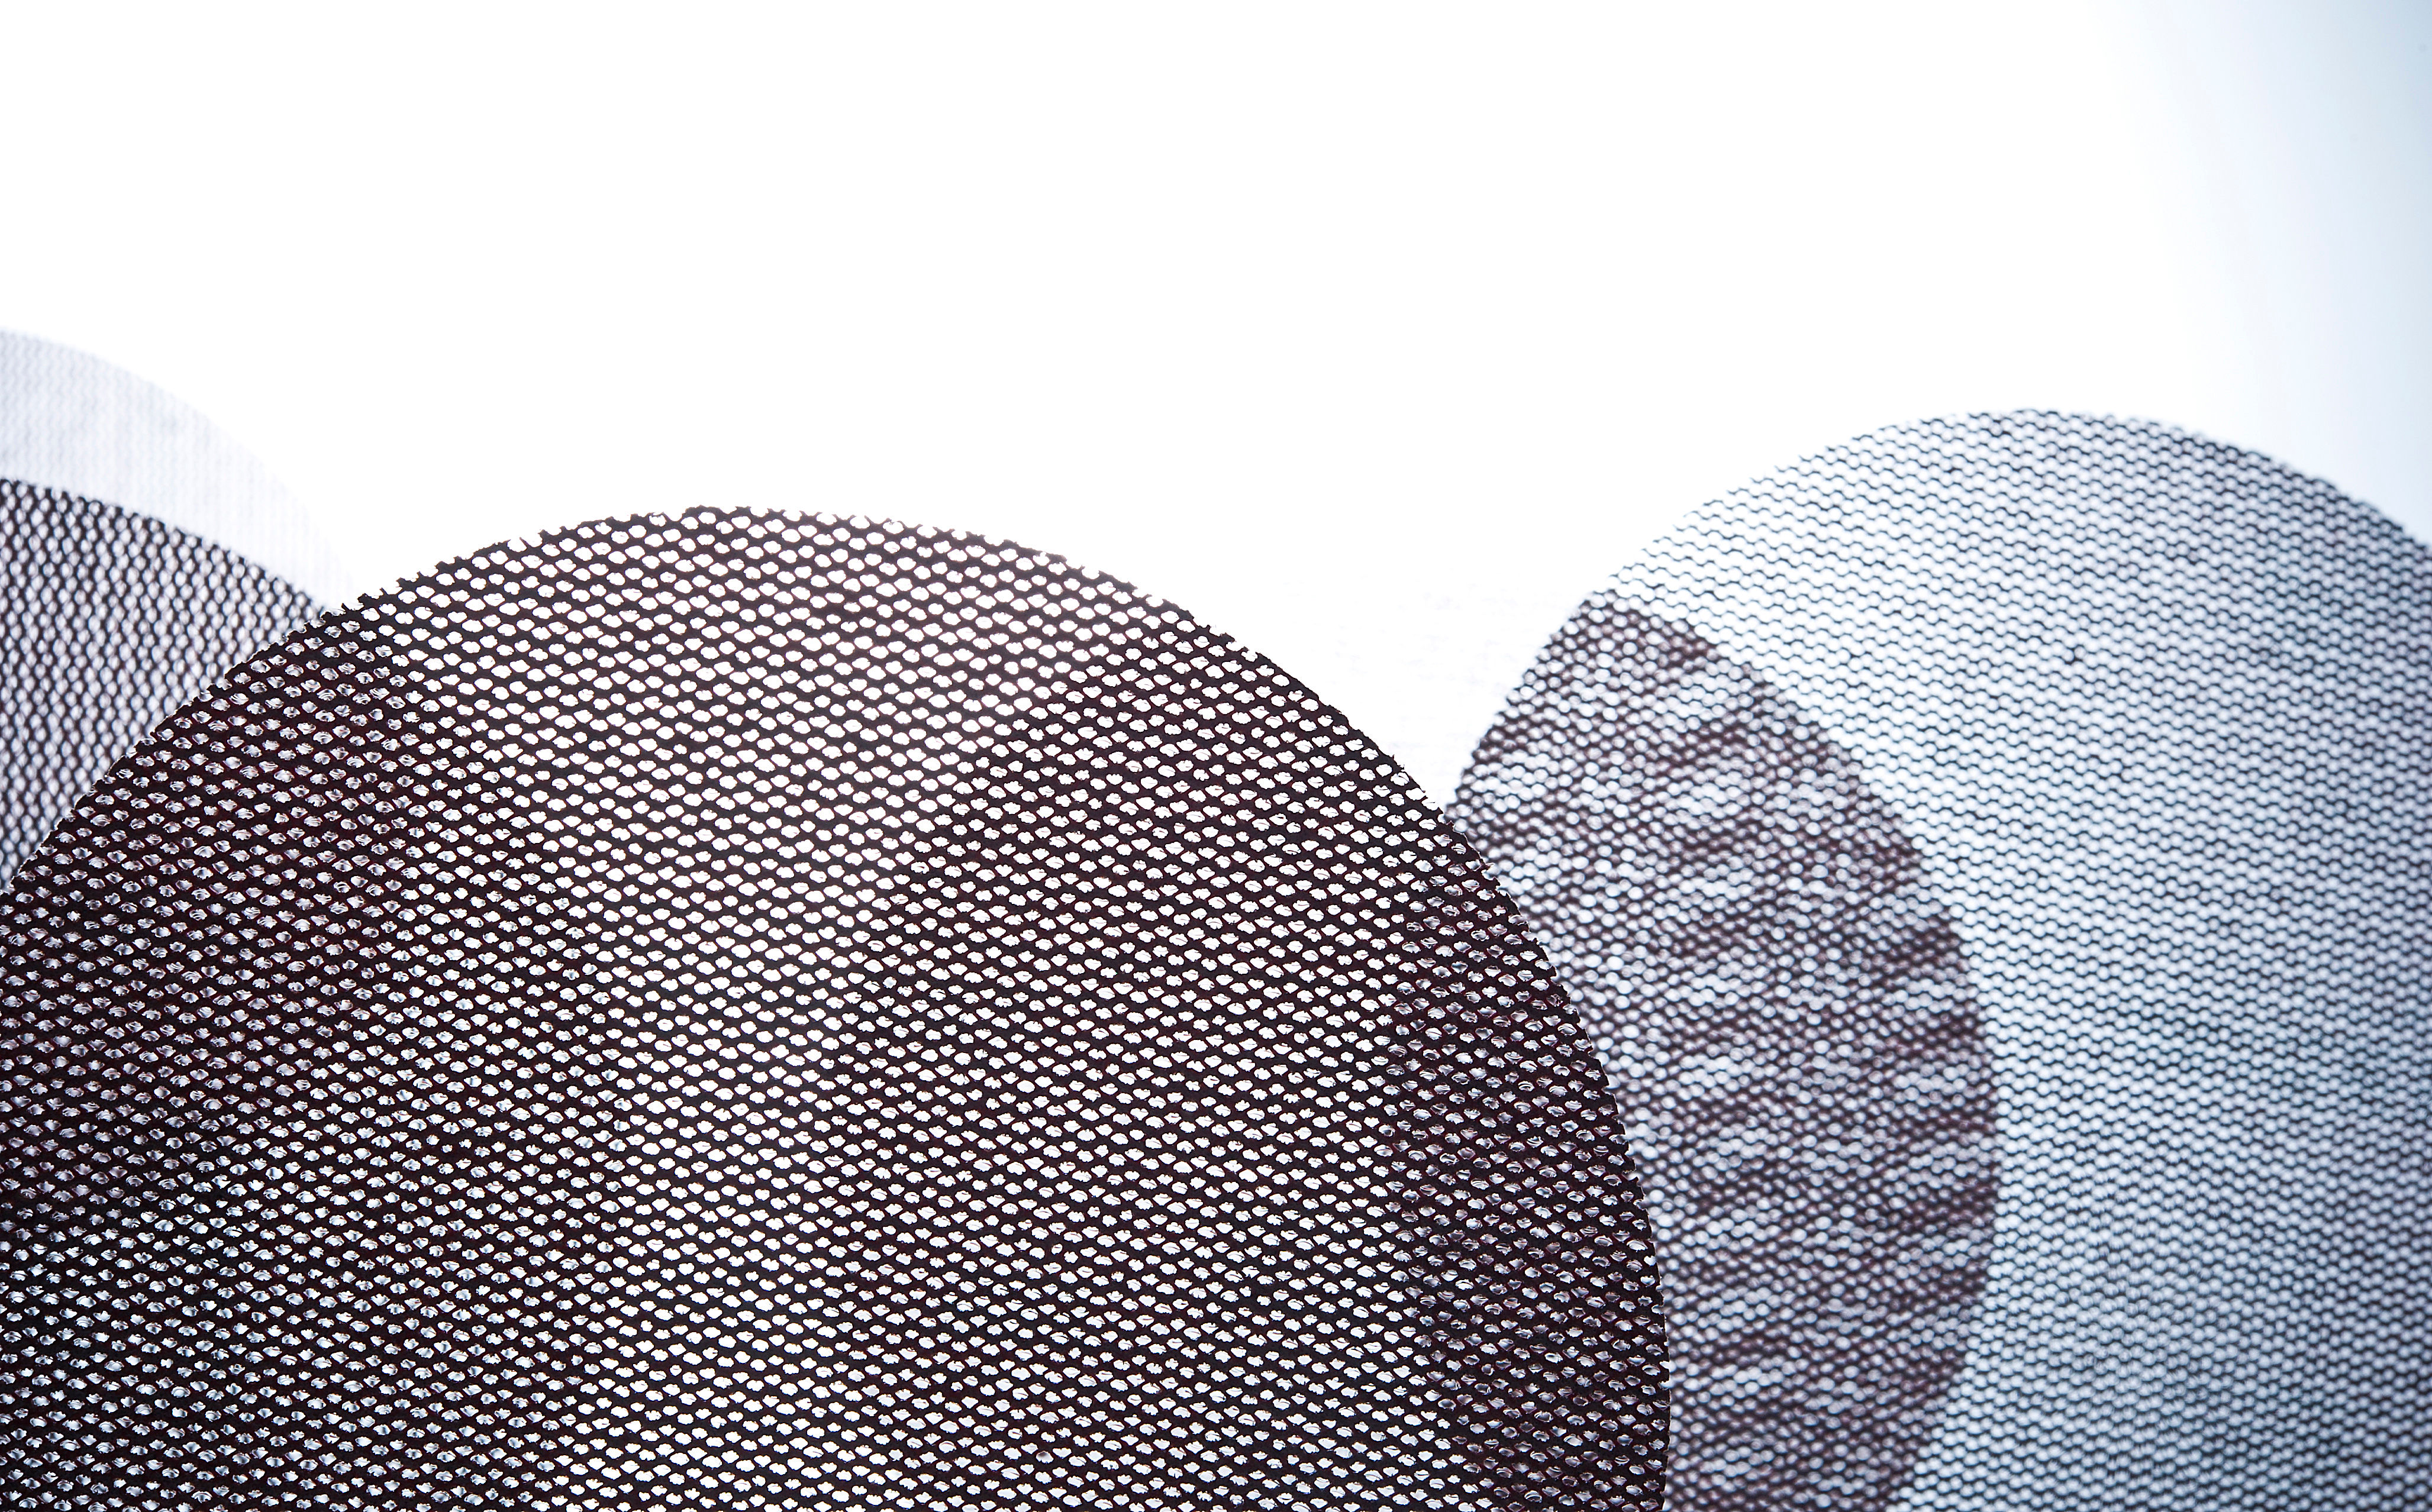
Like all Abranet abrasives, Abranet Yellow is fully formed out of mesh, offering superior dust extraction and fast, controlled material removal.
Depending on your project, other Mirka® dust-free abrasives can also be a great fit for wall sanding. Explore the full Abranet range to find the best match for your surface and sanding needs.
Ornamentalist and decorative painter, France
Having the right tools for the right sanding application is crucial if you want to exceed expectations in the finish, whether you work on something new or doing renovation work. For Alexandre Lardy, plasterer, ornamentalist and decorative painter from France, choosing a dust-free solution from Mirka was an easy choice.
'One thing I’ve really liked and that struck me immediately is the dust extraction aspect. I have the impression that I’m not sanding at all, so effective is the extraction – I get absolutely no dust.'
Alexandre Lardy, decorative painter
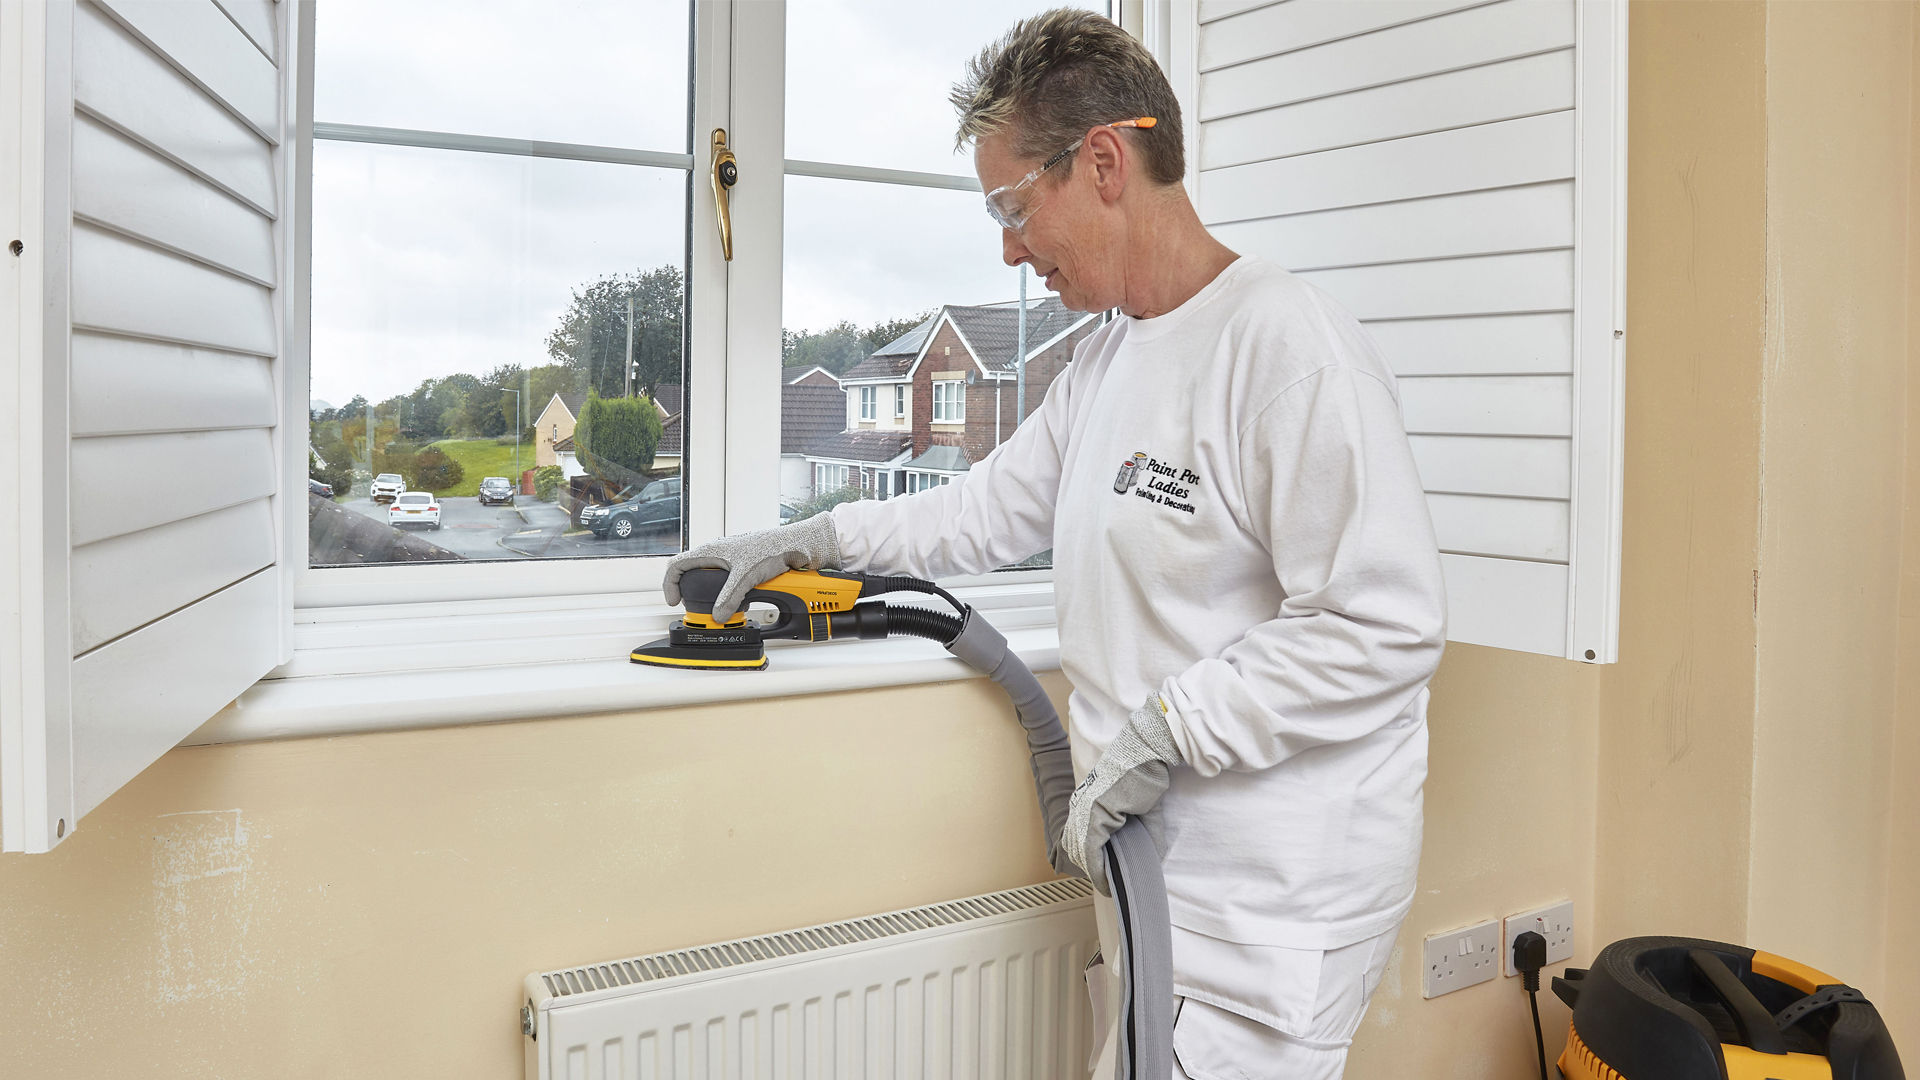
Paint Pot Ladies – painting and decorating business, UK
Sarah from Paint Pot Ladies was tired of ending each workday covered in dust, looking like a snowman. She decided to switch to Mirka's dust-free solutions and discovered that the complete system, which includes abrasives and practical power tools, significantly improved her work experience. The lightweight LEROS® quickly became one of her favorite tools.
'It's not only great for myself, it's also great for my customers.'
Sarah Hillberg, Paint Pot Ladies
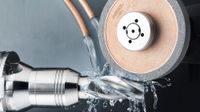
Mirka Abranet® Yellow
Abranet® Yellow delivers a cleaner, more efficient sanding experience for professional painters and drywallers.
The well-balanced combination of softness and the fast-cutting net structure makes this abrasive ideal for sanding ceilings and walls.
Abranet Yellow is compatible with rotary and random orbital wall sanders and performs well with hand sanding blocks, pole sanders, and other manual methods. It's available in two formats and three grit options, making it suitable for a range of tasks from heavy material removal to fine surface finishing.
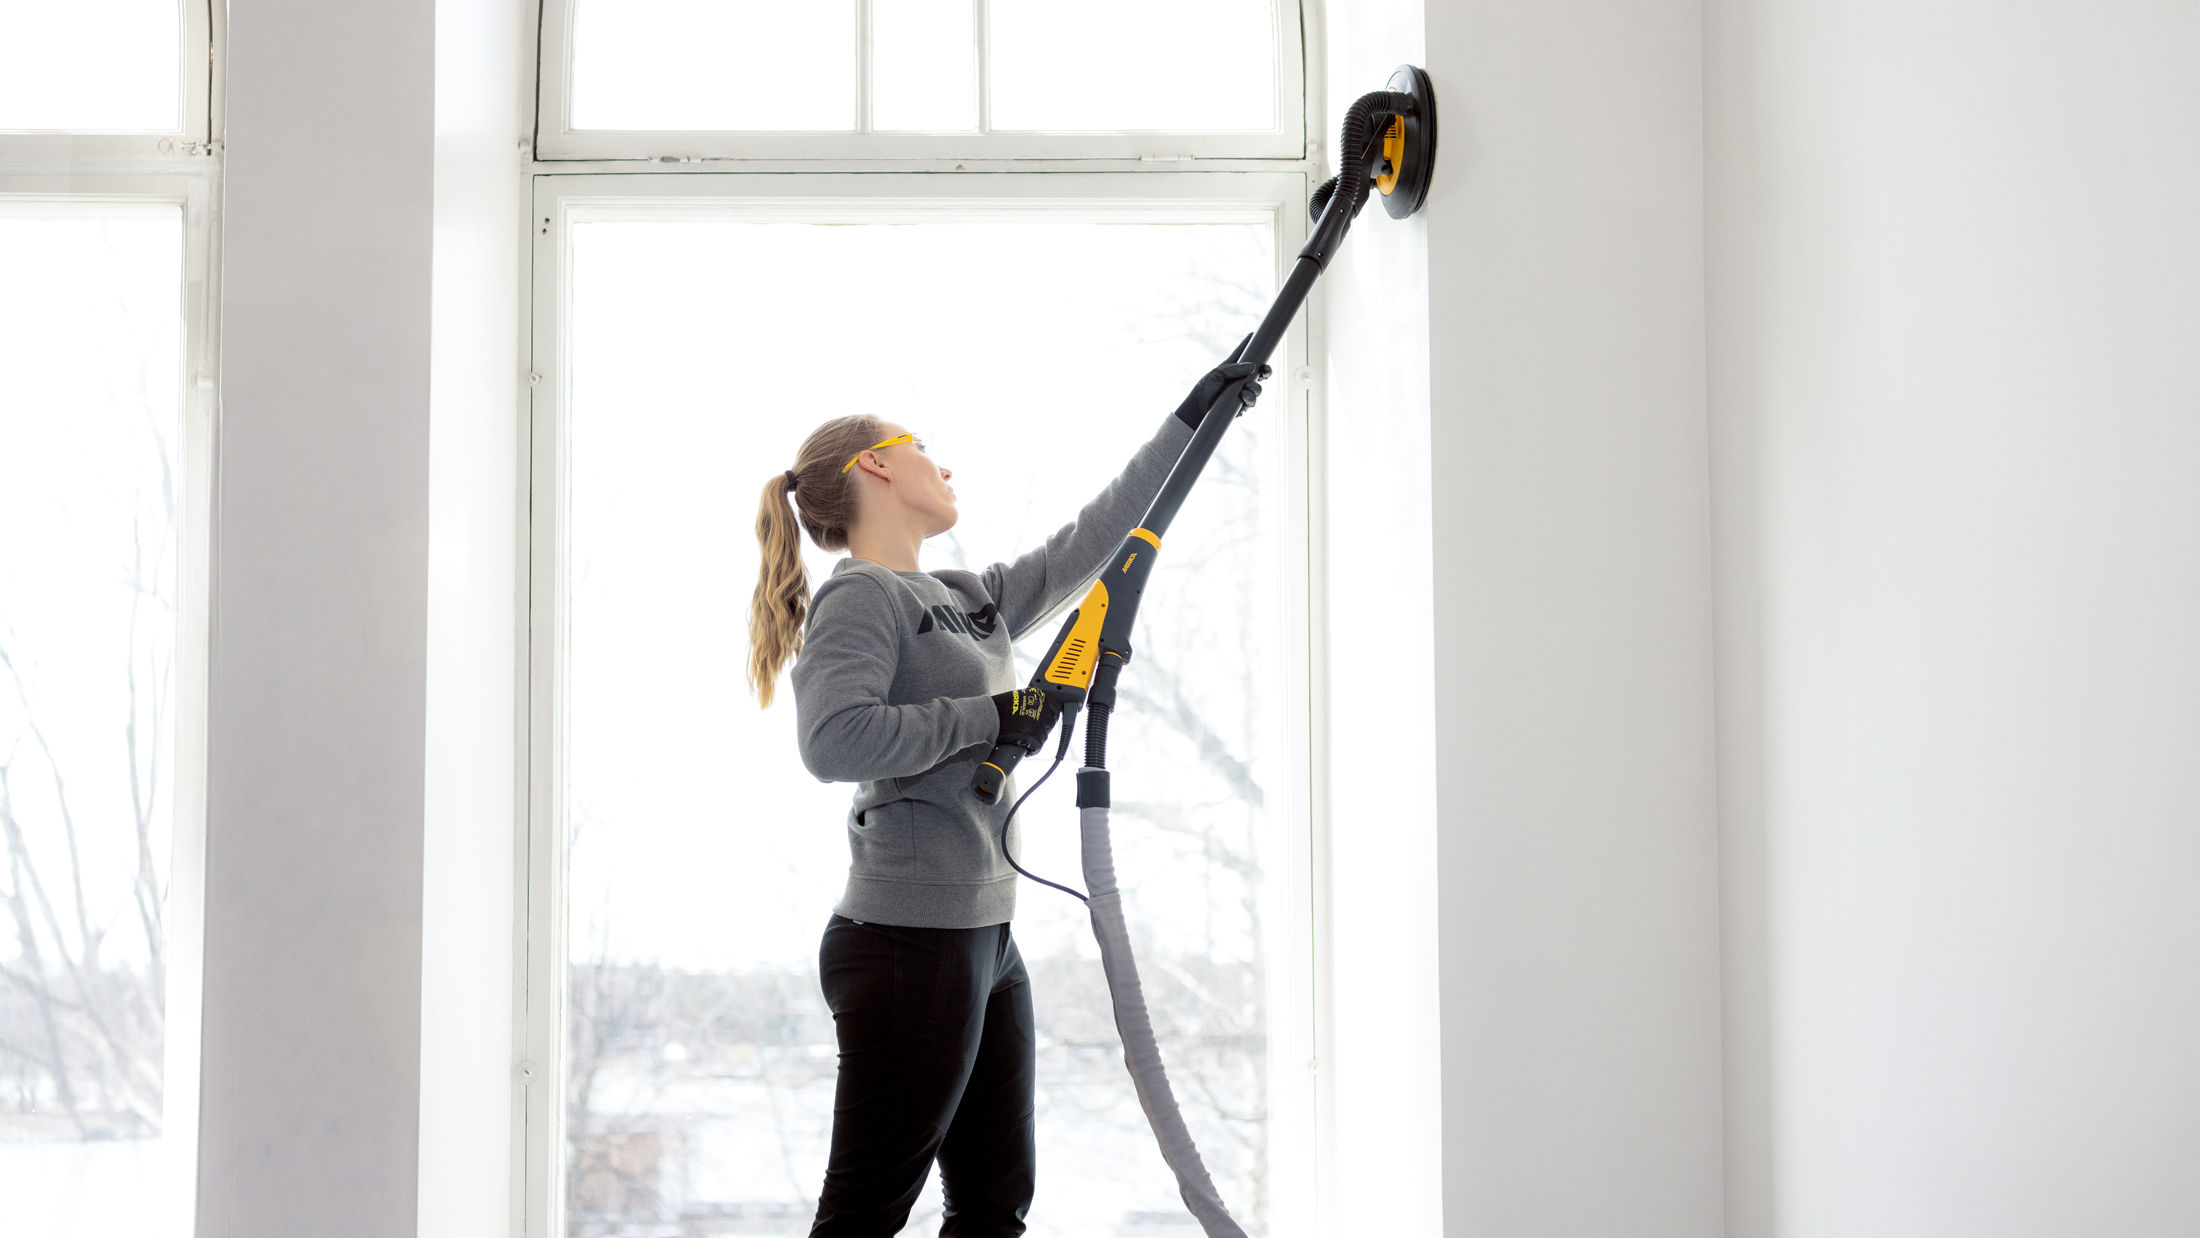
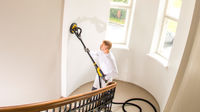
Dust-free pole sander for smooth wall & ceiling finishing
The Mirka® DecoSander is designed for precision sanding of walls, ceilings, and tight corners, ensuring a flawless finish in any environment. This pole sander features interchangeable pads with grip fastening, making it versatile for diverse surfaces. The adjustable shaft extends up to 1.8 metres, offering unparalleled reach for high walls and ceilings.
The stabilized sanding head ensures steady operation, preventing accidental tilting and damage to edges, while the dust-free operation system incorporates anti-static and adjustable airflow technology. This feature not only promotes a clean work environment but also enhances user efficiency.
Whether you are a professional or a DIY enthusiast, you will appreciate the DecoSander’s ergonomic design and advanced features that provide exceptional sanding performance.
Dust-Free Sanding Made Easy
The Mirka® Handy 80 x 230 mm Hand Sanding Kit includes everything you need for efficient, dust-free hand sanding. The ergonomic Handy sanding block provides excellent control and comfort, while its compatibility with dust extraction systems ensures a clean work environment, ideal for both professionals and DIY users.
The kit includes:
Save your health, time, and money
Do you get covered in dust when sanding? Try the benefits of Mirka's pioneering sanding solutions and see how a dust-free working environment can boost your business.
Healthier working environment – Stop dust from getting into your lungs
Time-saving – No cleaning after sanding and clean abrasives cut better
Money-saving – No clogging lets you sand longer with the same abrasive
High-quality finish – Thanks to a finer scratch pattern
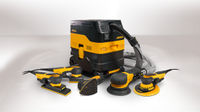
Redefining innovation in surface finishing
The award-winning Mirka® Power Tools have entered a new era. The lineup is now even stronger with advanced technology, improved performance, and user-focused design. Meet the stars of the new generation.
DEROS II – The enhanced orbital sander series now features 8 upgraded models, delivering more power and even smoother sanding.
DEOS II – Our refined low-profile orbital sanders, offering superior precision and control with 4 updated models.
DEROS RS – The all-new heavy-duty rotary sander, engineered for maximum power and precision in tough applications.
DEXOS – A state-of-the-art M-Class dust extractor, ensuring optimal performance and dust-free work environments.
Find the right net abrasive for your tools
Stay informed and inspired with exclusive updates
Discover surface finishing solutions, tips, and the industry trends – for professionals like you.