


2+1 years
Register Your Tool
All Mirka power tools have a standard two-year warranty. Get an additional 1 year of warranty free of charge by registering your tool within 30 days of purchase.
Keep your tools in excellent shape on myMirka where you can register, manage and order repair for your tools.
Replenish your stock, access marketing materials, view sales guides and read about upcoming product launches.
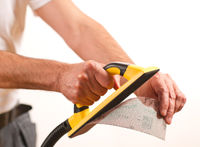
For all your sanding applications
We offer a complete range of technically superior and high-quality abrasives for all kinds of sanding applications. As a world leader in surface finishing technology, Mirka provides a broad range of ground-breaking abrasives and sanding solutions for professionals in surface finishing and the precision industry. We manufacture cloth, coated, fibre, film, foam, non-woven, sandpaper and dust-free net sanding abrasives.
With dust minimized, you can focus on what you do best; knowing that our abrasives provide a more cost-efficient, safer, cleaner, and healthier working environment. Our extensive abrasive product range caters to both individual operations and complete sanding systems.
Making abrasives involves chemistry, physics, and materials science
All these factors need to be considered to produce suitable coatings. The size and properties, as well as the orientation of the “grit” particles as they are deposited on the adhesive-coated backing, and the properties of the adhesive and backing materials themselves – all these factors need to be considered to produce coatings that are fit.
Grains of aluminium oxide and silicon carbide are commonly used as the material and resin adhesive is typically used to bond the grains to the backing paper. The range of materials, situations, and conditions in the workplace where sanding is required is matched by the large range of coated abrasives available to do the work, each with a unique combination of materials: the size of the grains; open or closed coat – how densely the grains are packed; whether there is a stearate coating to lubricate and prevent clogging; the flexibility (or rigidity) of the backing material; and its suitability for dry or wet sanding.
Abranet® and Abranet® Ace
Mirka® Galaxy and Novastar
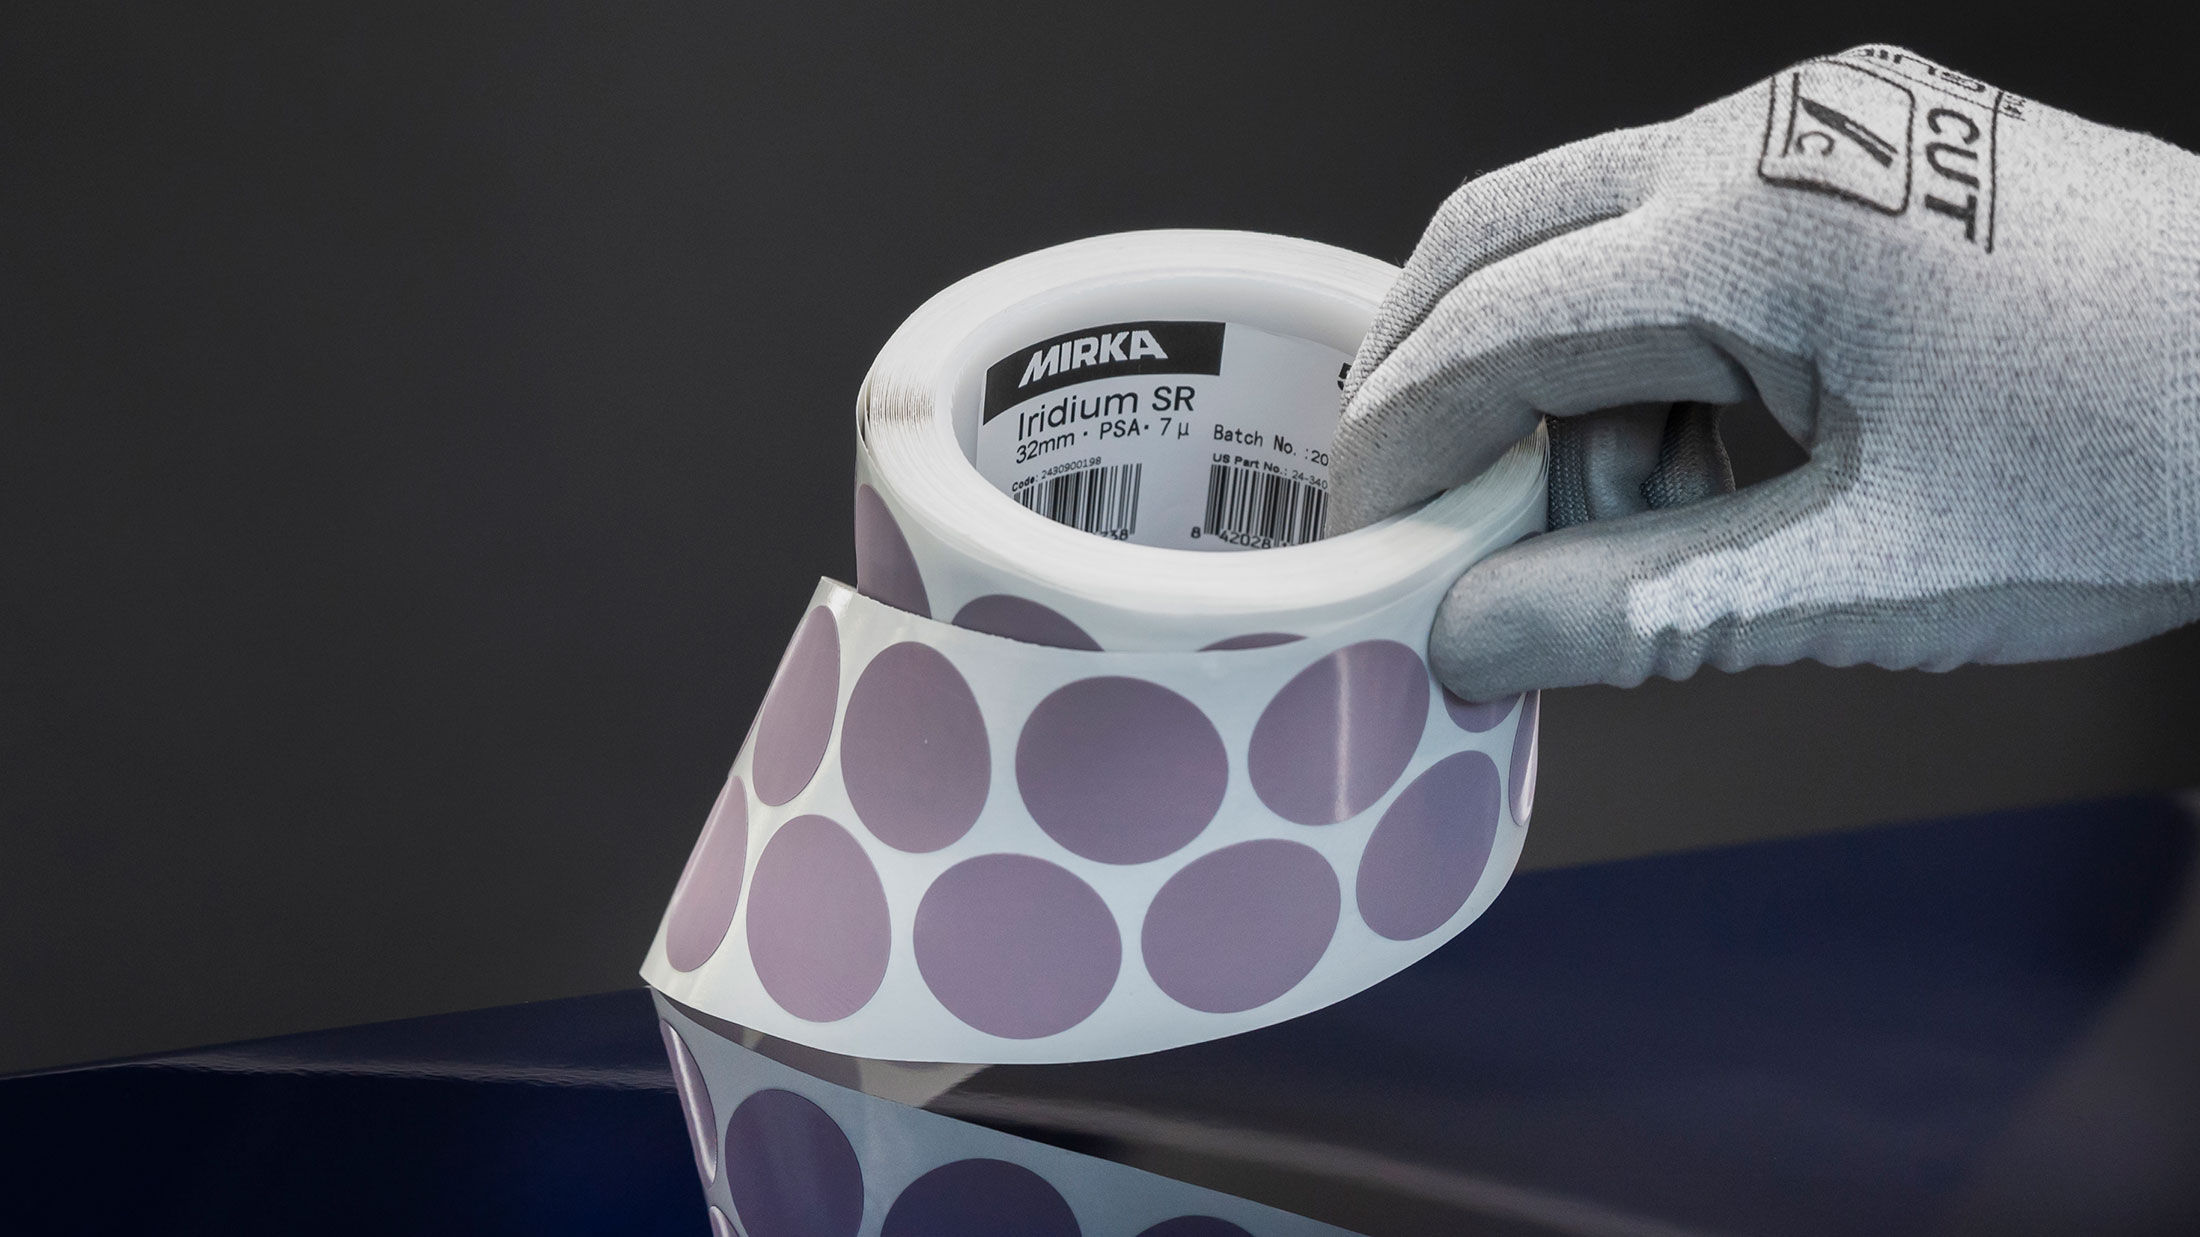
Mirka Iridium™
Abralon® and Goldflex Soft
Mirlon® and Mirlon Total®
Poor surface finish. Visible lines under paint. Extra time spent fixing sanding mistakes. These problems usually happen when the wrong sandpaper grit is used during drywall repair.
Each step in drywall repair needs the right grit to remove, smooth, or finish the surface. Using the wrong grit at the wrong stage increases the risk of rework and affects the final result.
In this article, you’ll learn which grit sandpaper to use at each stage of drywall repair and how to get clean, professional results with less effort.
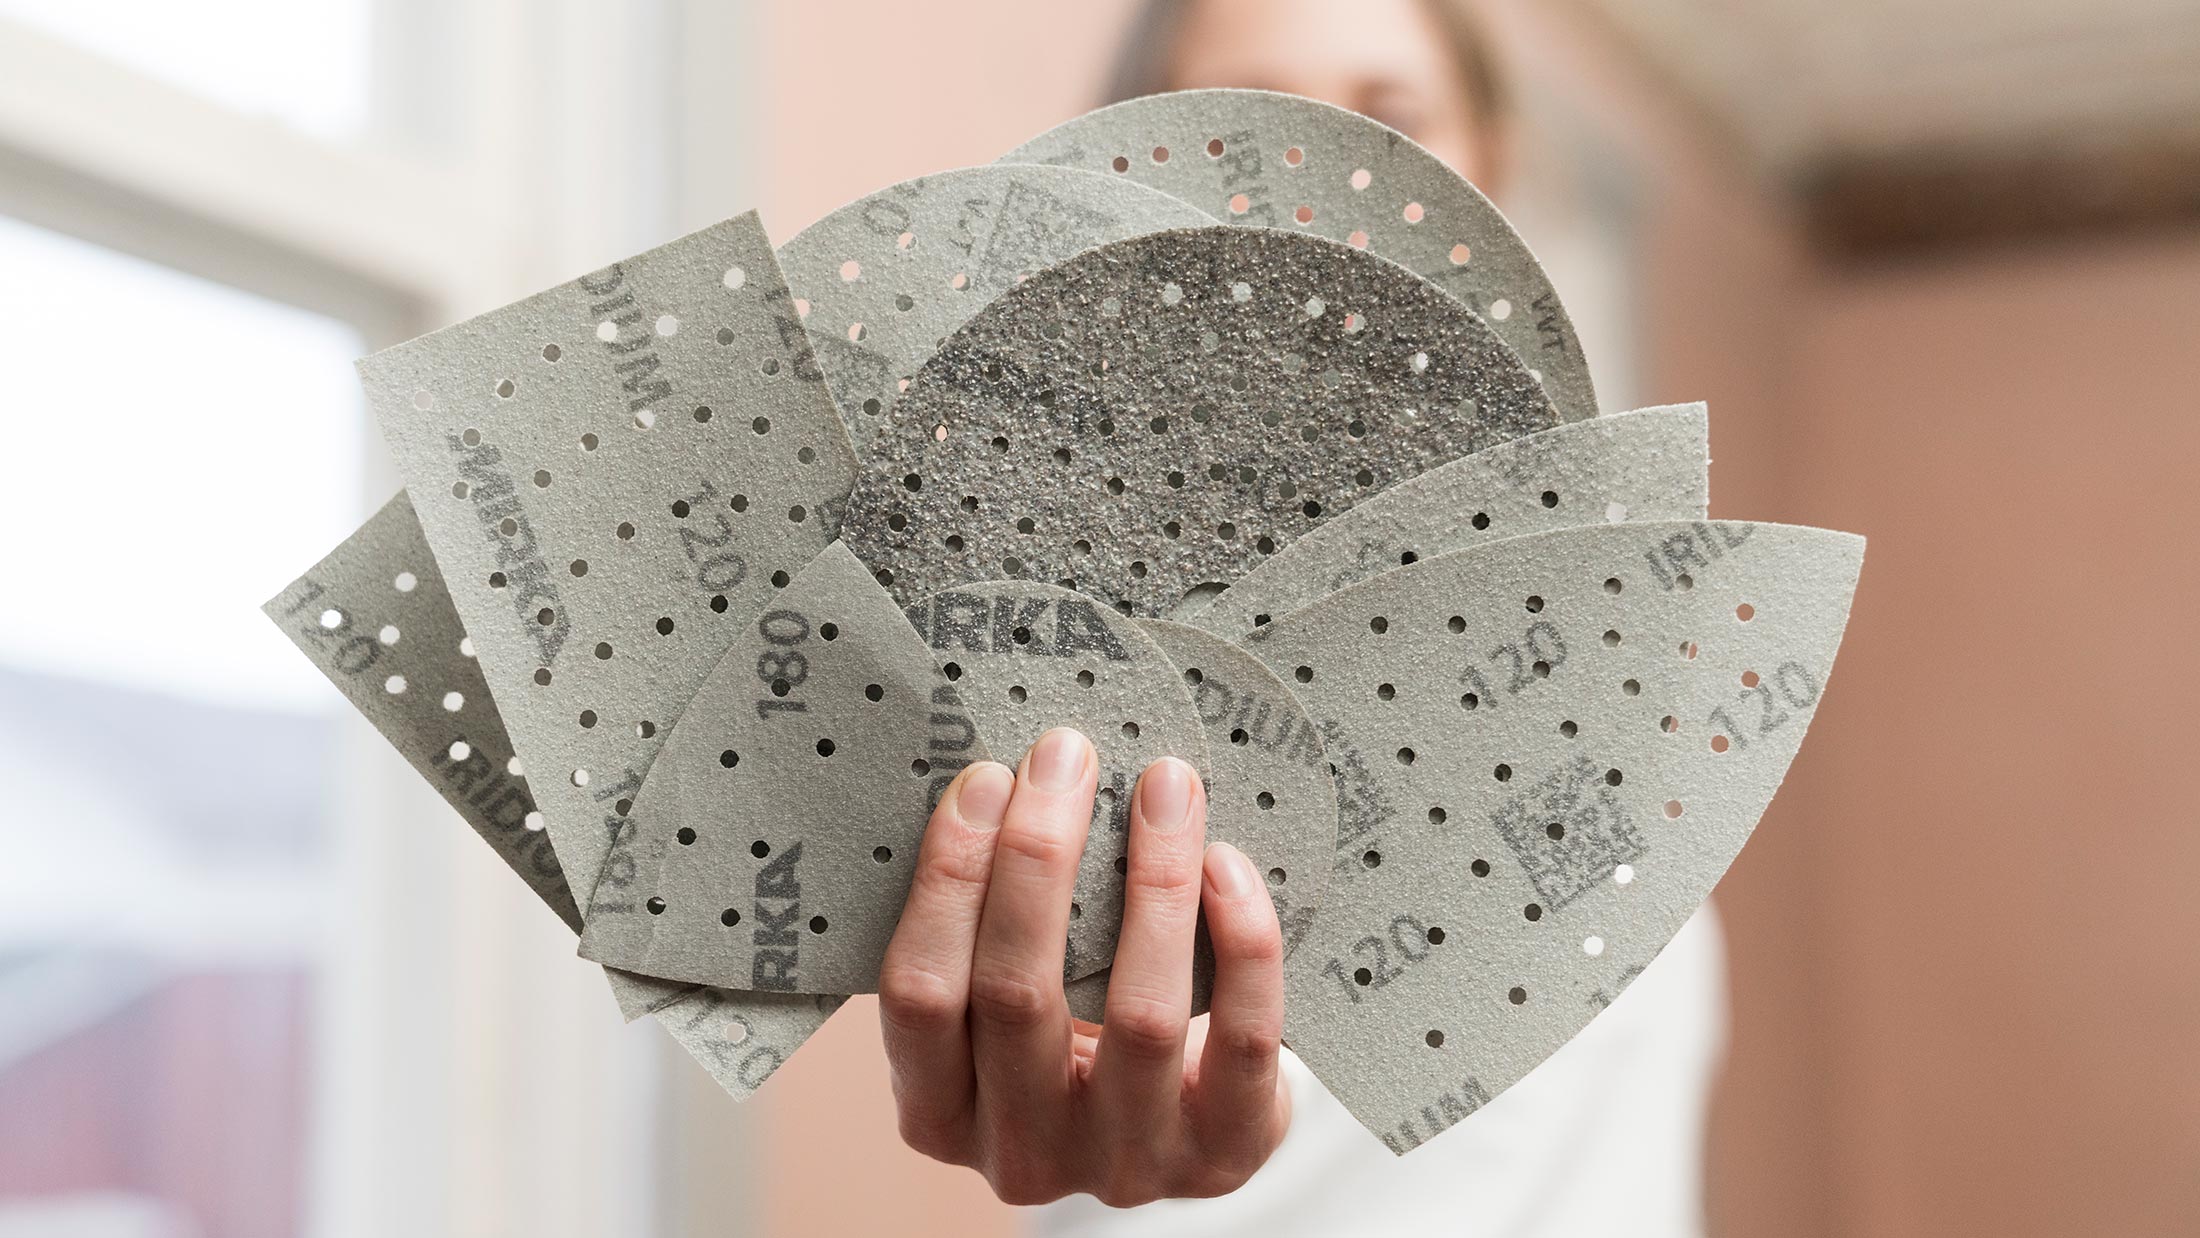
Grit is the size of the abrasive particles on sandpaper. It controls how rough or smooth the sanding surface will be. A low grit number means larger, rougher particles. These remove more material but leave deeper scratches. A high grit number means smaller, finer particles. These remove less but create a smoother finish.
Each grit level is designed for a specific task. In drywall repair, you need different grit sizes to remove material, blend seams, and prepare the surface for paint. Using the right grit helps finish the job faster, reduces sanding mistakes, and gives a better final result.
Grit choice directly impacts both finish quality and labor effort.
To work efficiently:
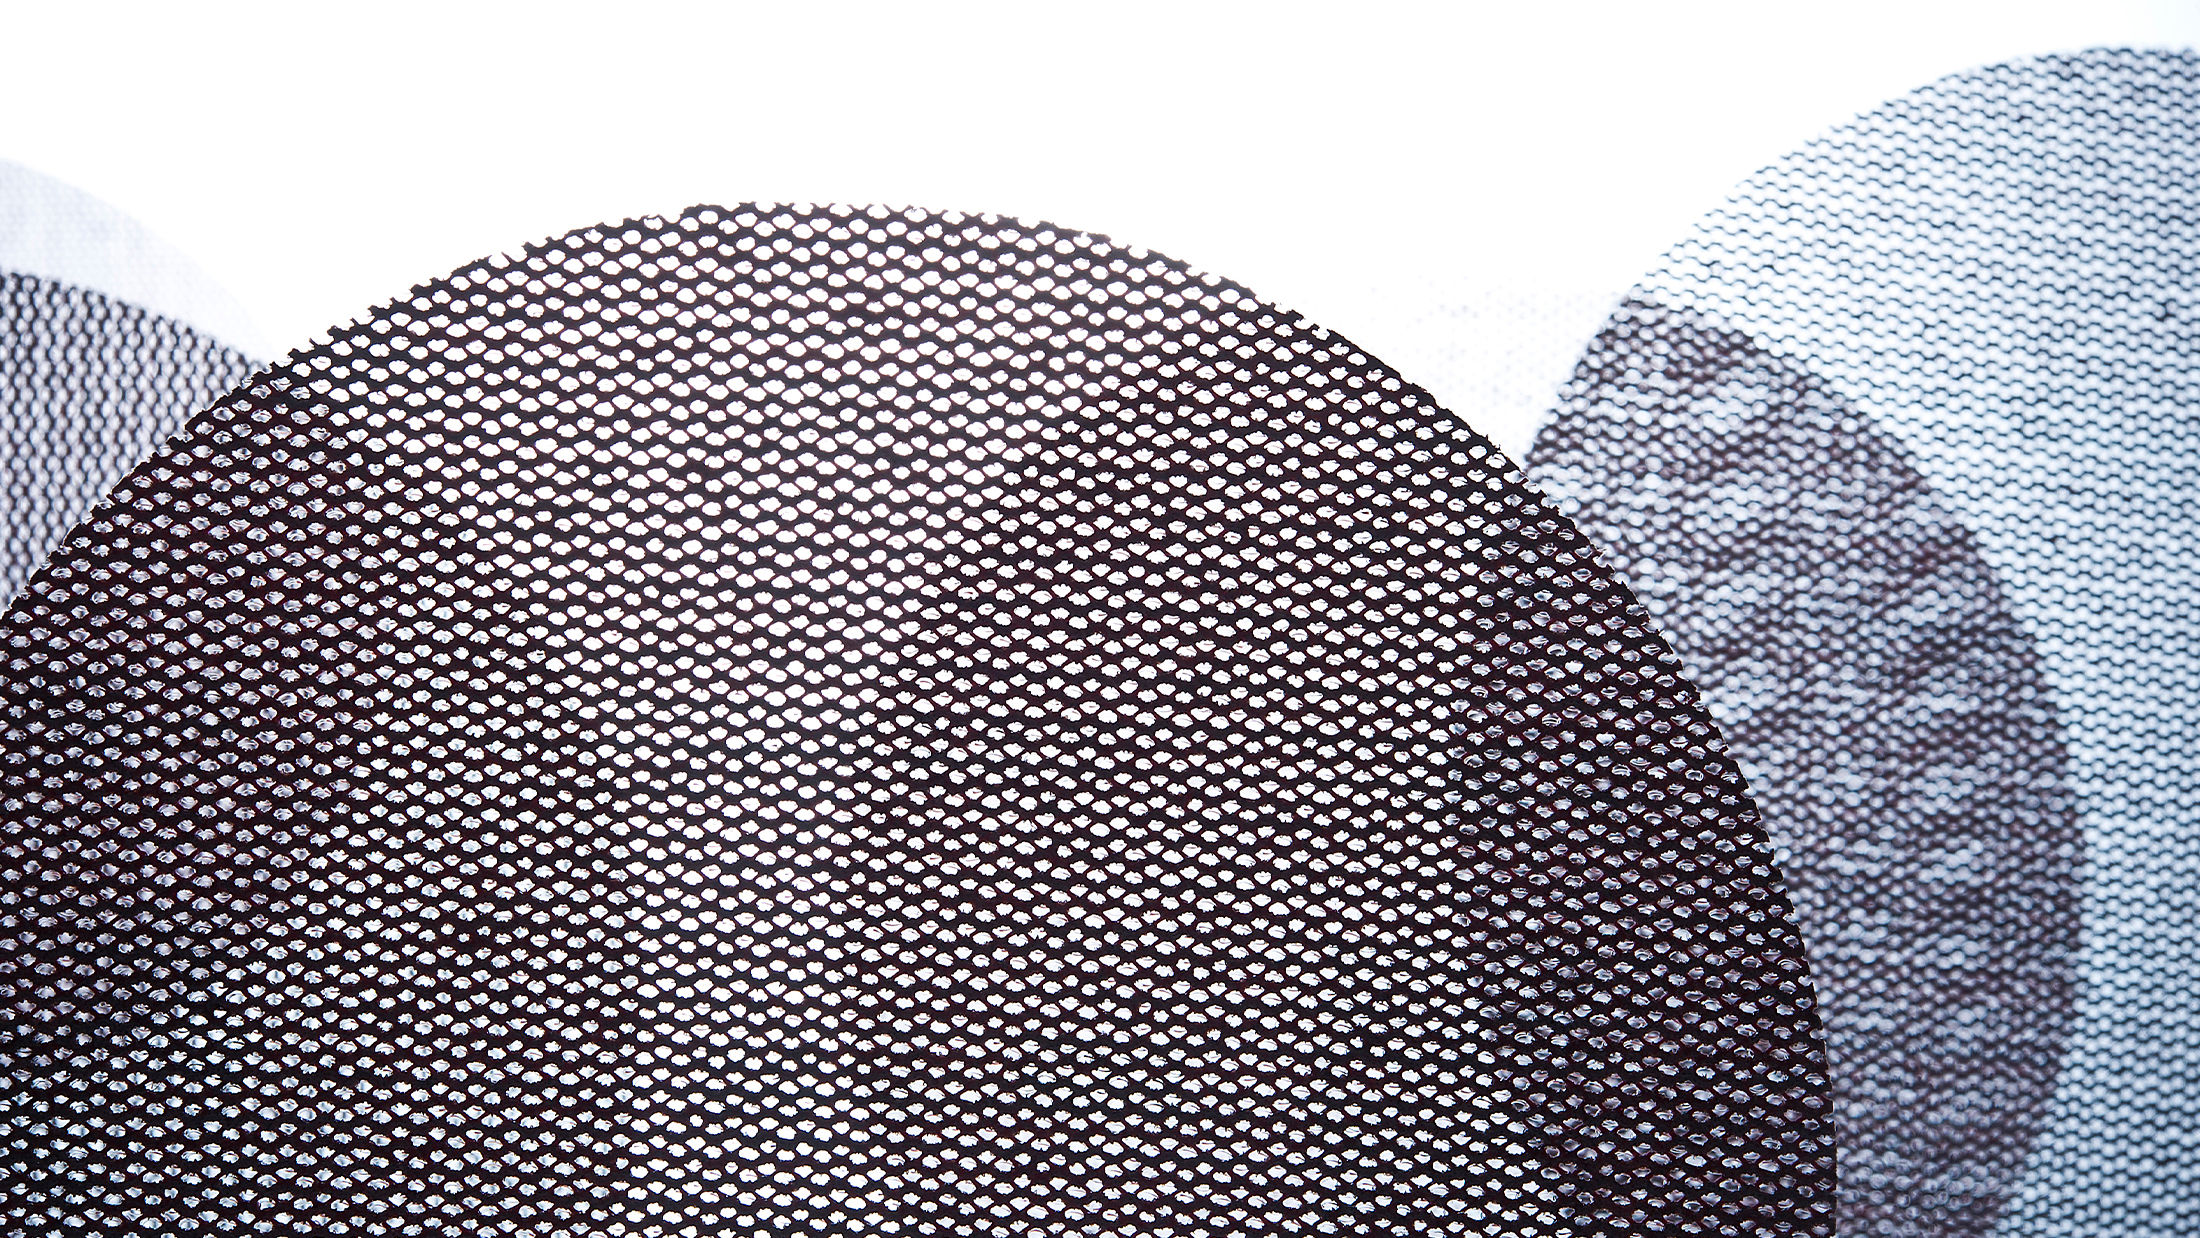
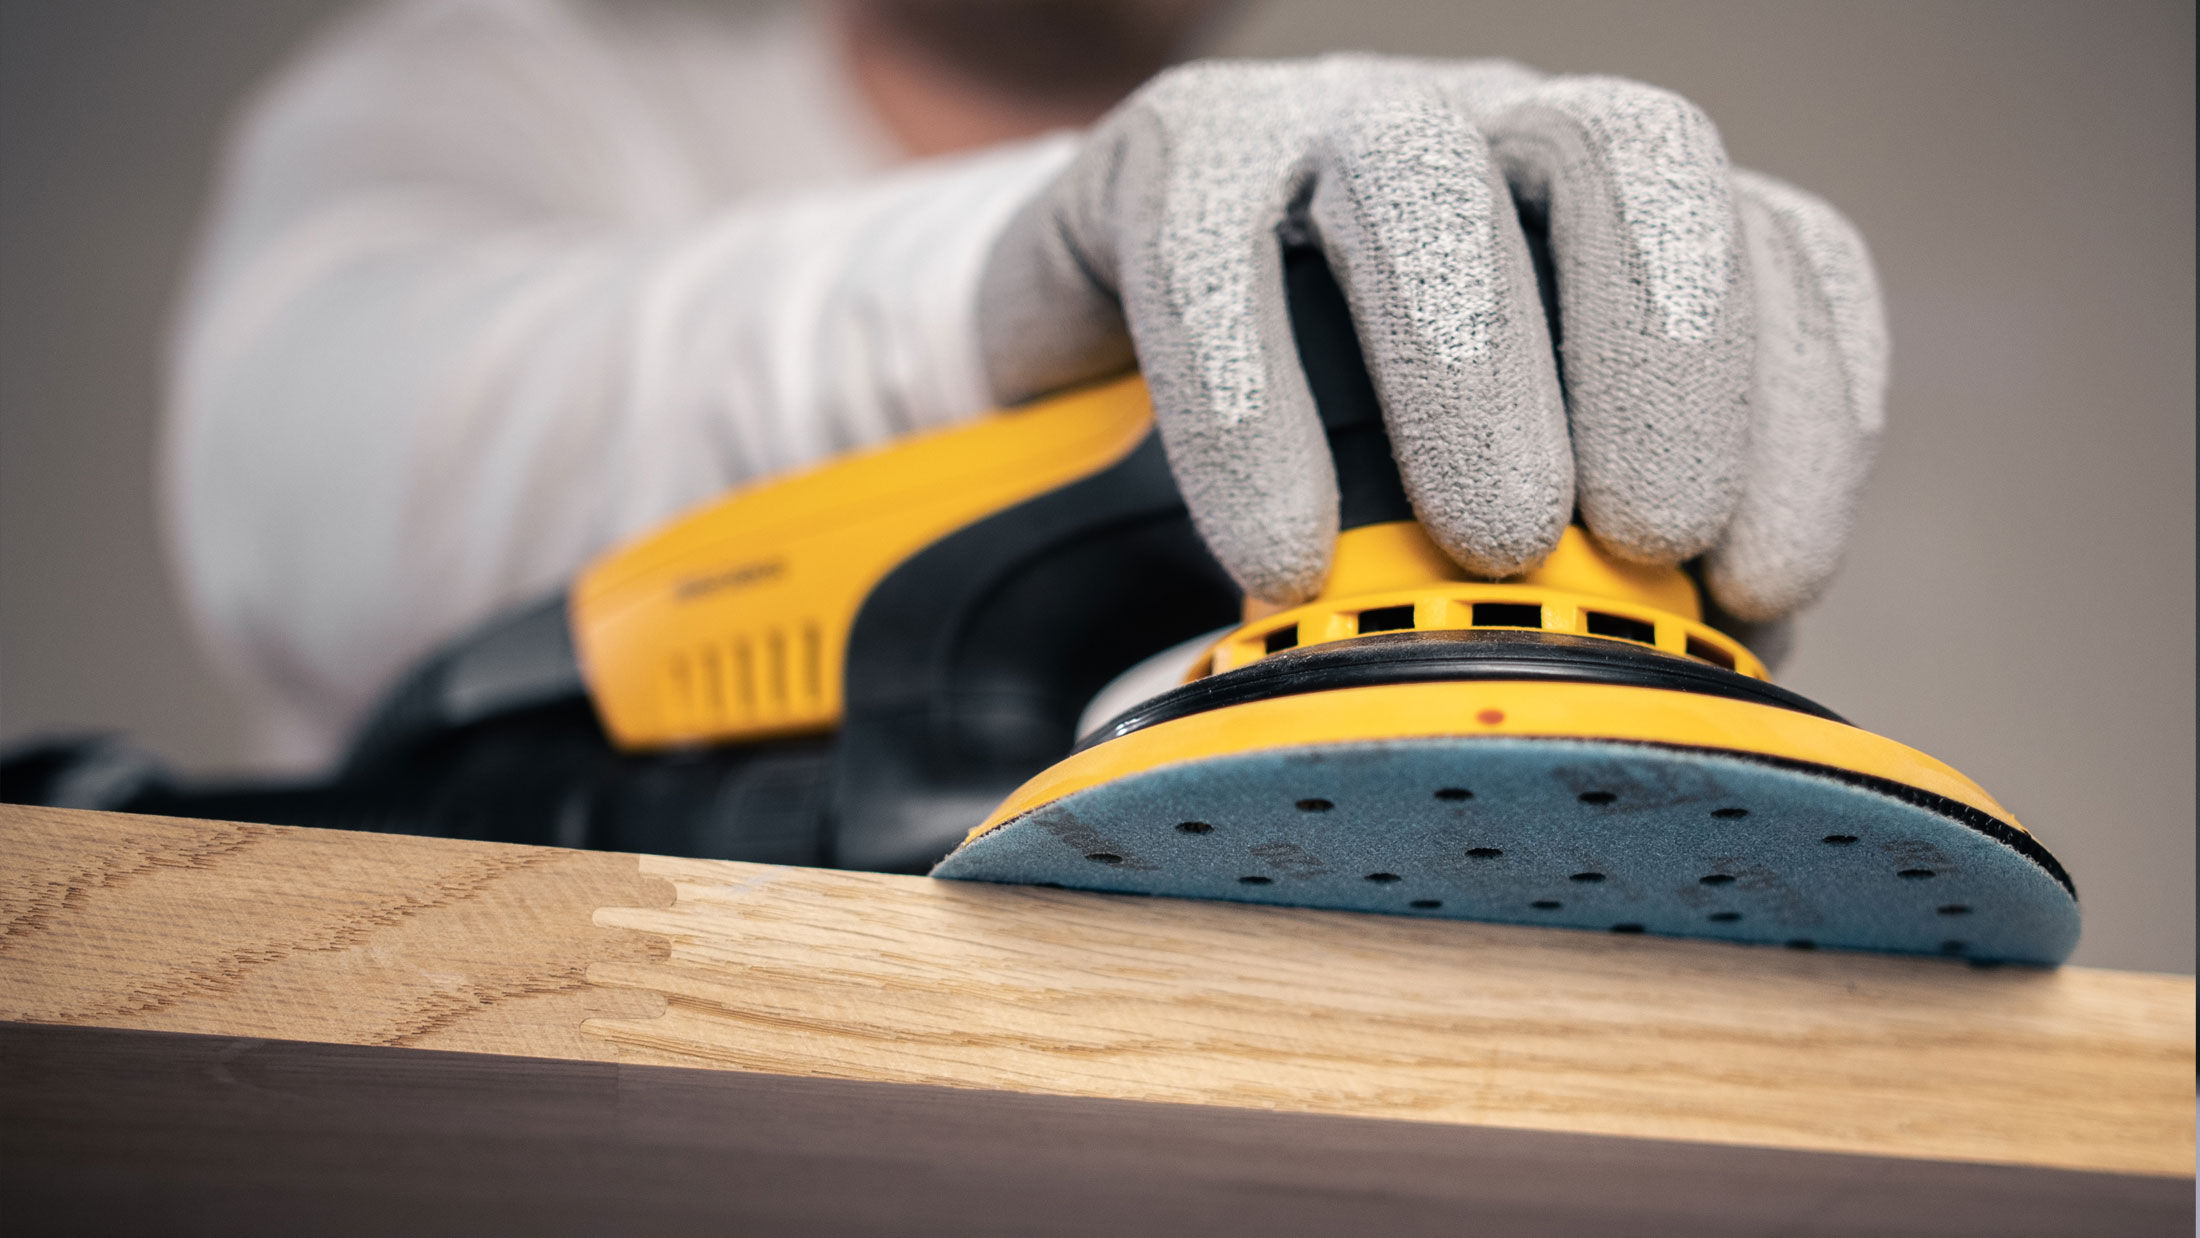
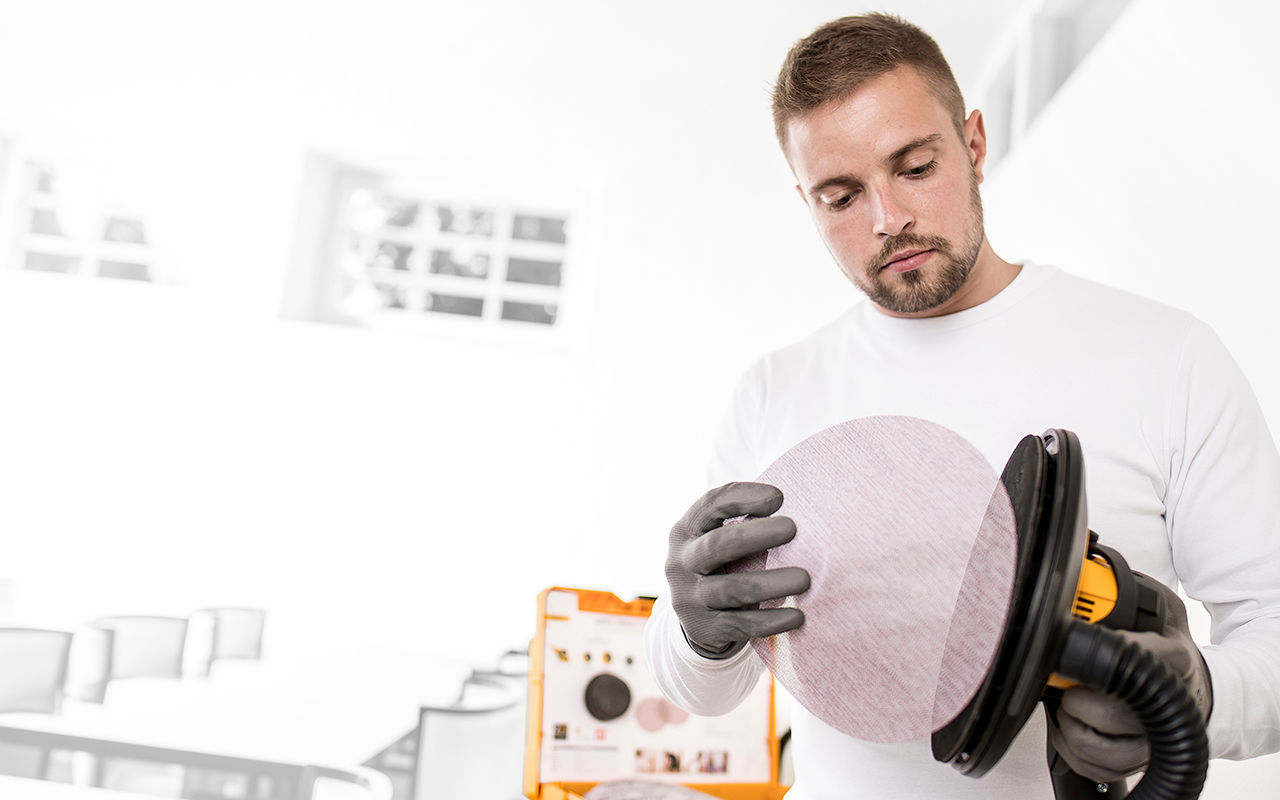
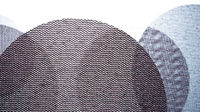
Using Abranet® discs in these grit ranges gives consistent results when paired with Mirka power tools and a dust extractor. Abranet’s mesh design is highly resistant to dust, helping maintain smooth sanding performance without clogging. This allows each disc to last longer while preserving full grit effectiveness.
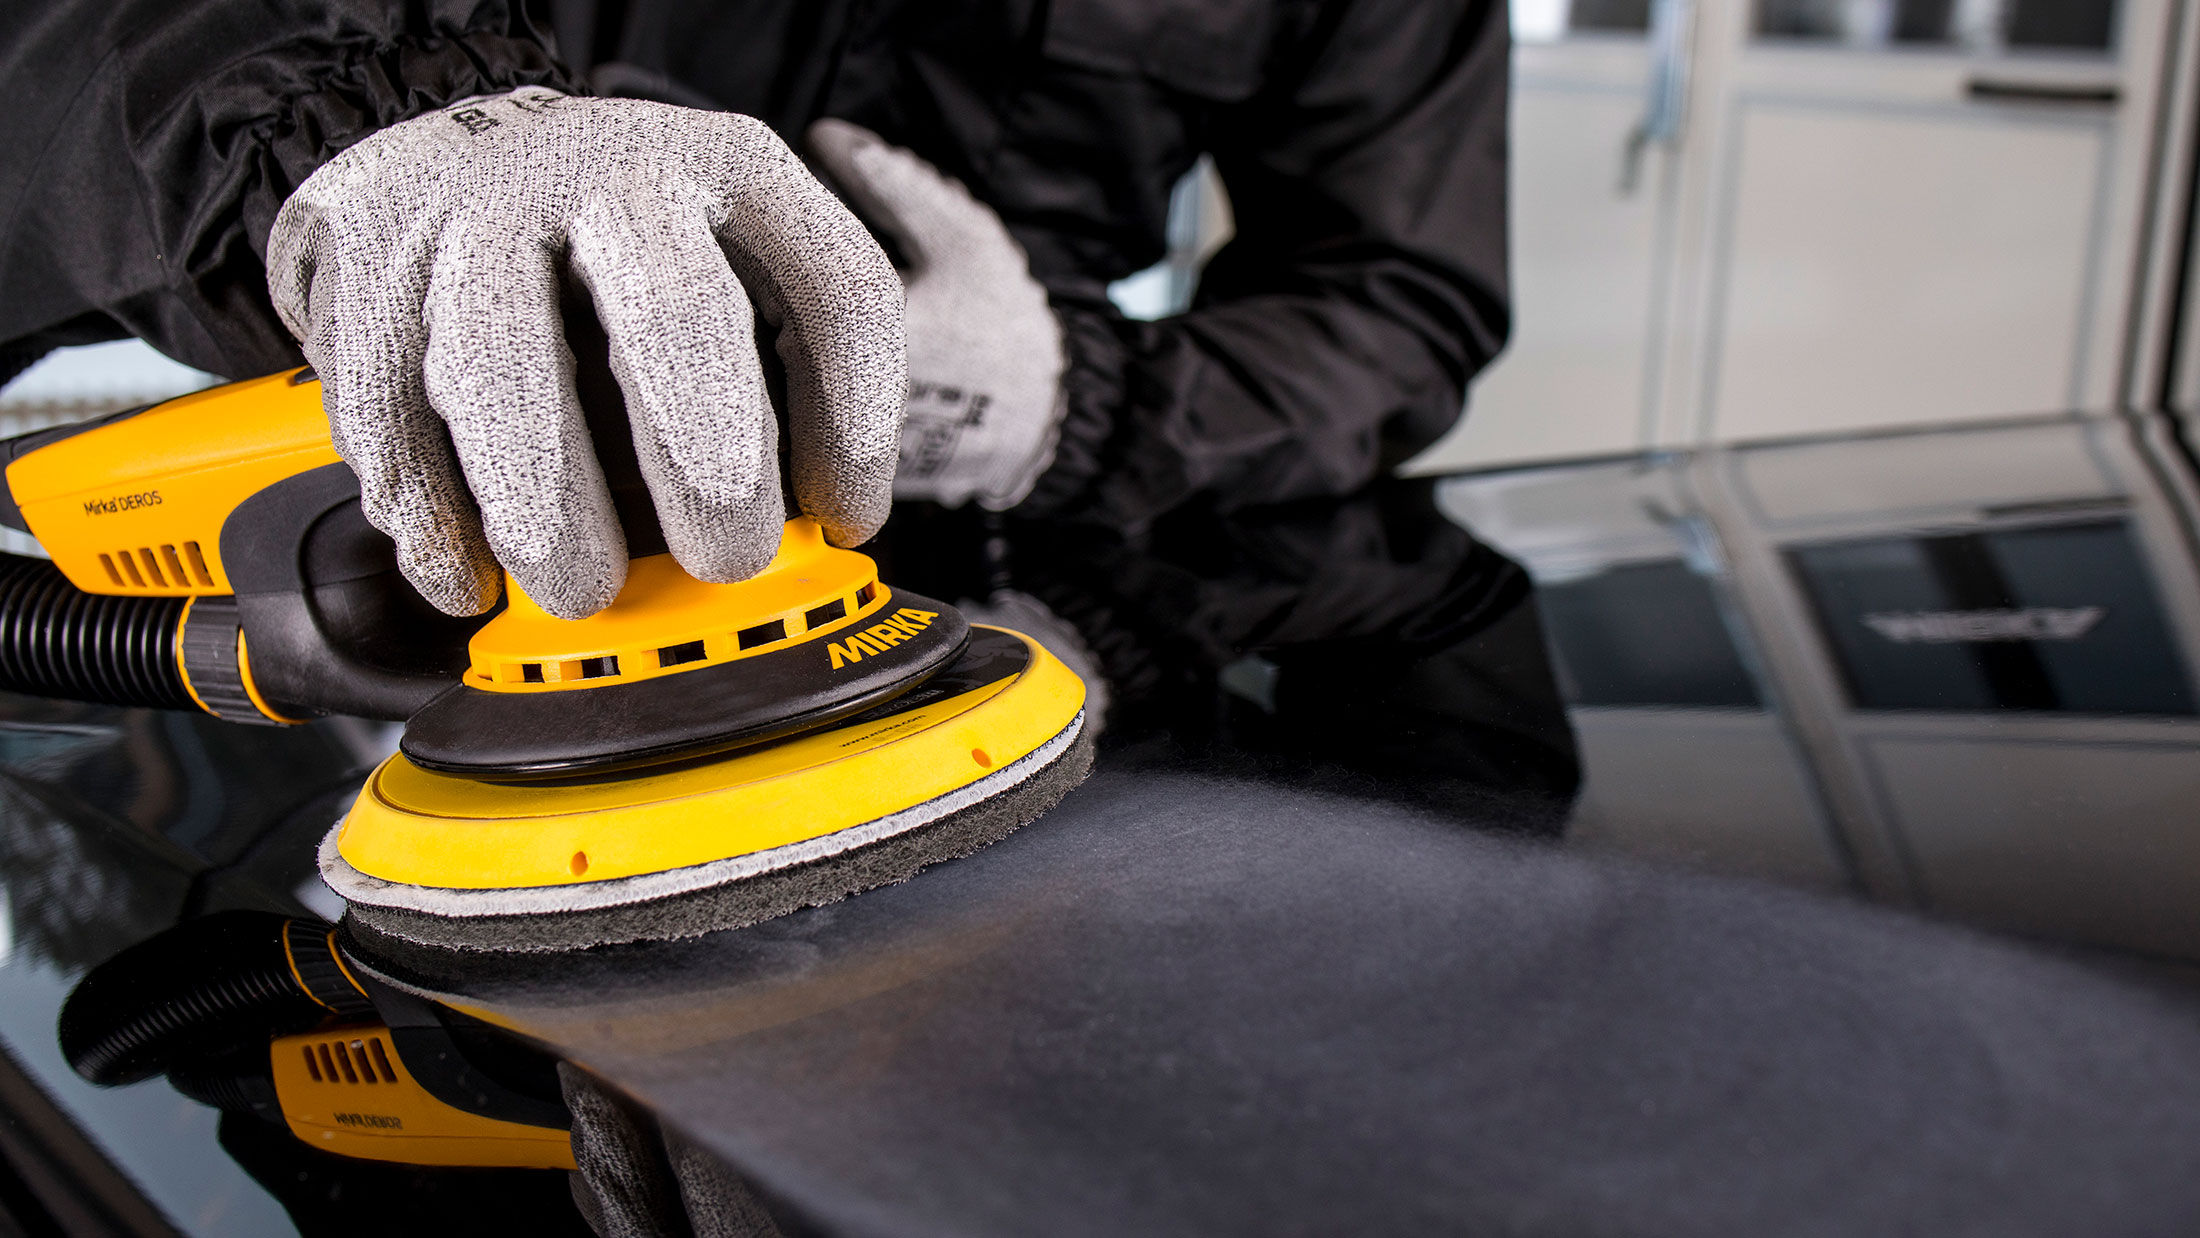
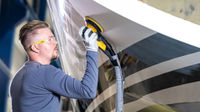
For best results, pair Abranet® with Mirka tools—such as LEROS® for wide areas or DEROS® for detailed spots—along with a compatible dust extractor. This setup ensures even grit application, reduces rework, and delivers a clean sanding finish.
Use 80 to 100 grit when you need to remove dried compound, scrape off uneven patches, or level out high spots on drywall. This coarse grit quickly cuts through material and prepares damaged areas for new joint compound.
When to use it:
What to watch for:
This grit stage is best used early in the repair process and followed by a finer grit to refine the surface.
Use 120 to 150 grit to smooth joint compound and blend edges between drywall and seams. This medium grit is strong enough to remove tool marks and ridges but soft enough to keep the surface even.
When to use it:
Why this range works:
This grit stage balances speed and control during mid-phase drywall work
Use 180 to 220 grit as the last sanding step before applying primer or paint. This fine grit smooths out minor lines left by previous sanding and helps prepare a clean surface.
When to use it:
Why it matters:
A proper finish with fine grit reduces touch-ups and helps produce a clean, professional result.
Mesh abrasives and paper-backed sandpapers serve the same goal but perform very differently.
Traditional paper sandpaper:
Mesh abrasives like Abranet®:
When sanding drywall, dust buildup reduces grit performance. Mesh abrasives remove dust at the source, keeping the grit exposed and sharp. This extends abrasive life, lowers material waste, and improves sanding results across all grit levels.
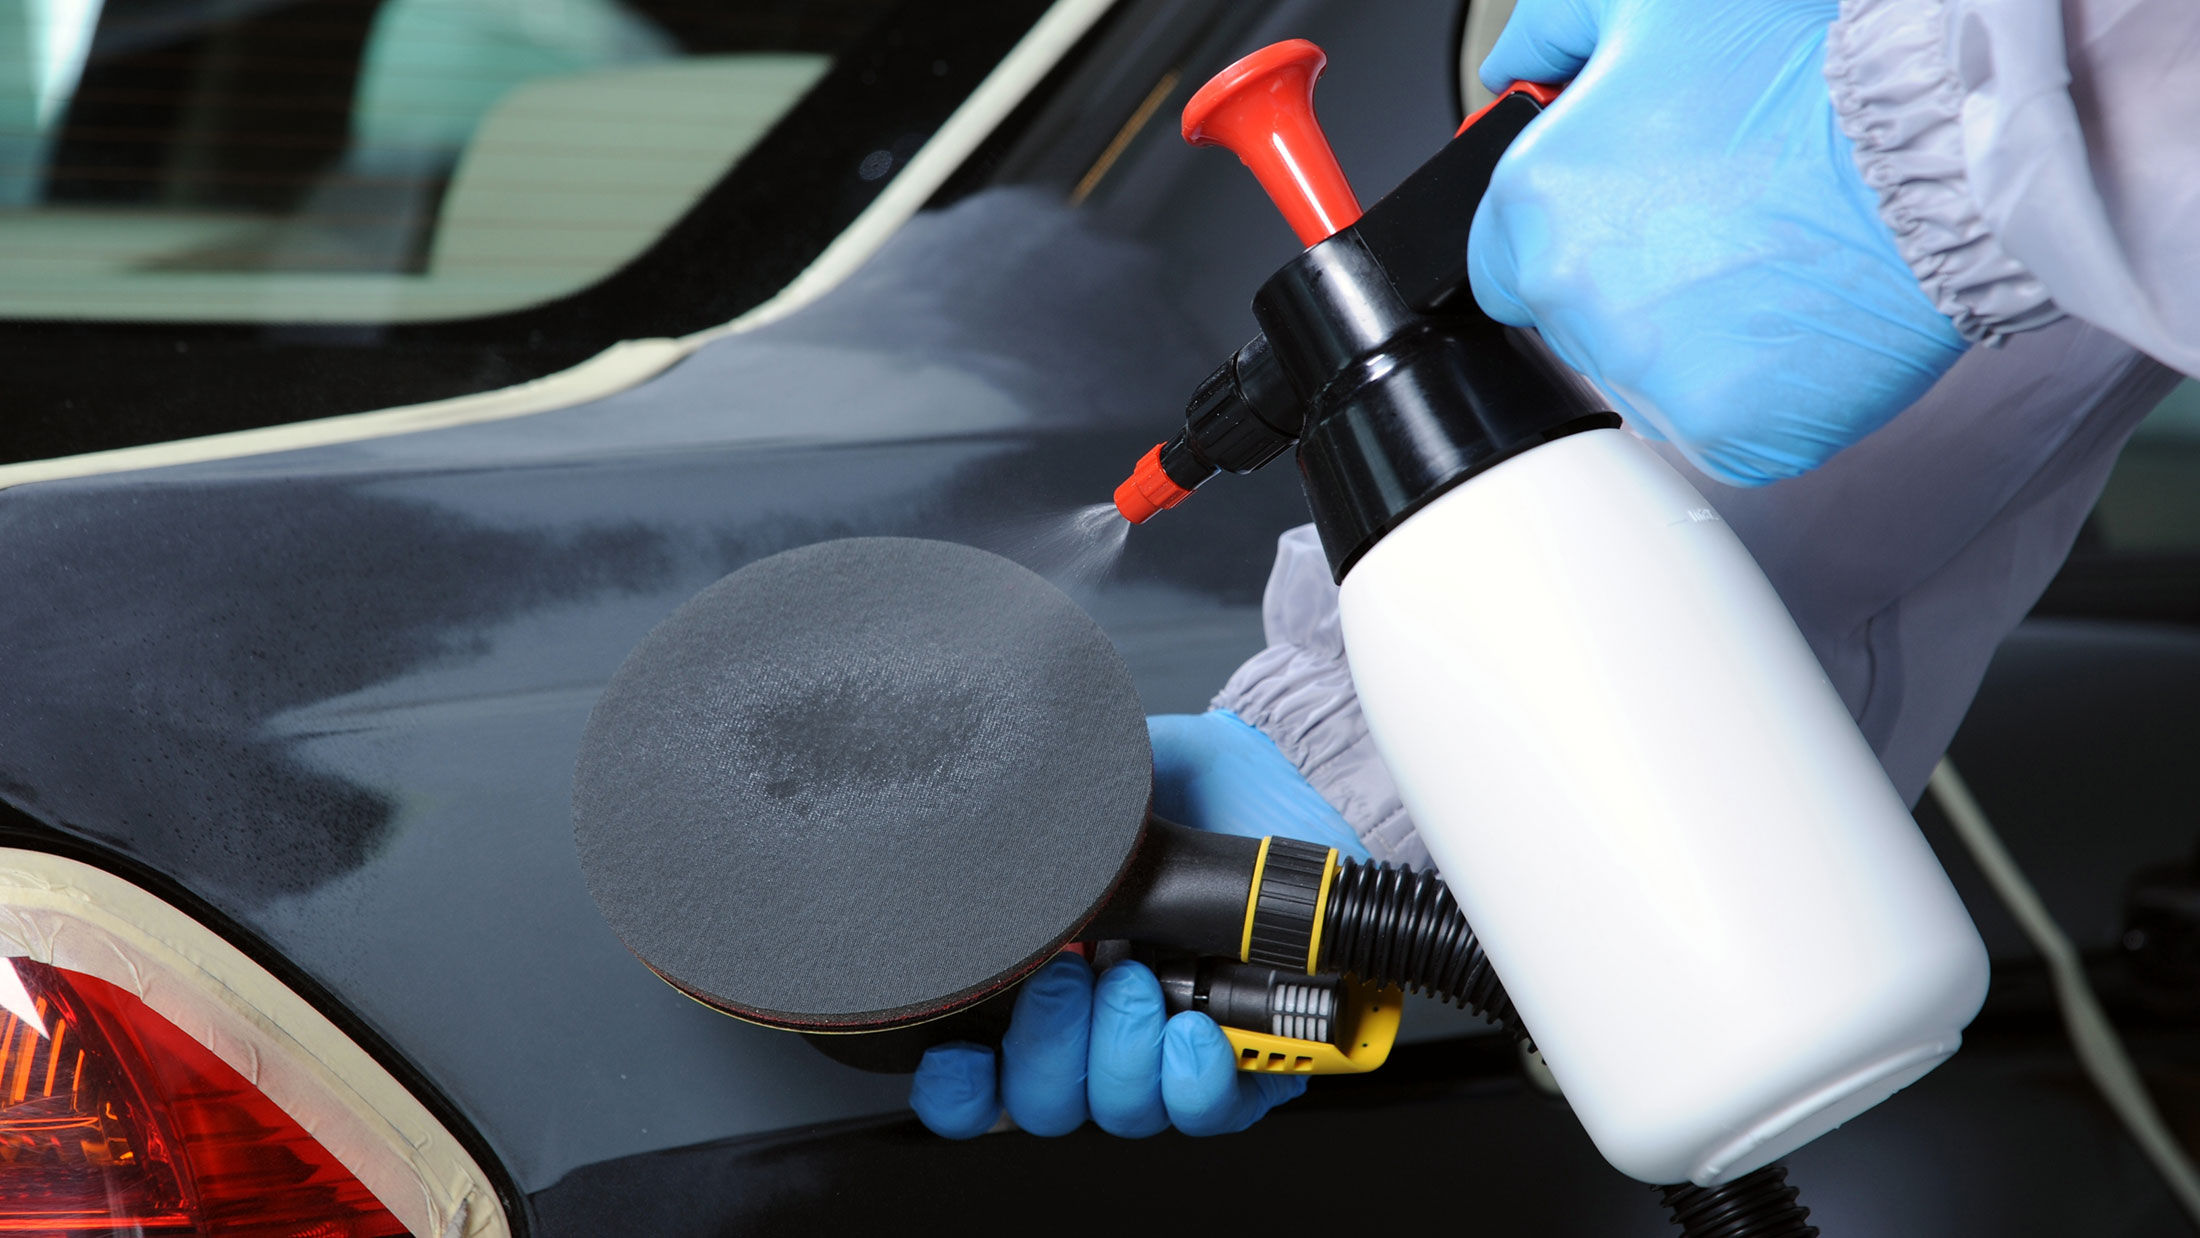
Grip-back sanding discs attach to sander backing pads using a hook-and-loop system. This design allows for fast disc changes between grit levels. It also holds the abrasive in place during extended use on walls and ceilings.
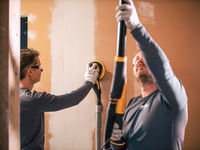
Mirka offers Abranet® Grip discs, which are compatible with 9-inch backing pads. These grip-backed abrasives are recommended for tools like Mirka® LEROS, which is designed for large wall and ceiling surfaces.
Grip attachment helps maintain full contact between the abrasive and the surface, reducing slippage and improving sanding consistency.
Use grip-back discs when:
Grip systems reduce downtime and support efficient sanding, especially in renovation and drywall finishing projects where multiple grits are required.
Always Progress from Coarse to Fine
Using grits in the right order helps control surface texture and avoid rework. Starting too fine won't remove surface defects. Finishing too coarse can leave visible marks under paint.
A steady progression lets each grit level remove the scratches left by the one before it. This builds a smoother surface in fewer passes.
Abrasives are designed to cut with minimal force. Pressing too hard causes uneven sanding, gouging, and premature wear. It also increases dust and reduces visibility. Consistent light pressure helps the abrasive cut cleanly and follow the surface shape. This reduces the chance of oversanding and keeps the finish even.
Tool design affects how grit performs. Larger sanding heads spread force evenly over wide surfaces. Smaller tools give better access and control in detailed areas.
Pairing the right tool with the right grit improves sanding speed and reduces effort. This approach also helps avoid common problems like swirl marks, missed spots, or surface damage.
For large drywall surfaces, Mirka® LEROS used with Abranet® Grip discs supports even grit distribution and reduces fatigue. For edges or confined areas, compact tools like Mirka® DEROS offer better control while maintaining full abrasive performance.
Choosing the right sandpaper grit for drywall repair is essential to achieve a smooth, paint-ready surface. Each grit plays a specific role in the repair process, from rough sanding to final surface prep.
Matching the correct grit with the right sanding method and tool setup helps reduce effort, avoid common surface issues, and improve efficiency. By following a clear grit progression and using appropriate sanding techniques, professionals can deliver consistent results and reduce the need for rework.