

2+1 years
Register Your Tool
All Mirka power tools have a standard two-year warranty. Get an additional 1 year of warranty free of charge by registering your tool within 30 days of purchase.
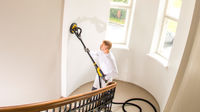
Keep your tools in excellent shape on myMirka where you can register, manage and order repair for your tools.
Replenish your stock, access marketing materials, view sales guides and read about upcoming product launches.
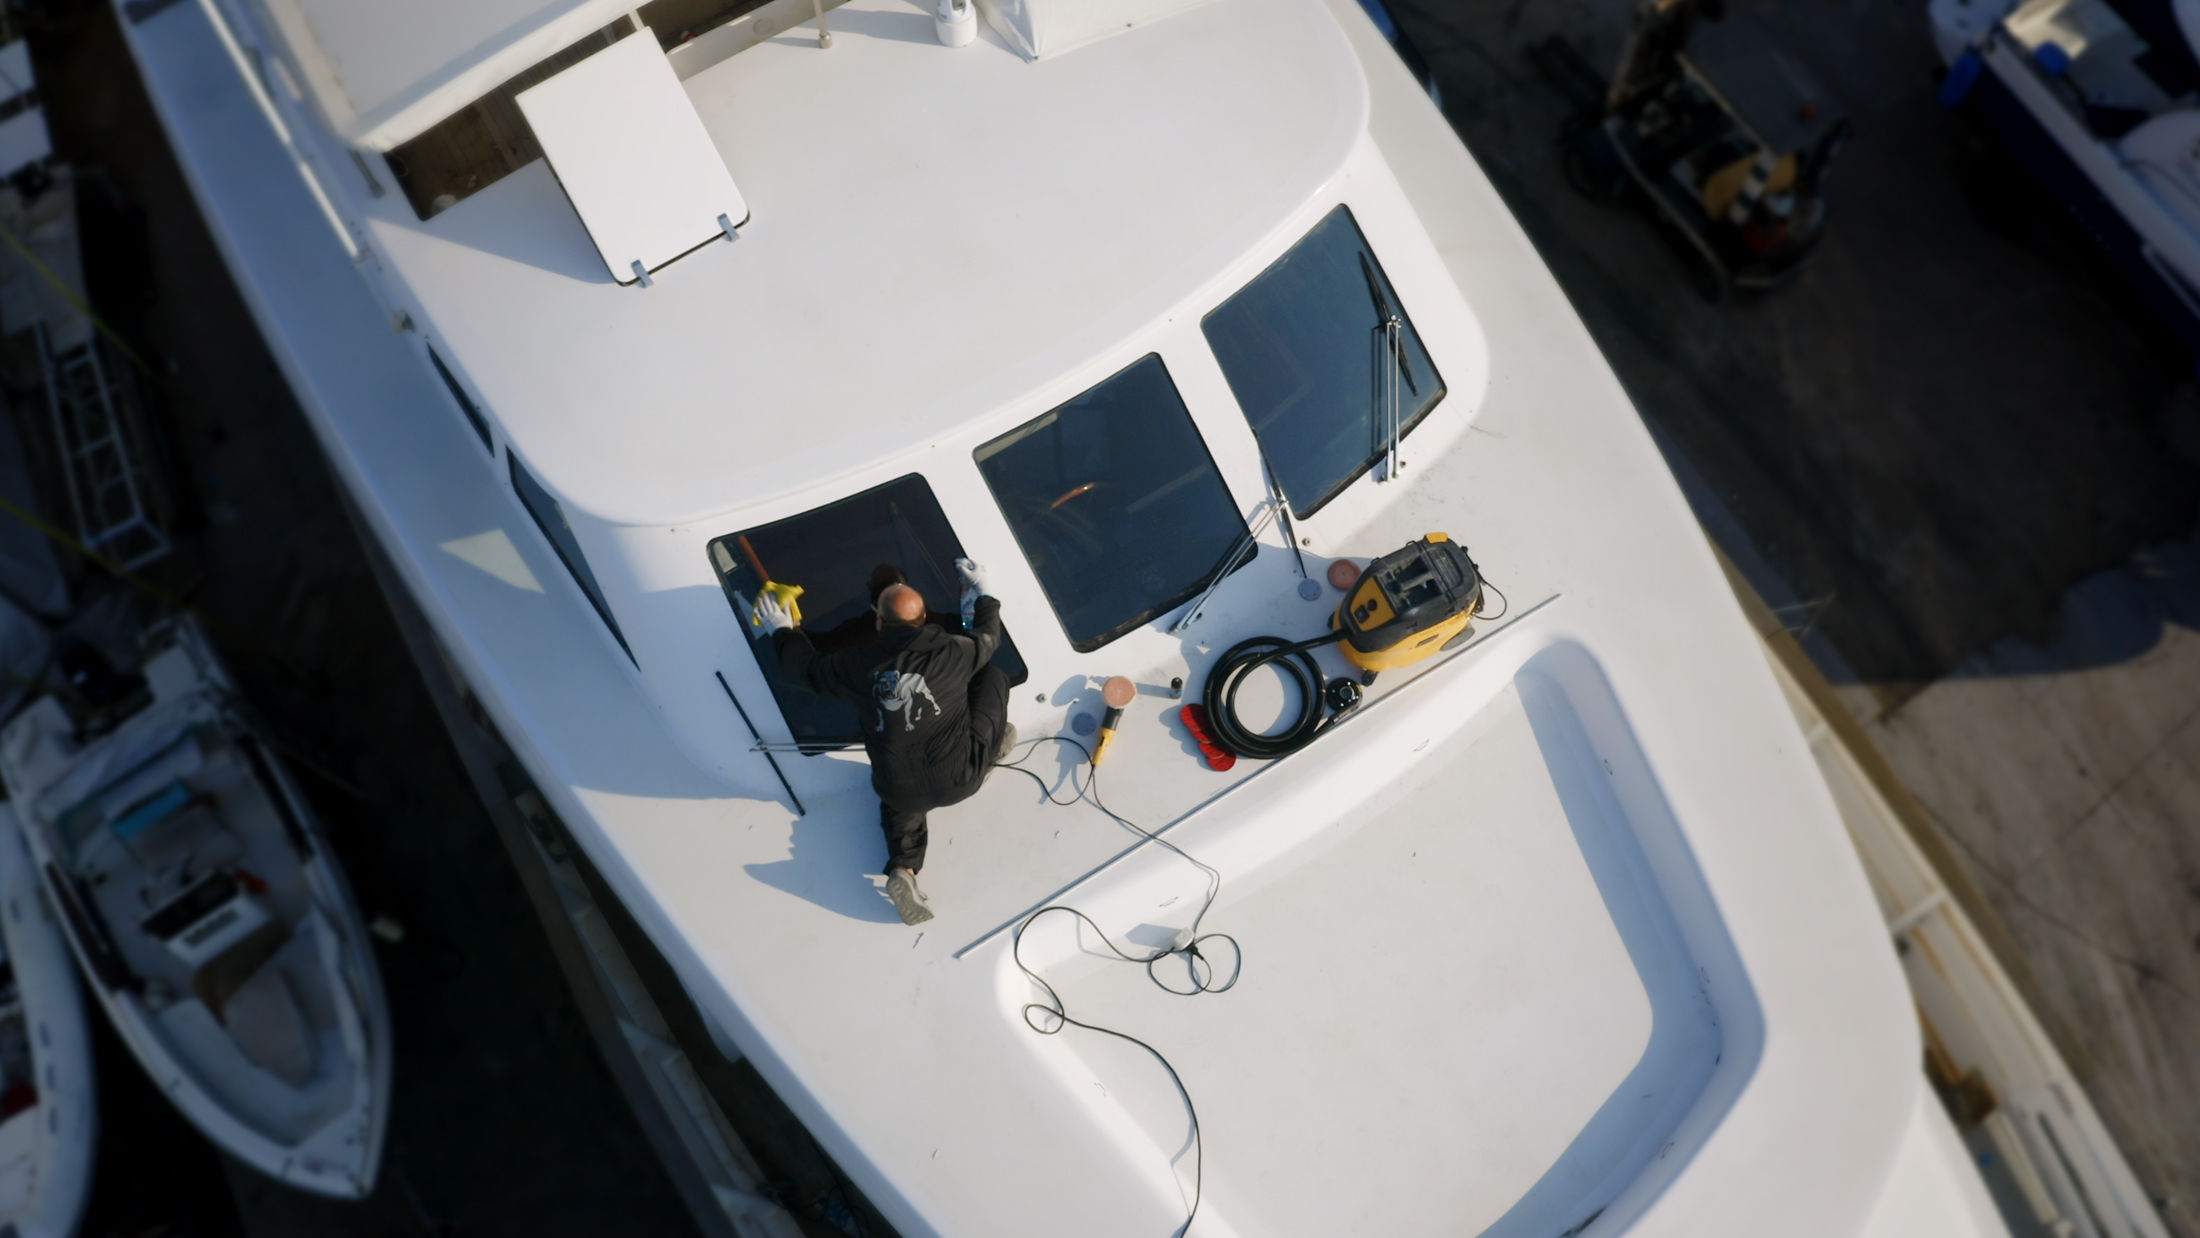
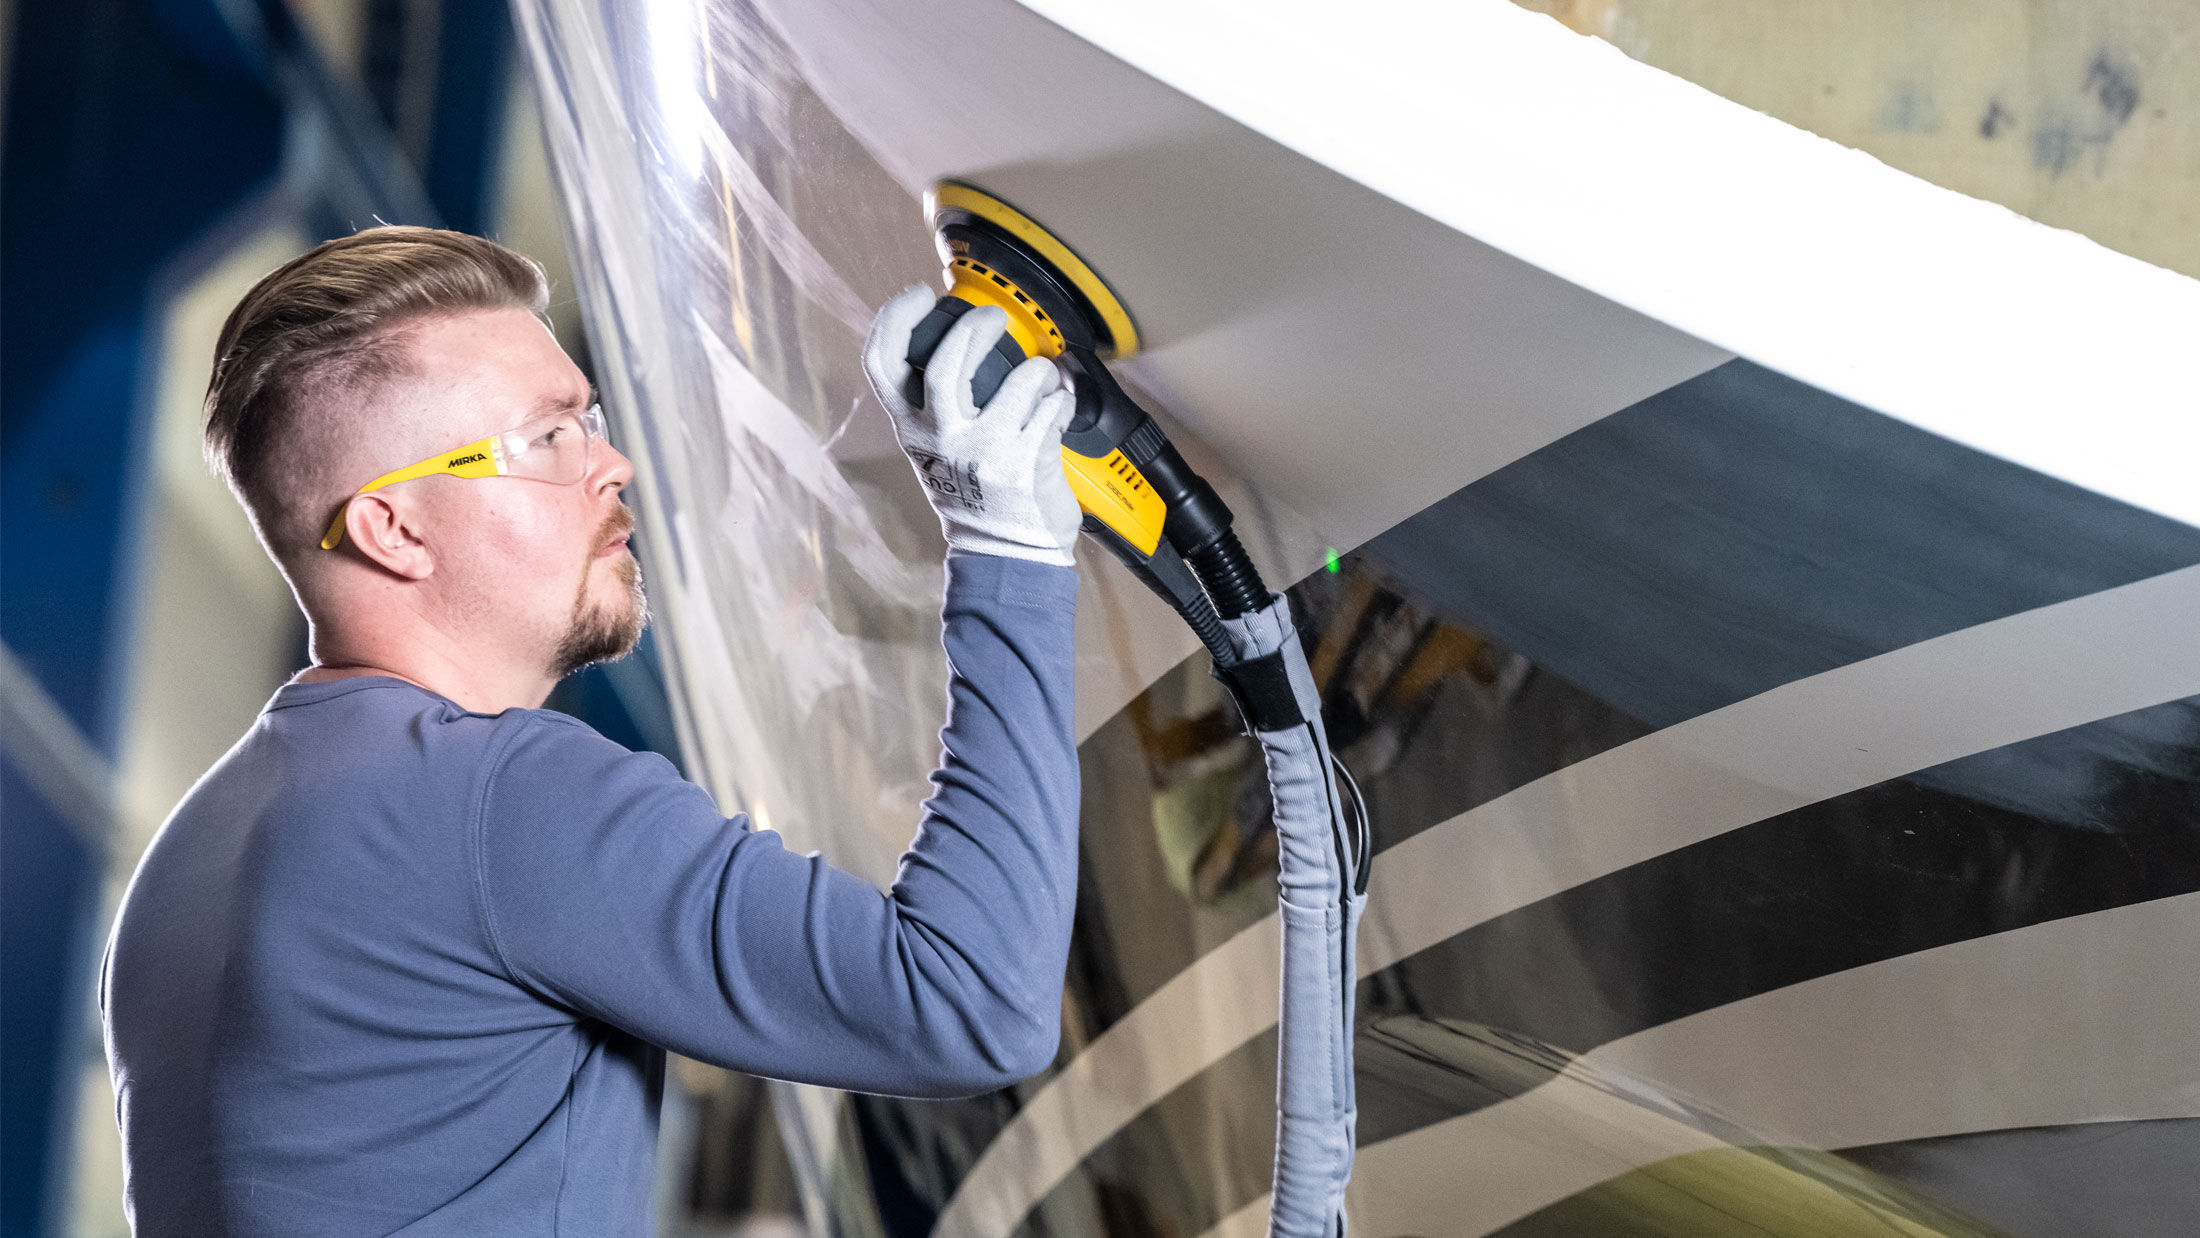
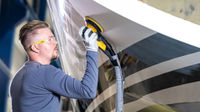
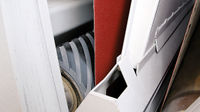
Every window and transparent surface on every yacht, ship, and boat requires care and maintenance, to get the best view for safety, but also for enjoying a perfect sunset. Acrylic, plexiglass, and glass windows can get scratches and small defects. Instead of replacing, you can polish and refurbish: blemishes can easily be removed with sanding and polishing using Mirka products.
Depending on the depth of the scratches and quality of the material, Mirka offers various solutions designed to give you the perfect finish for the high seas.
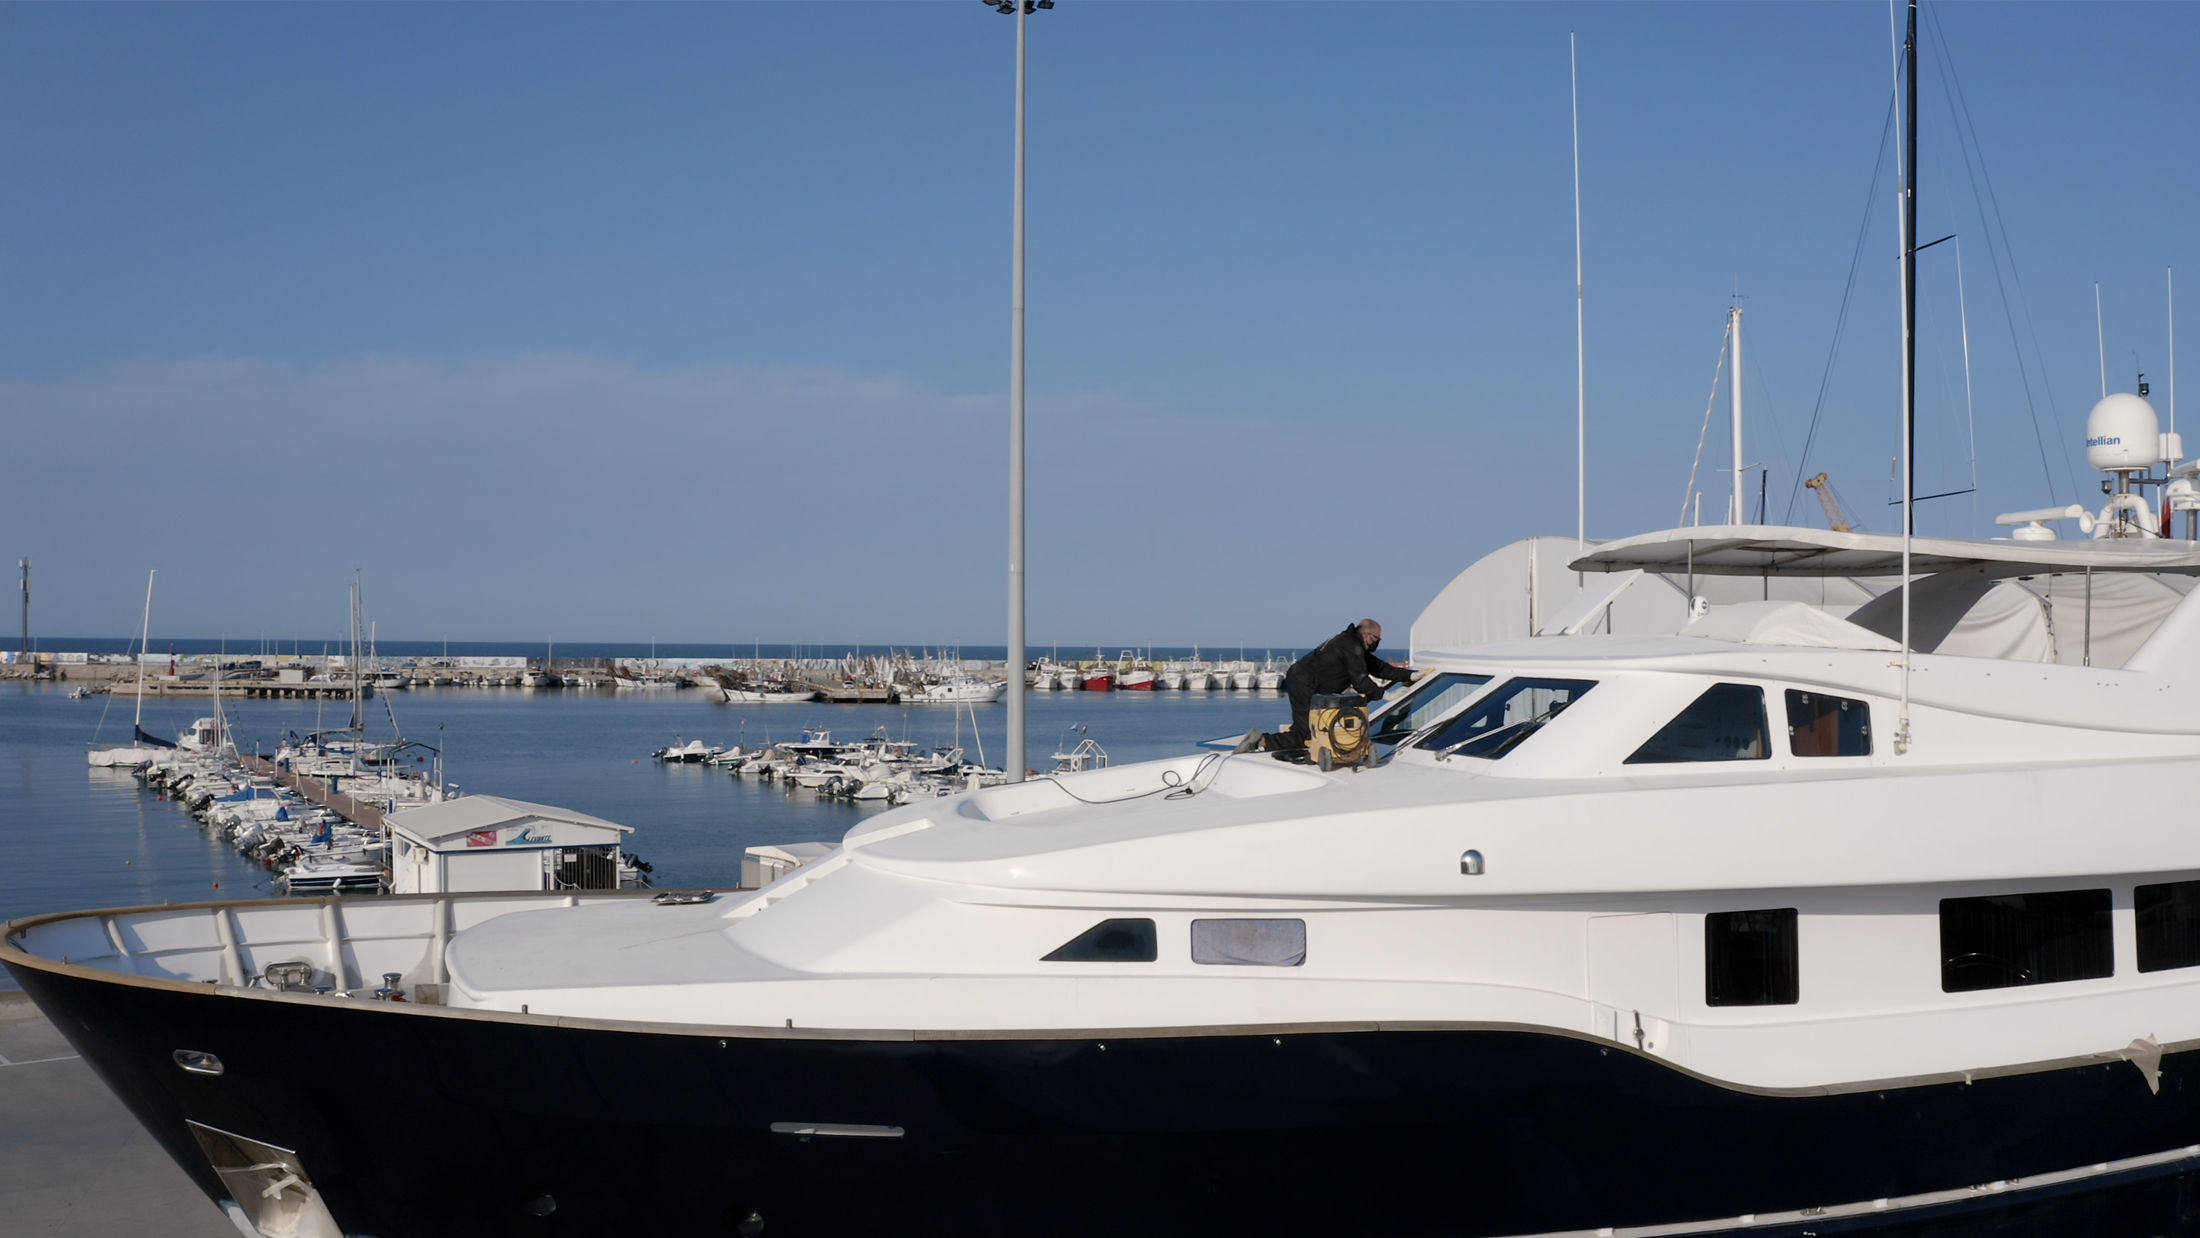
For yachts and boats
Spray the surface wet and wipe it clean.
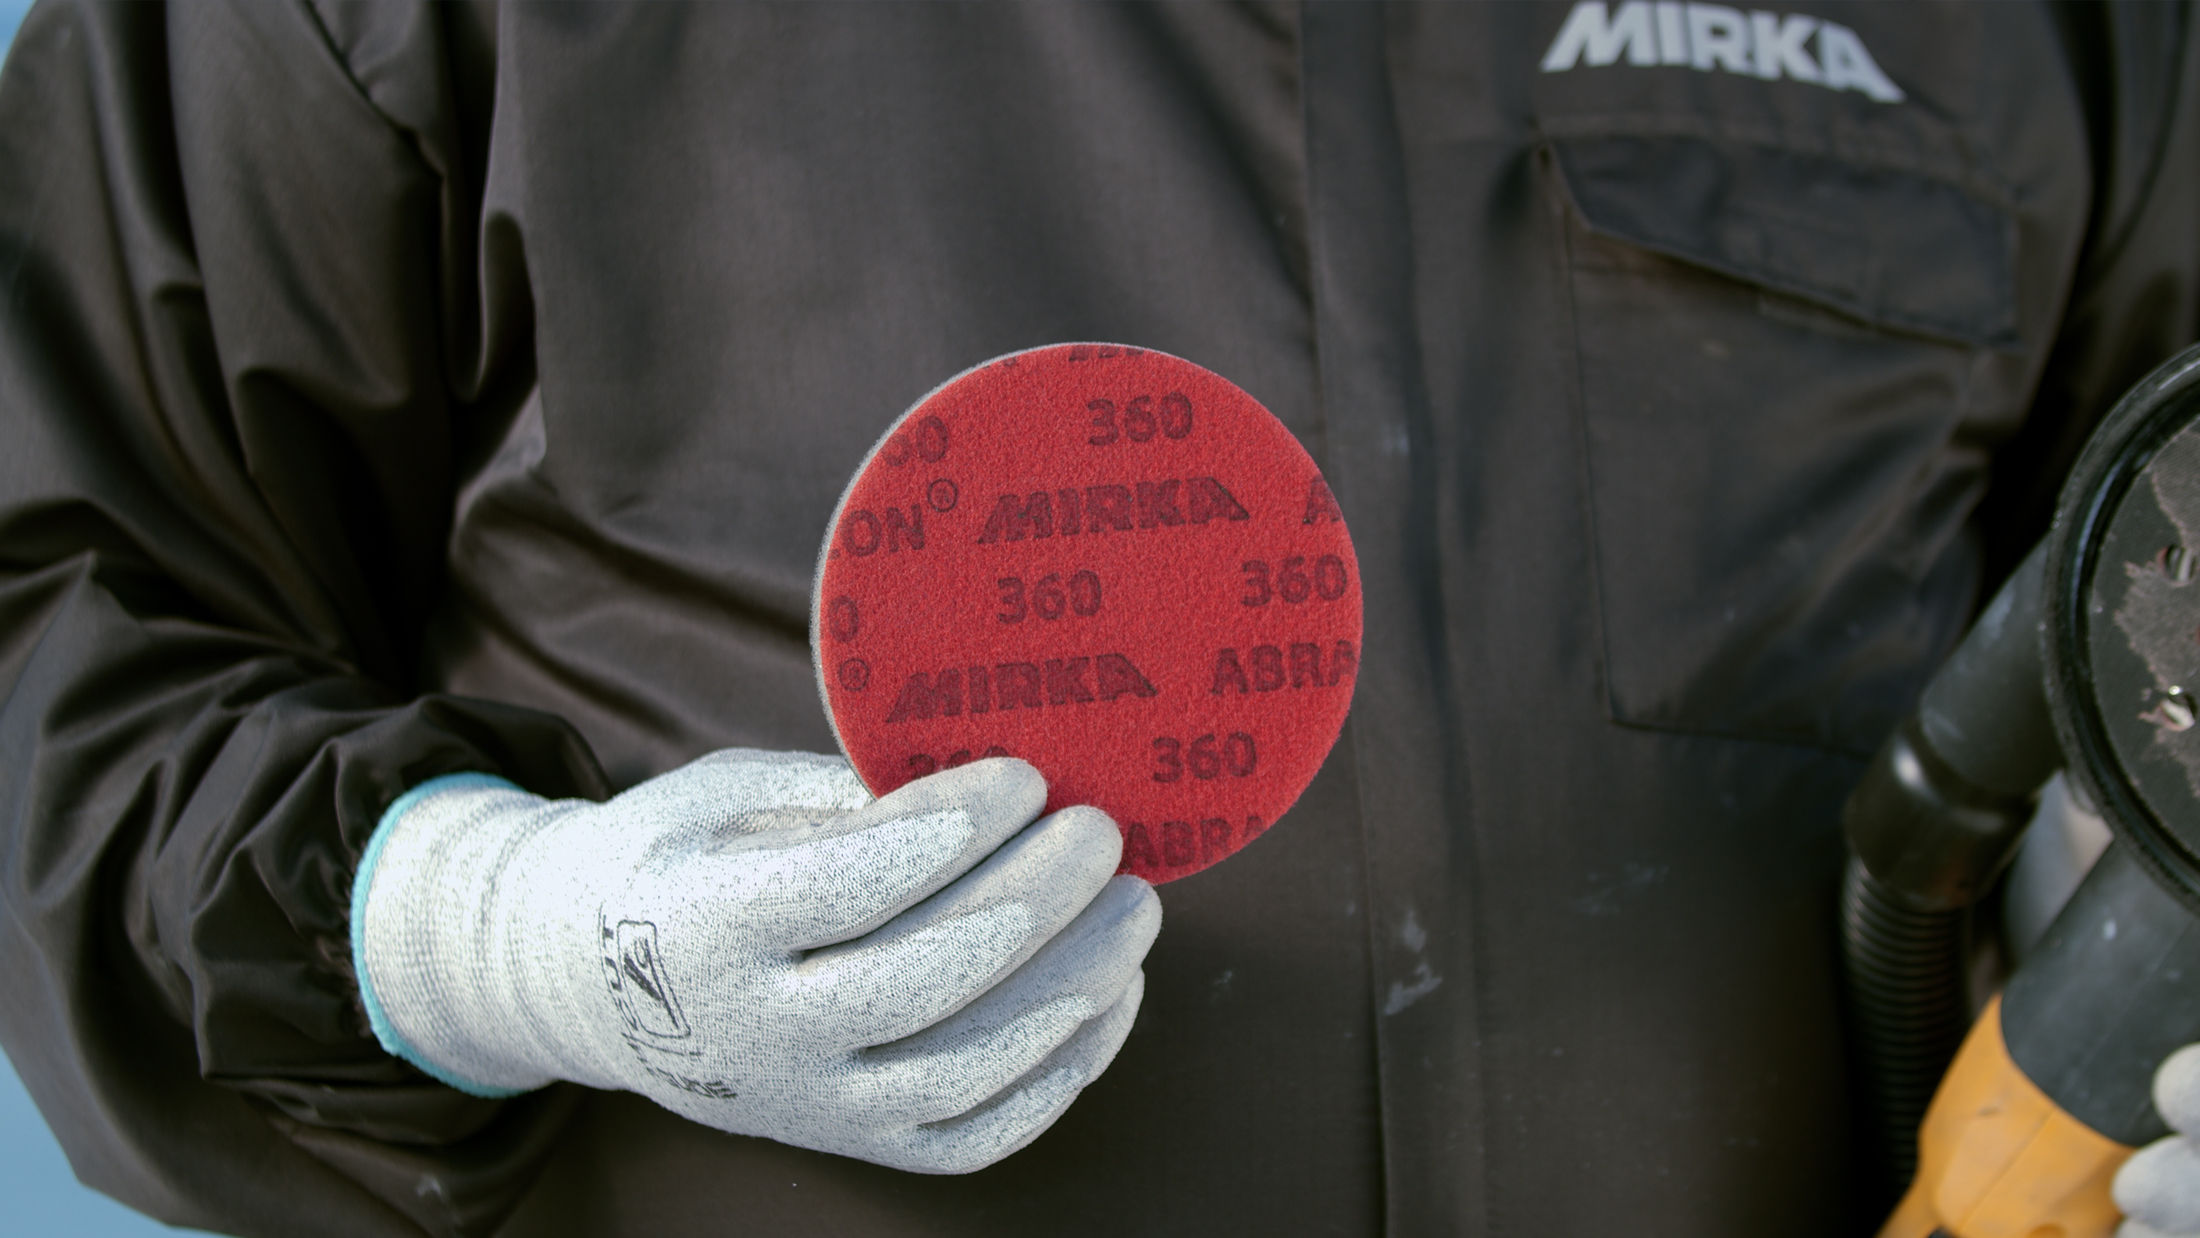
3/7 - Step 1
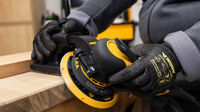
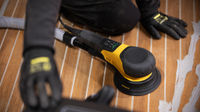
Starting with Abralon® 360 and a Mirka® DEROS RS sander, to suit the depth of the scratches.
Wipe the surface with a sponge.
4/7 - Step 2
Move to finer Abralon 500
Wipe the surface again.
5/7 - Step 3
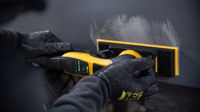
Continue sanding with Abralon 600.
6/7 - Step 4
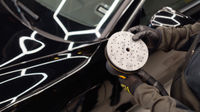
Sand with Abralon 1000.
After that move on to the polishing process.
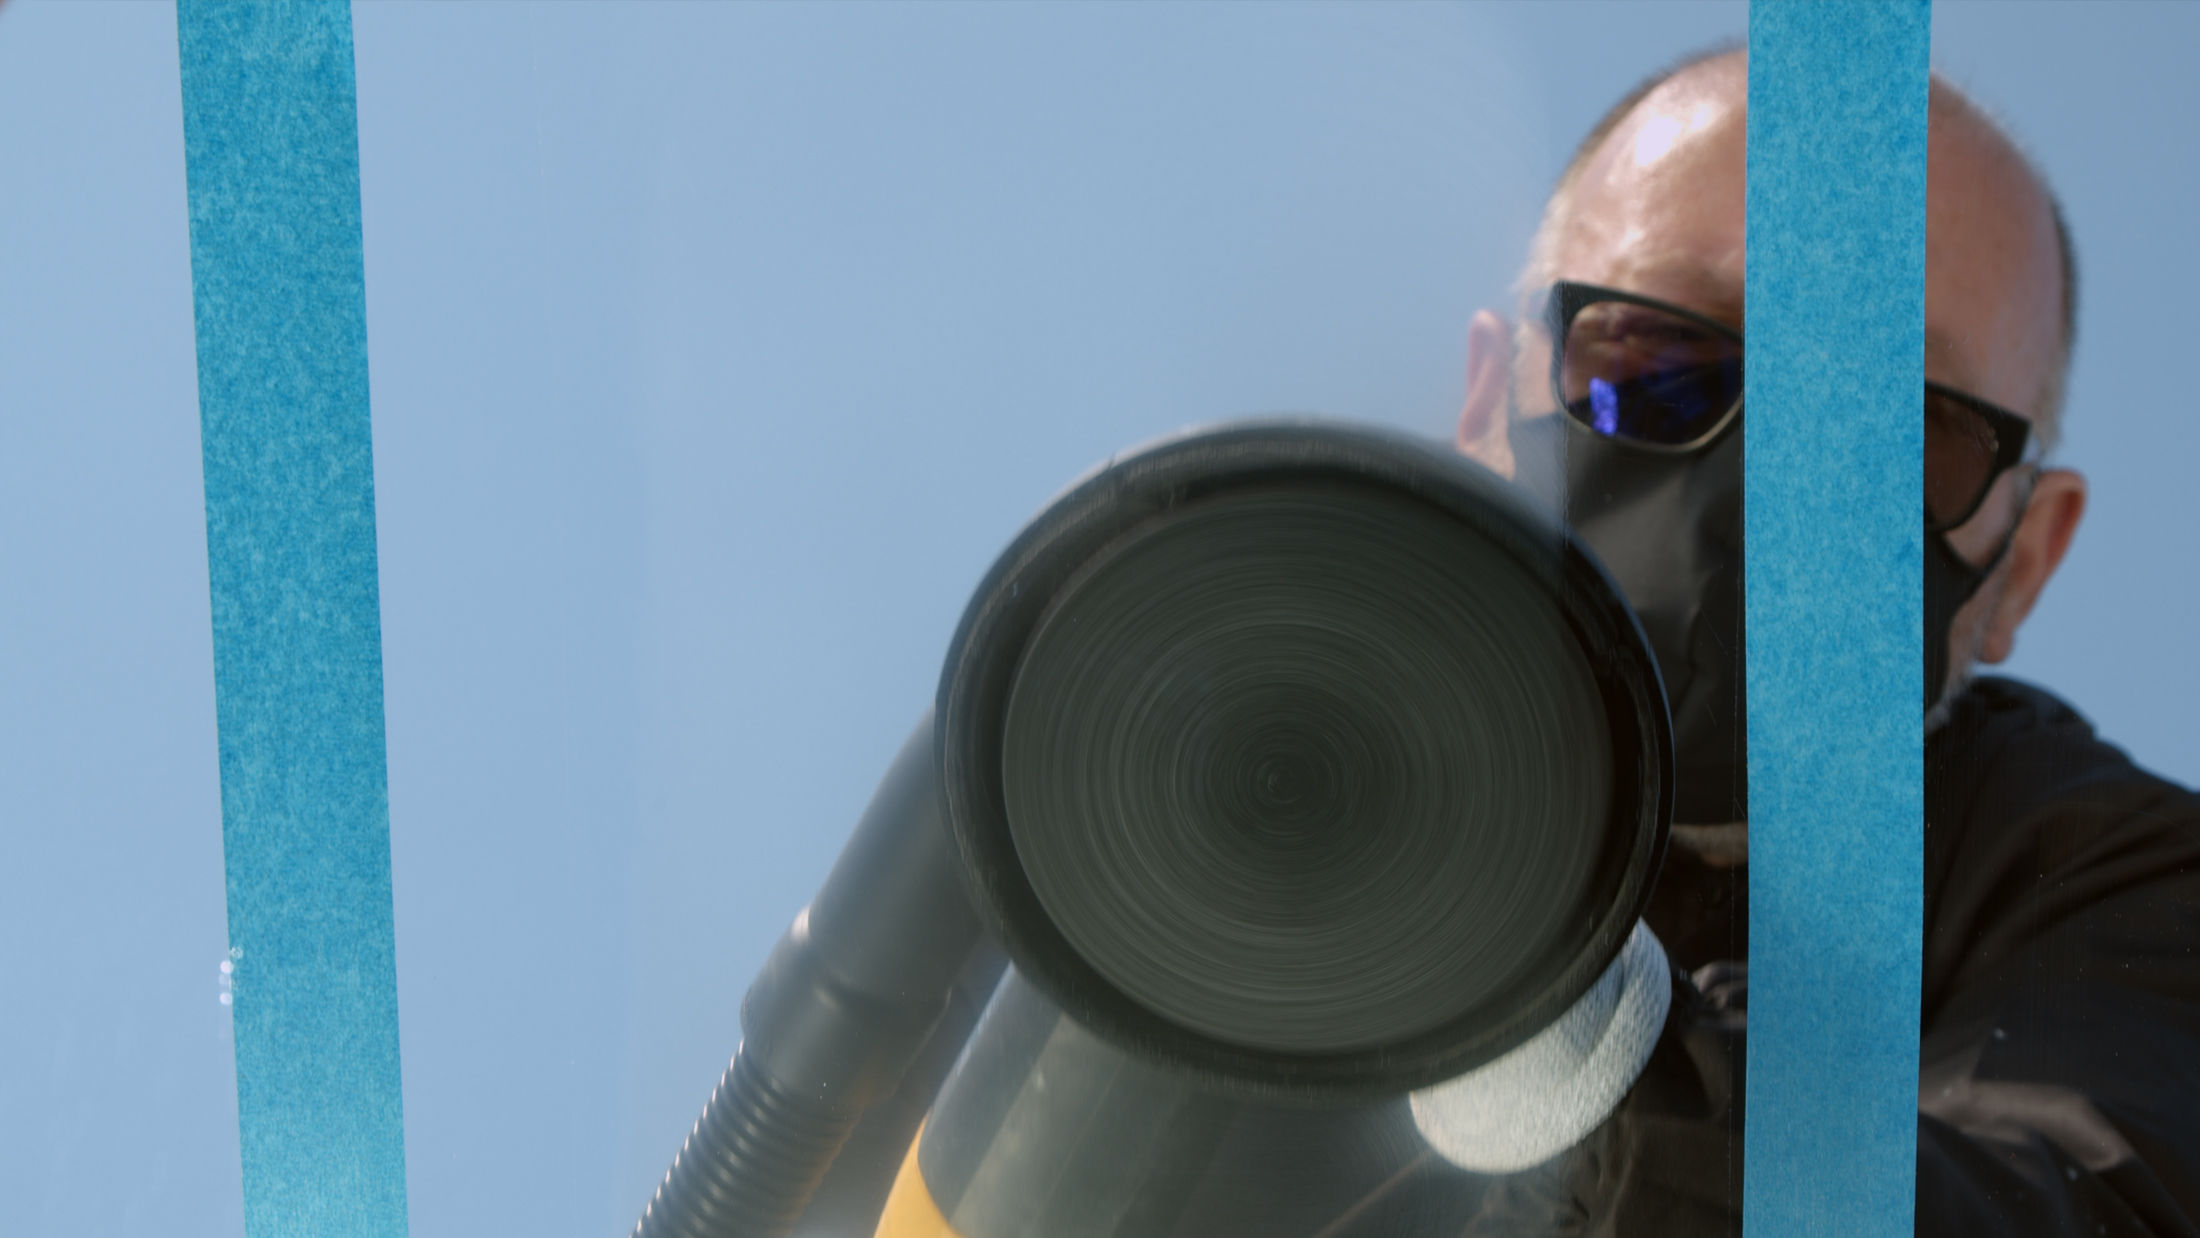
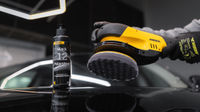
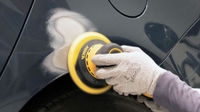
Polishing with Polarshine® E3 and Looped Wool Pad.
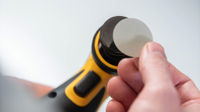
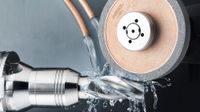
Corded 150 mm polisher
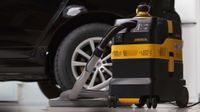
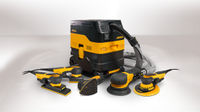
The POLAROS® RP 600 is a professional 150 mm rotary polisher, powered by a quiet 750 W brushless motor.
POLAROS's low-profile, lightweight design offers superb control, making it ideal for detailing, bodywork, marine, wood, and glass applications.
The unique, patent-pending Ramp Up and Ramp Down functions add to the POLAROS's usability by ensuring smooth starts without splatter and protecting the polisher and the surface from excessive pressure.
Harness the power of modern polishing technology in every finish with POLAROS.
Do you want to know more about our marine surface finishing solutions? Please get in touch and our expert support team will answer your questions.
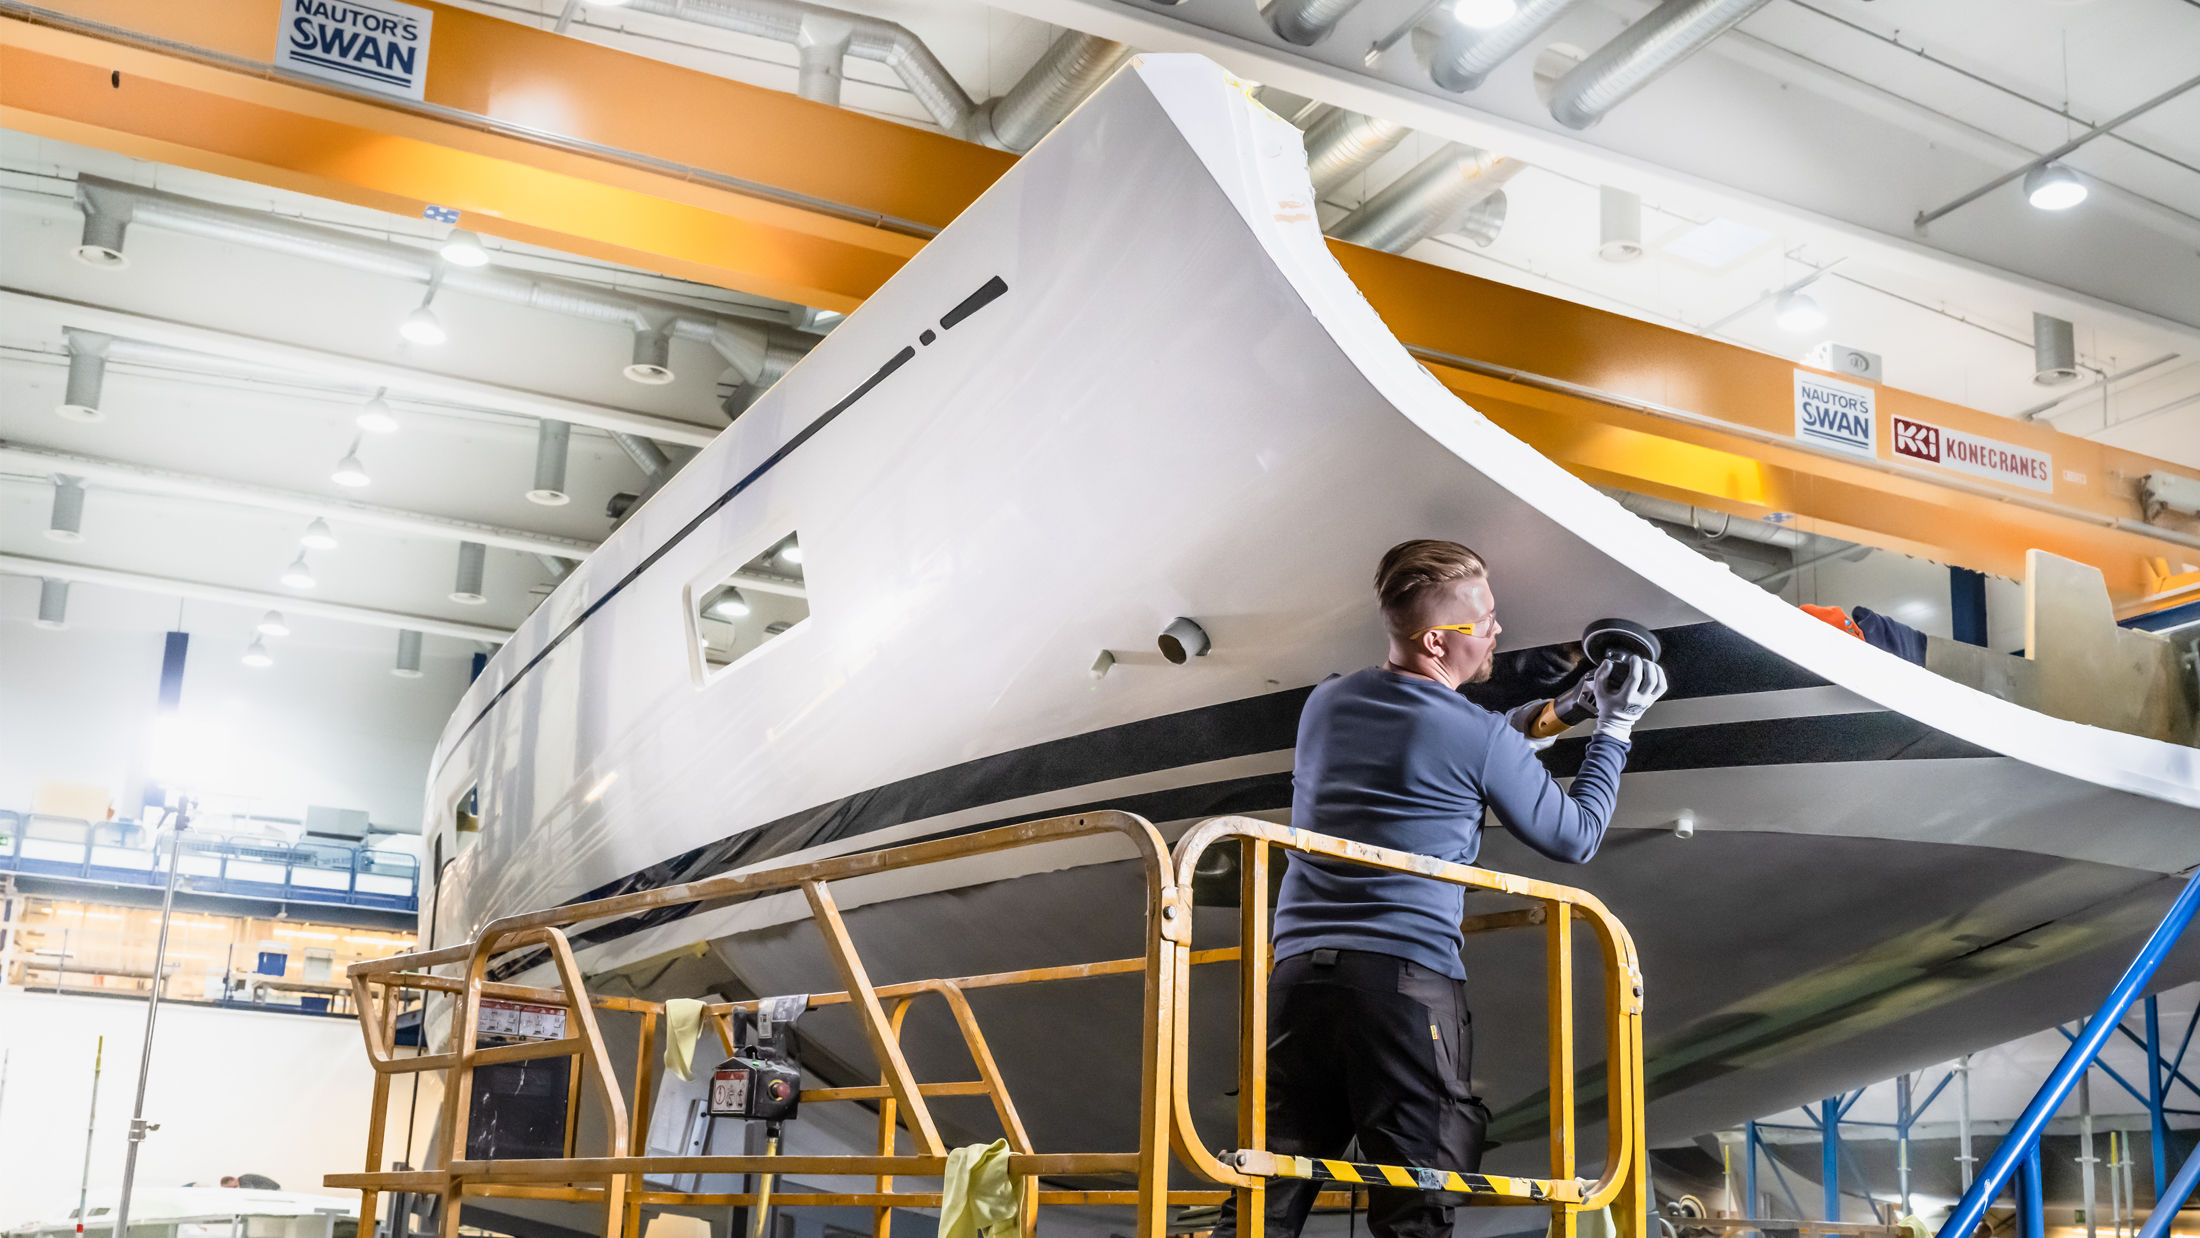
Nautor's Swan, Finland
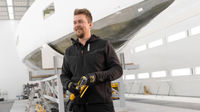
For Finnish yacht builder Nautor, a high-quality finish is about respecting the company’s roots and heritage, and it takes the best kind of power tools and abrasives to accomplish that. Benny Brännbacka from Nautor shares with us what it means to collaborate with Mirka, and how important client satisfaction is when building spectacular yachts with Mirka's solutions.
'Working with Mirka is very good, we are continuously collaborating.'
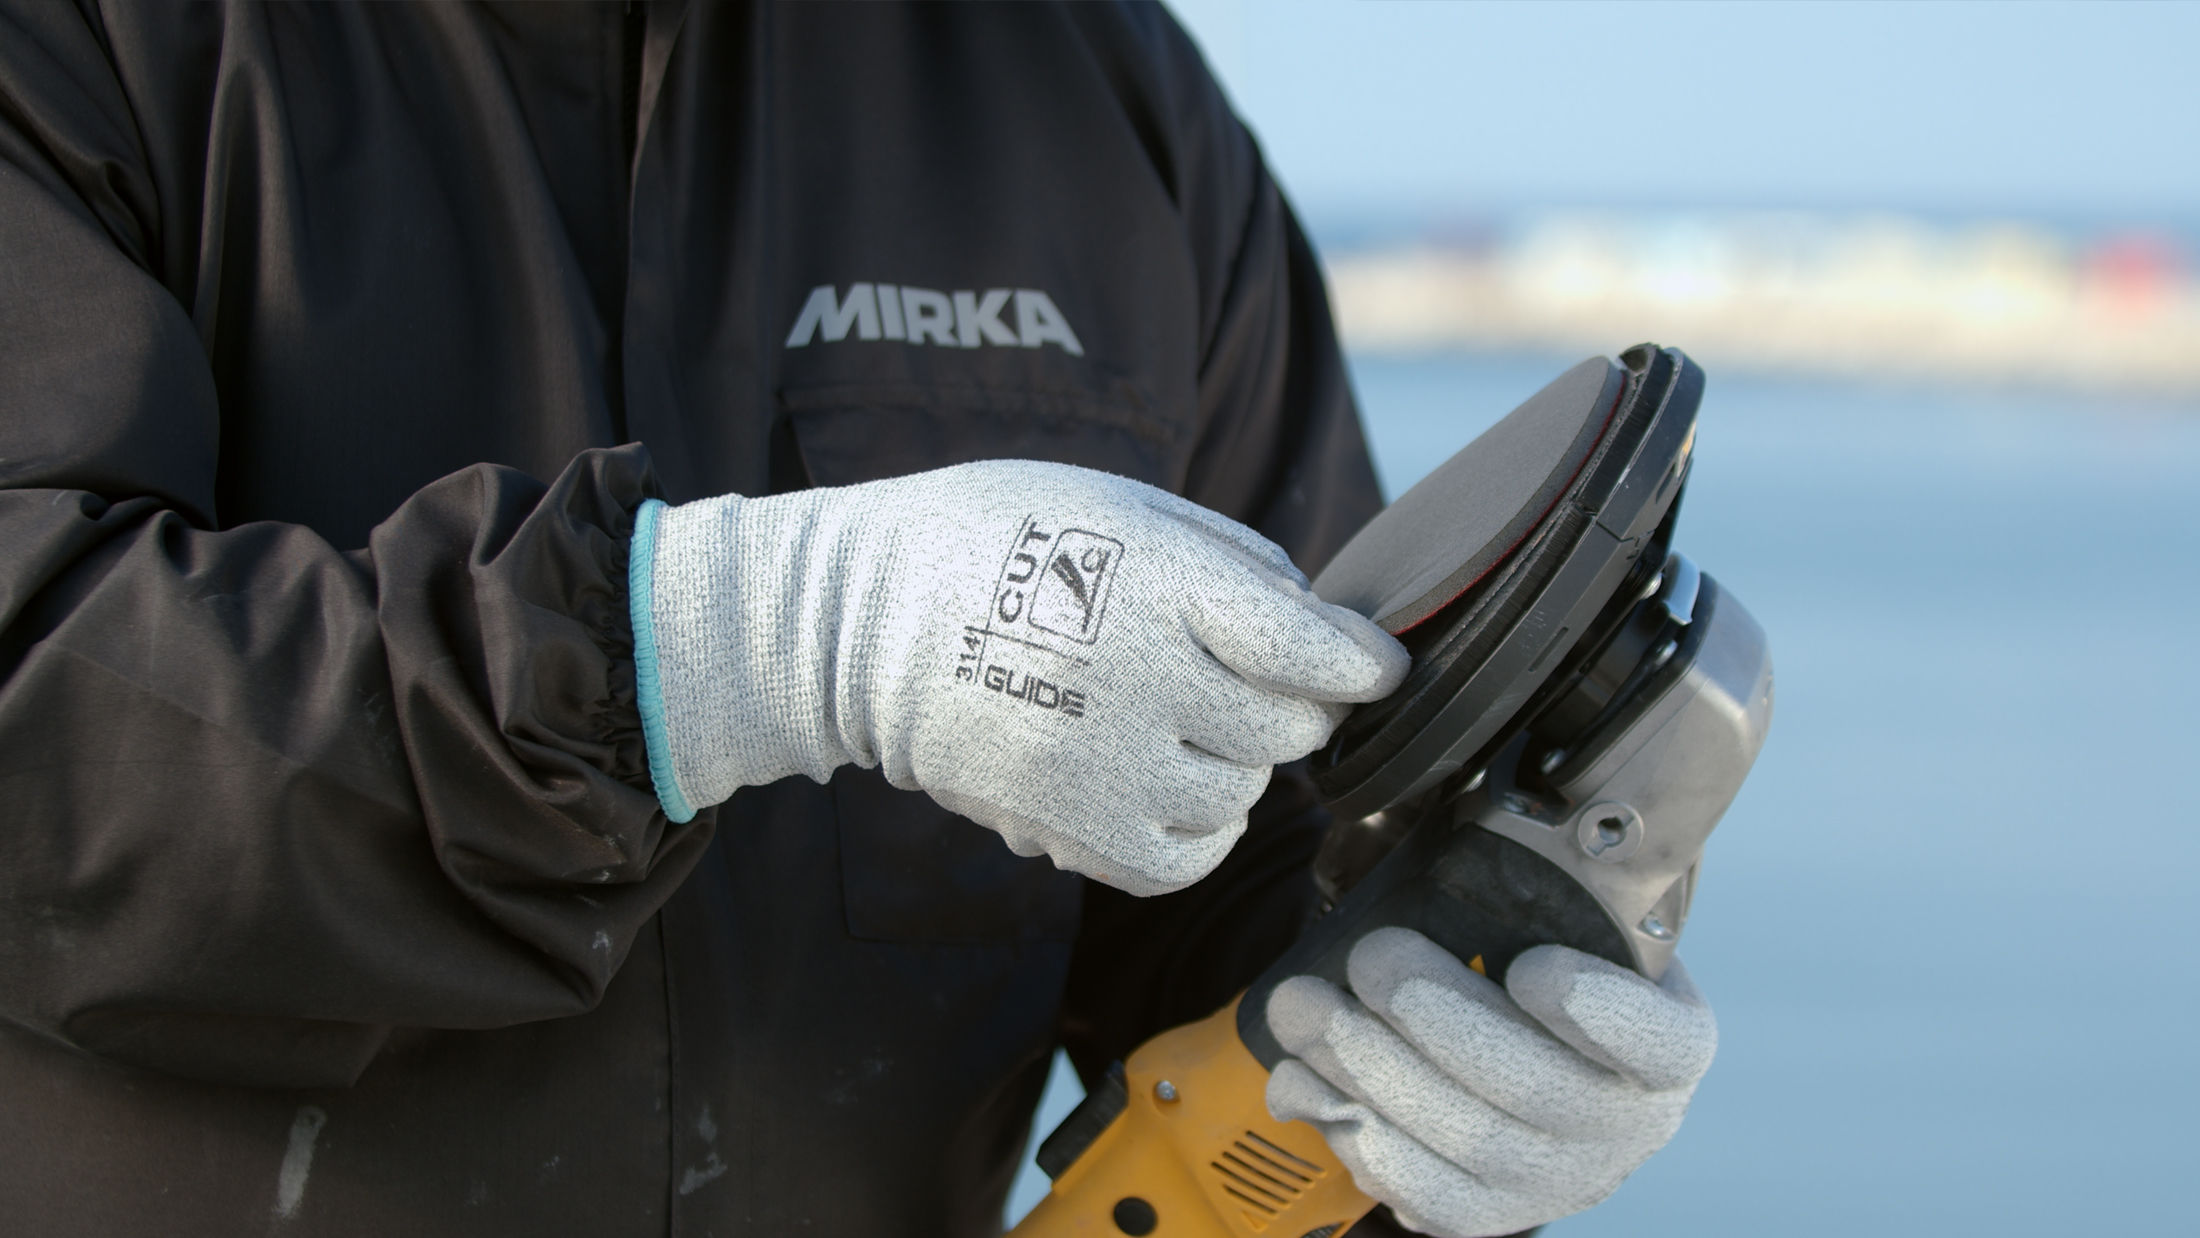
Save time and money – You can cut costs and reduce working hours
Sand and polish safely without strain – Our tools and abrasives are ergonomic, efficient, and easy to use
Improve the quality of work – The finish is excellent, with less effort
Save your health, time, and money
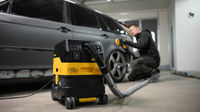
Do you get covered in dust when sanding? Try the benefits of Mirka's pioneering sanding solutions and see how a dust-free working environment can boost your business.
Healthier working environment – Stop dust from getting into your lungs
Time-saving – No cleaning after sanding and clean abrasives cut better
Money-saving – No clogging lets you sand longer with the same abrasive
High-quality finish – Thanks to a finer scratch pattern
All Mirka polishes are water-based and produced in Finland. There are many benefits of choosing a water-based polishing compound.
Water-based compounds remove scratches permanently, whereas solvent-based compounds can lose gloss after cleaning the surface with a degreaser and in some cases, they may only temporarily hide the scratches.
Solvent-based polishes may be effective in the short run, but they are more damaging and harmful.
Portfolio Manager, Mirka