Asia/Pacific

Europe

North America

South America

Global

Register and repair tools

Keep your tools in excellent shape on myMirka where you can register, manage and order repair for your tools.

Login to myMirka

Mirka partners

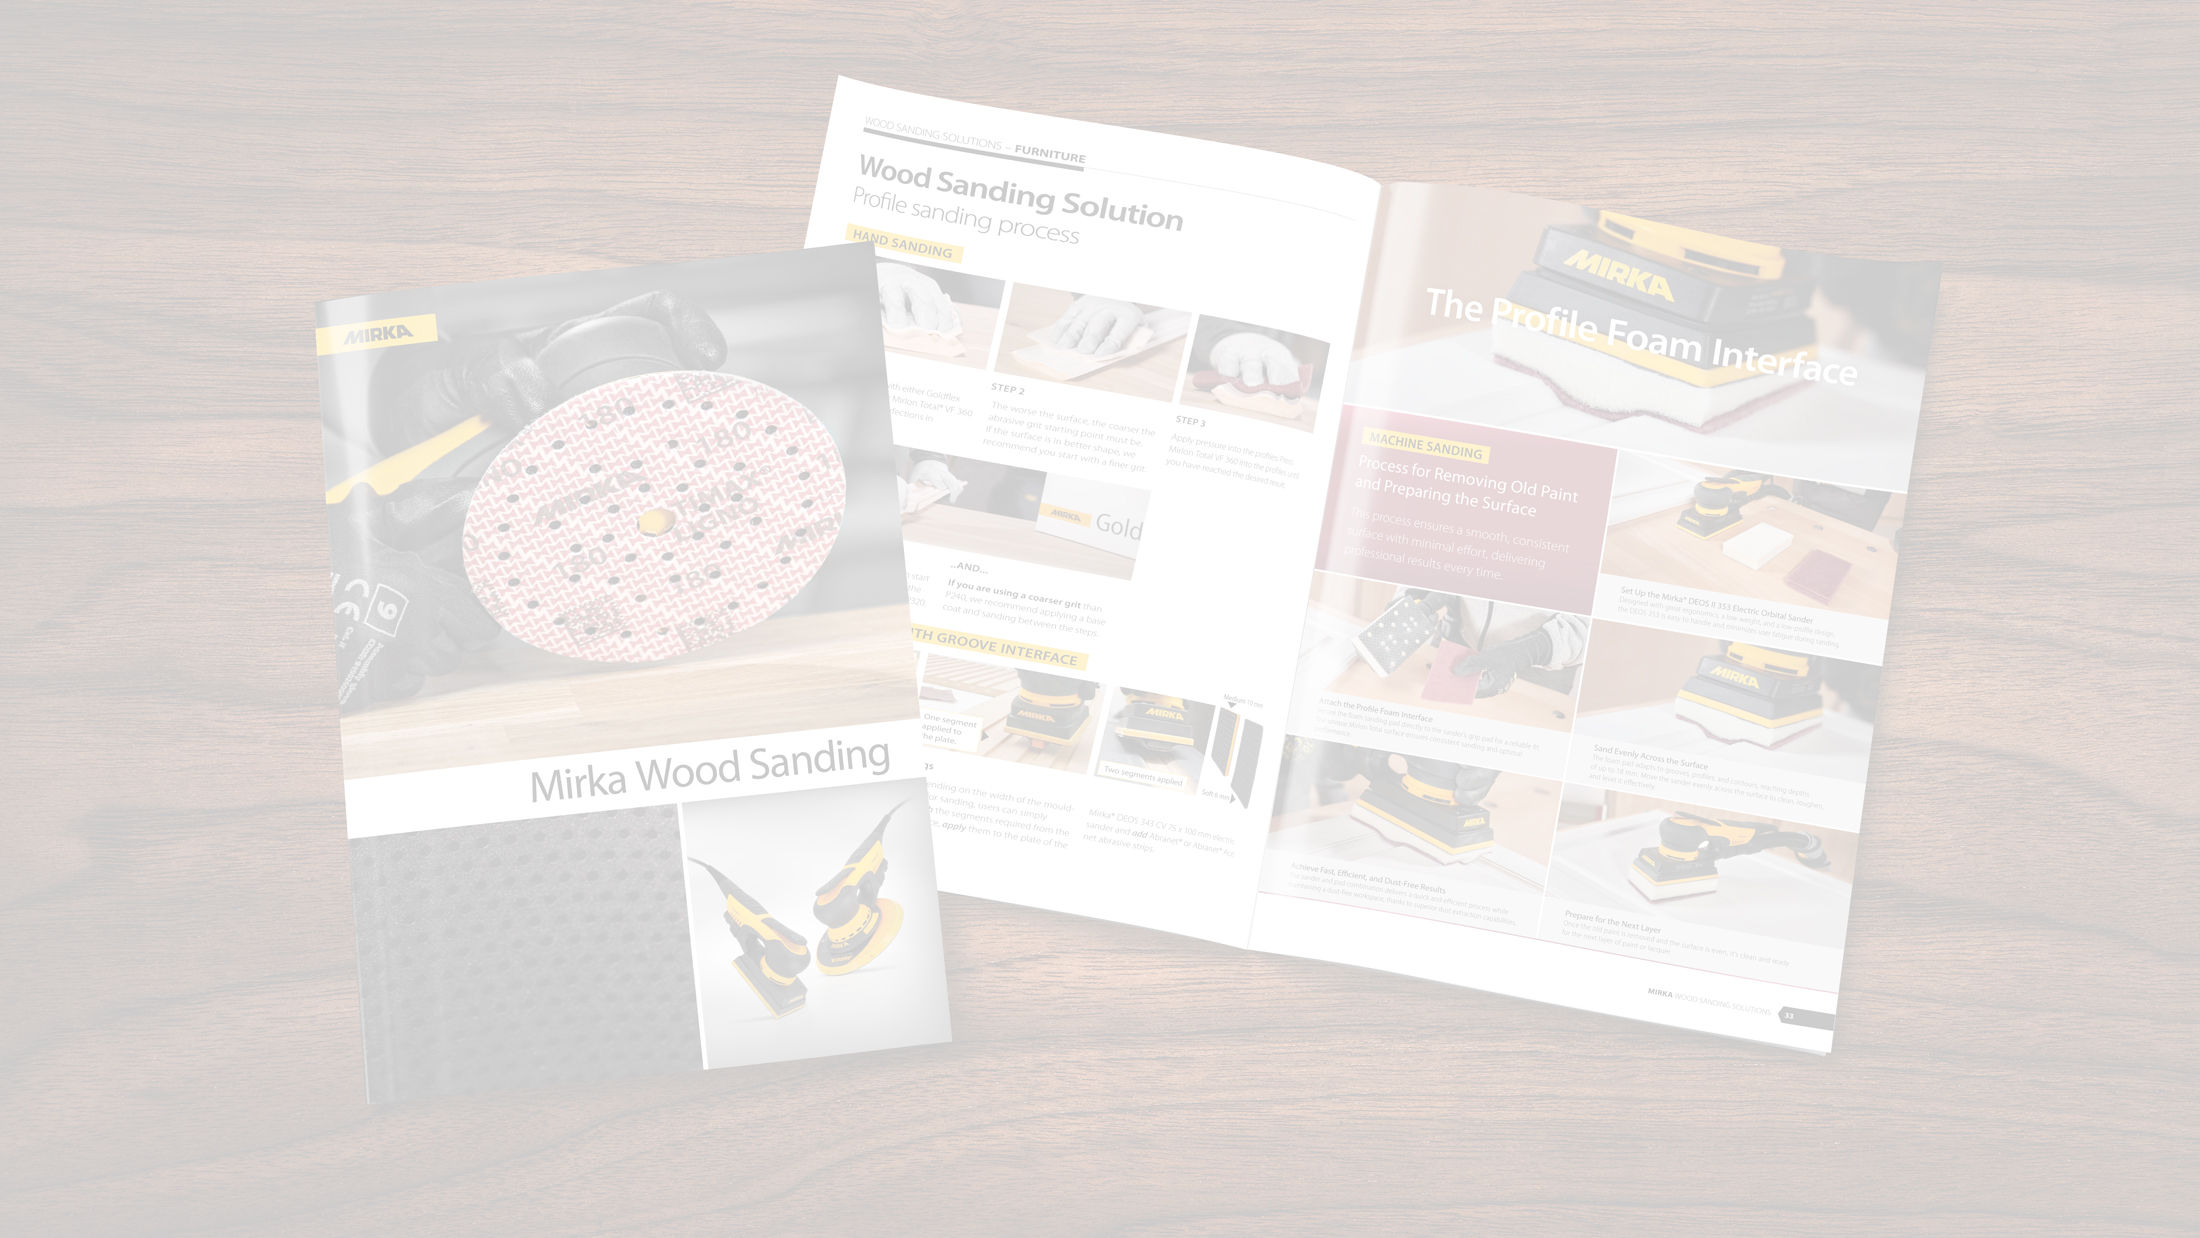
Replenish your stock, access marketing materials, view sales guides and read about upcoming product launches.

Login to Partner Portal

High-Gloss Polishing of Wooden Surfaces

High-gloss polishing of wooden surfaces

How to Achieve a High-Gloss Finish with Polishing

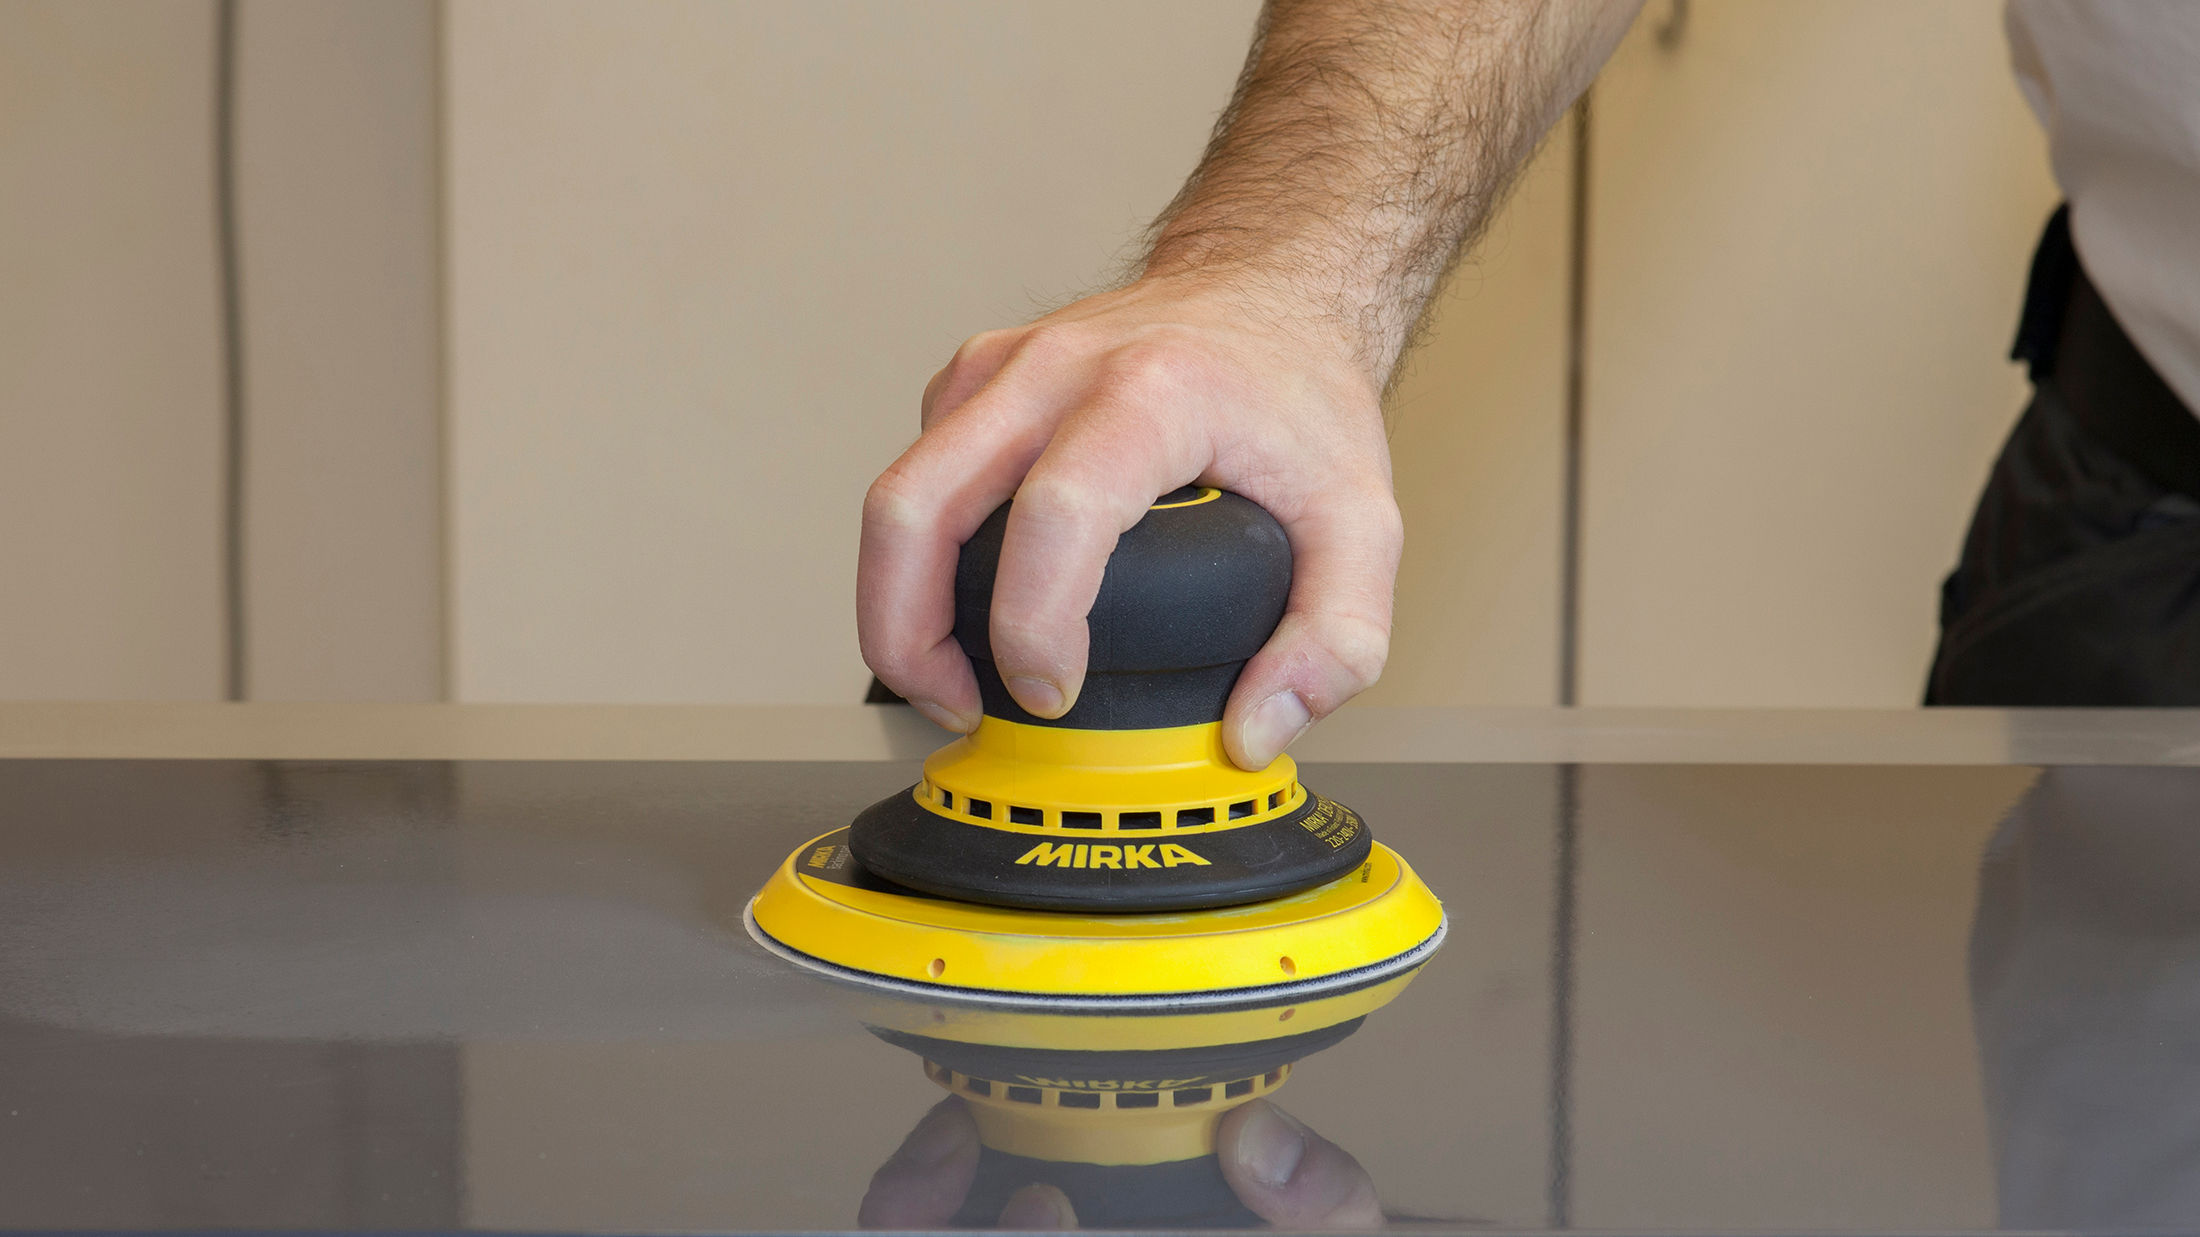
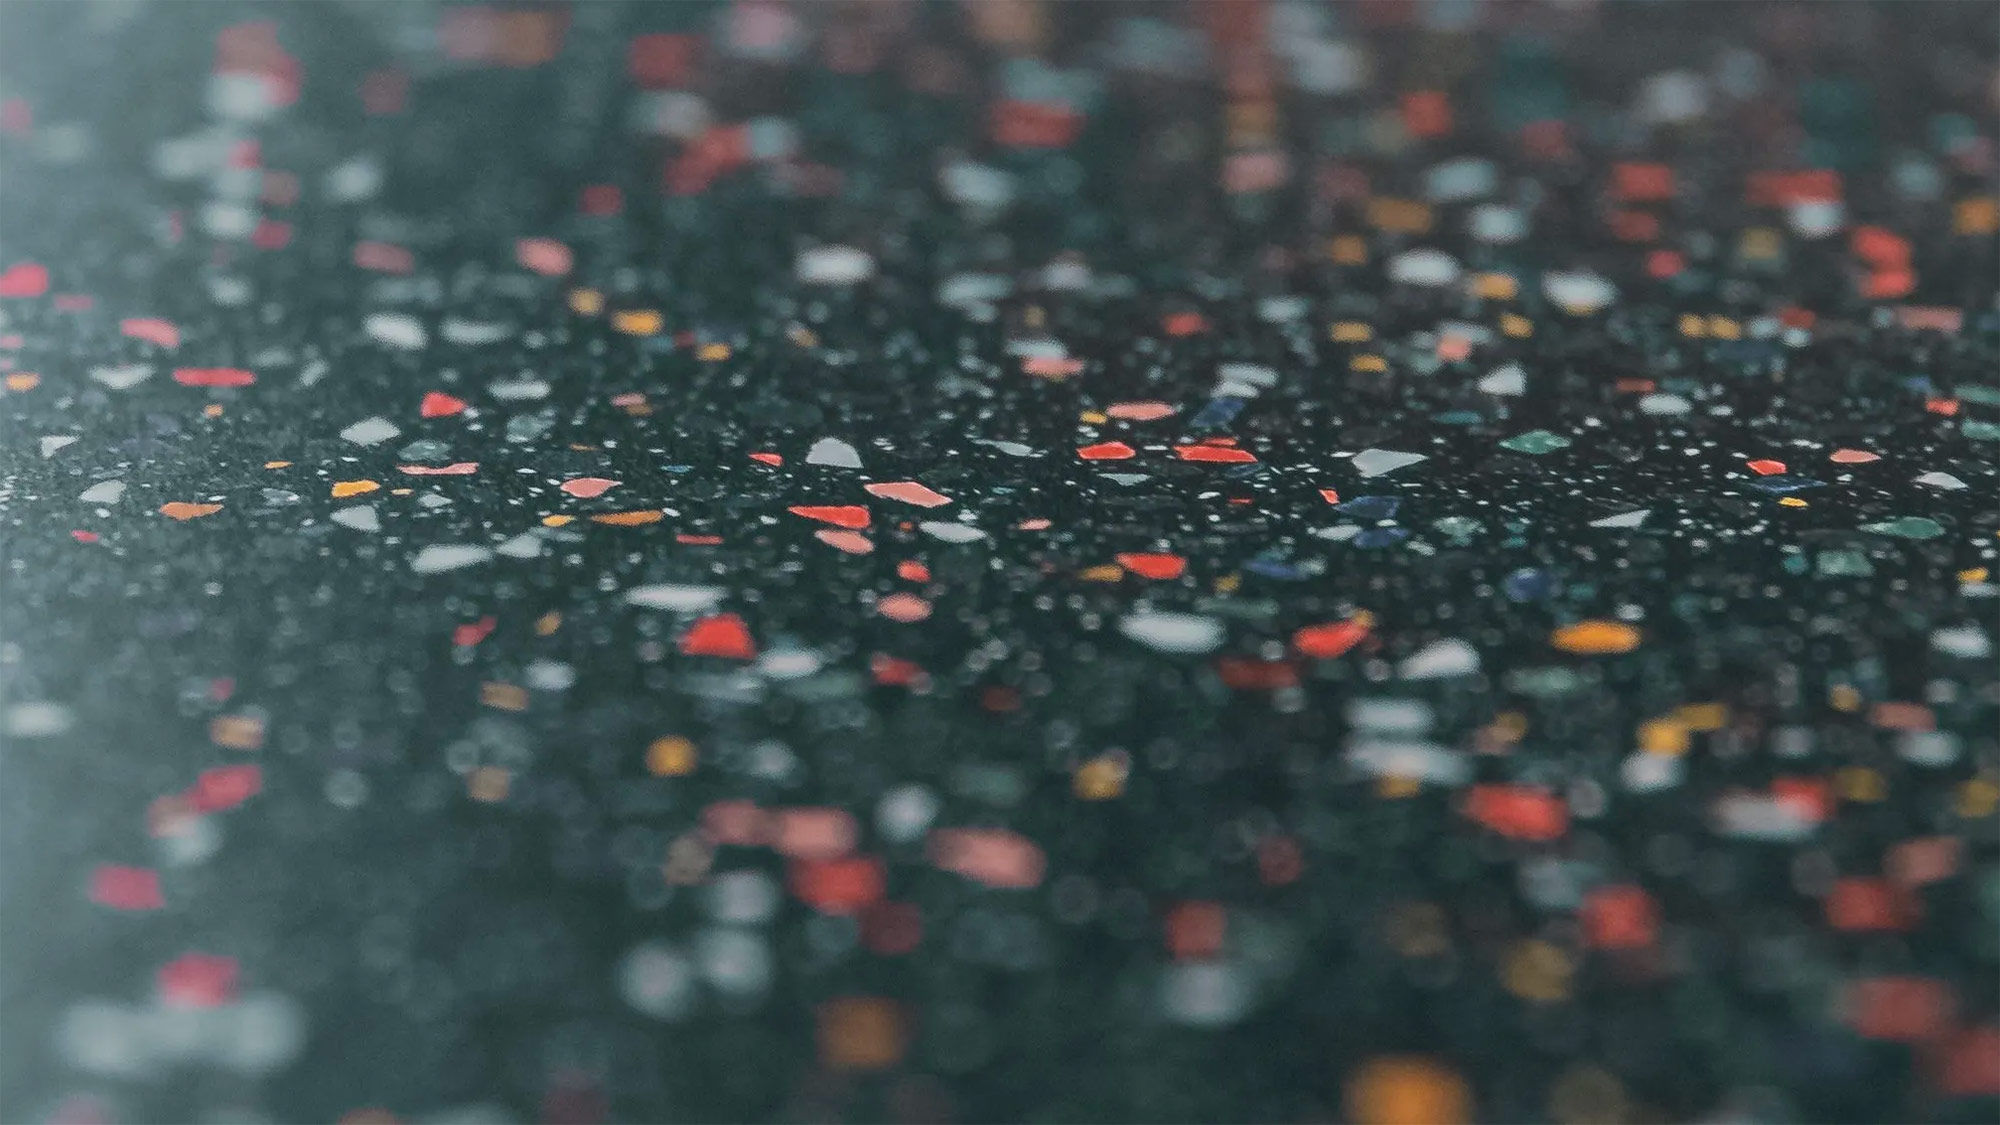
When it comes to interior design, a shiny high gloss finish on a painted wooden surface can be a real eye-catcher in interior spaces such as kitchens, but imperfections on the surface can be as eye-catching.

With Mirka’s solution for high gloss polishing of wooden surfaces, you can remove these imperfections, such as scratches and orange peel, and achieve a deep, glossy shine.

With the right combination of abrasives, polishes, and tools the job will be quick, easy and virtually dust-free, meaning you can save money as well as time spent on sanding and cleaning up.

Three Steps to a High-Gloss Shine

Preparation sanding of high-gloss surface

1. Sanding

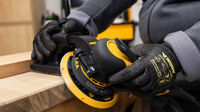
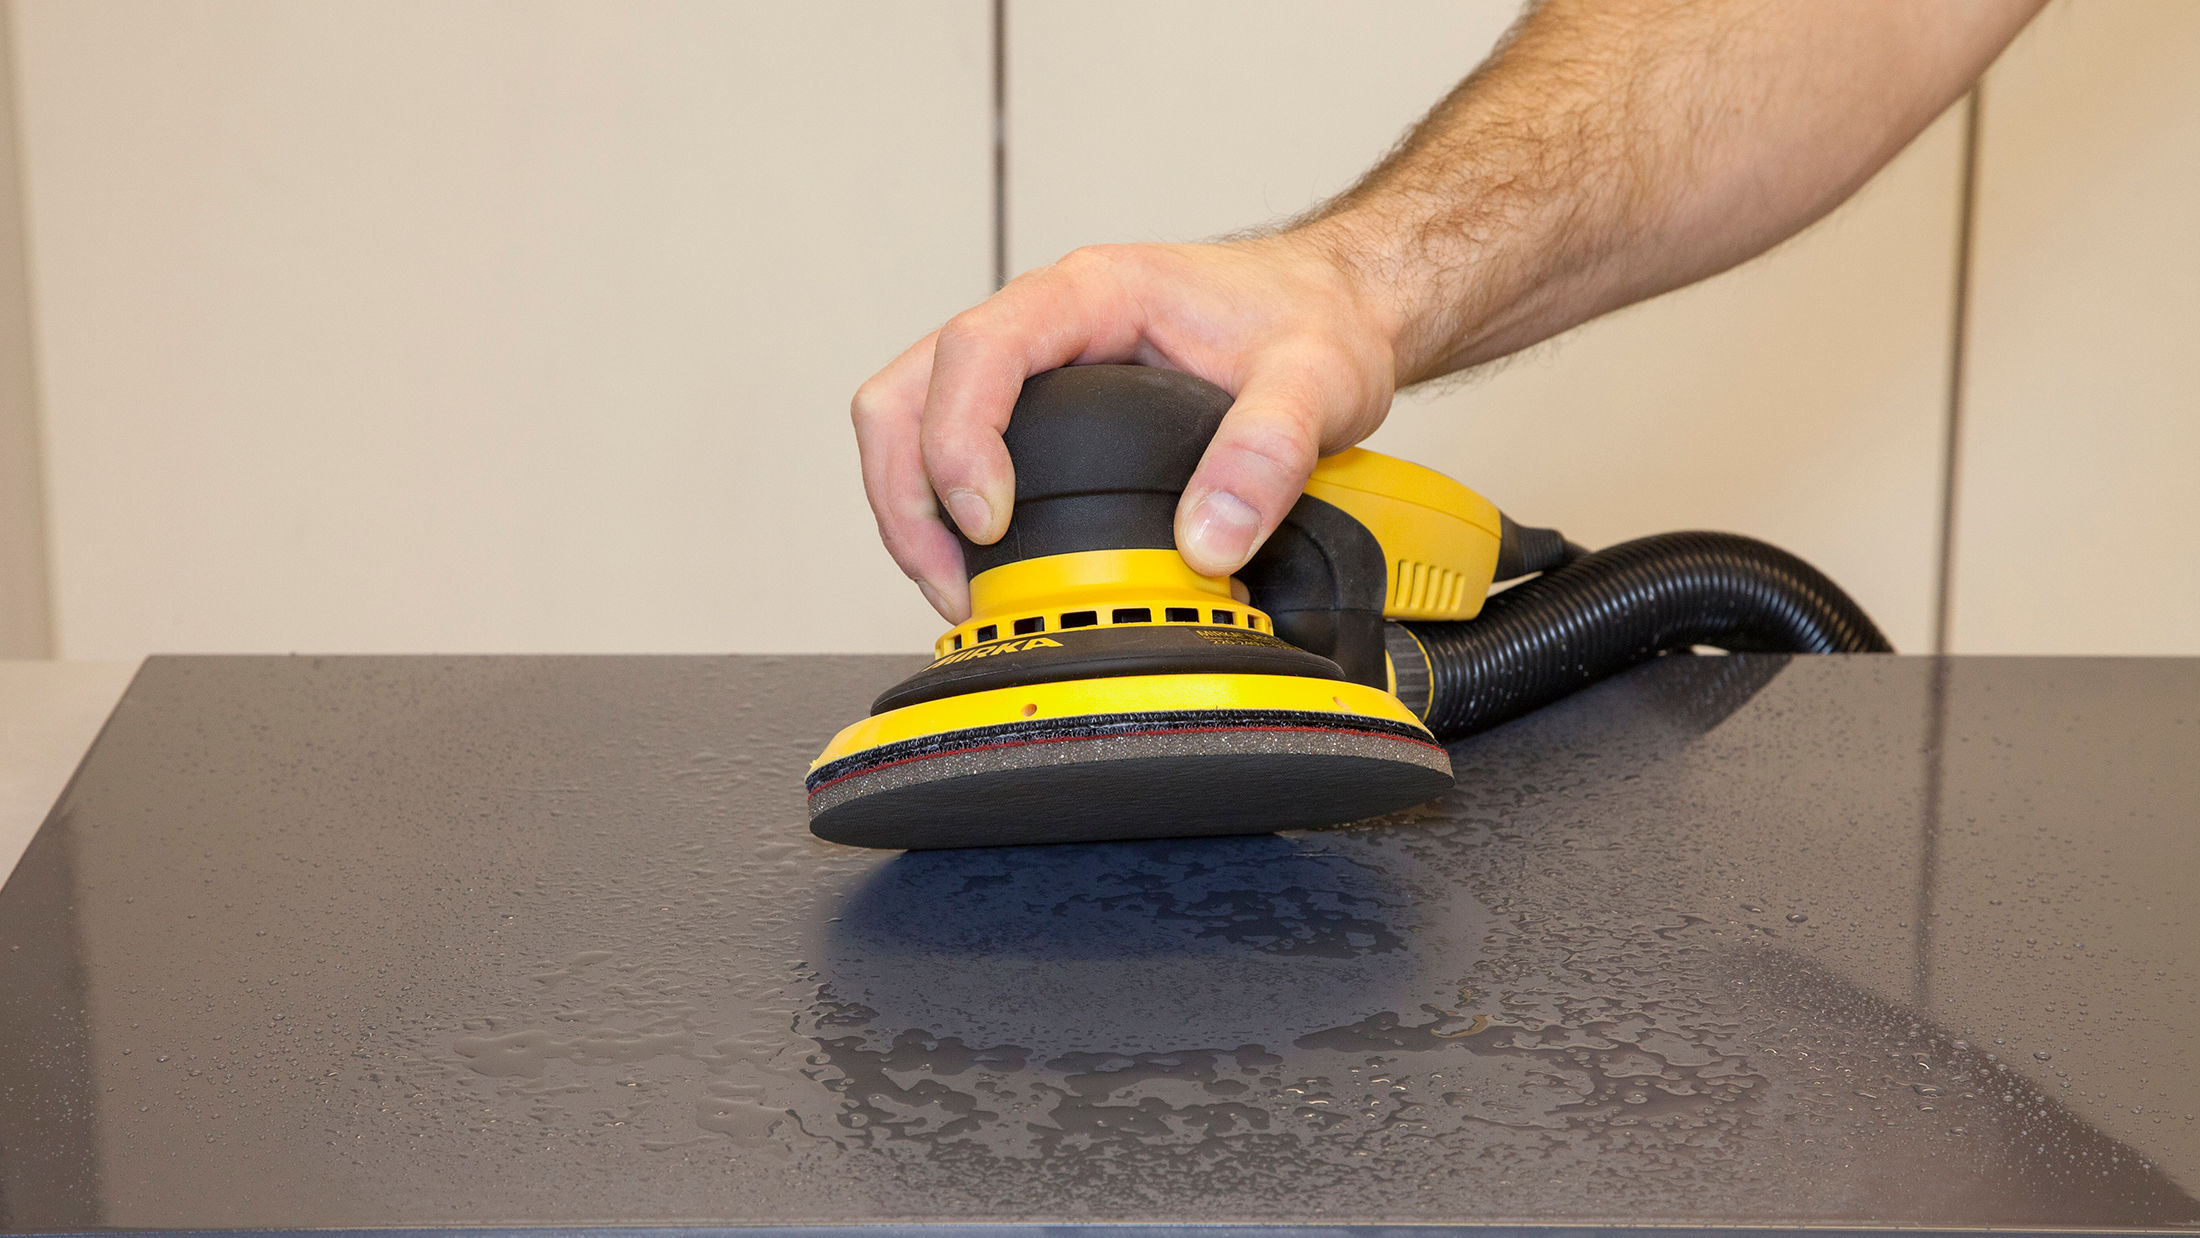
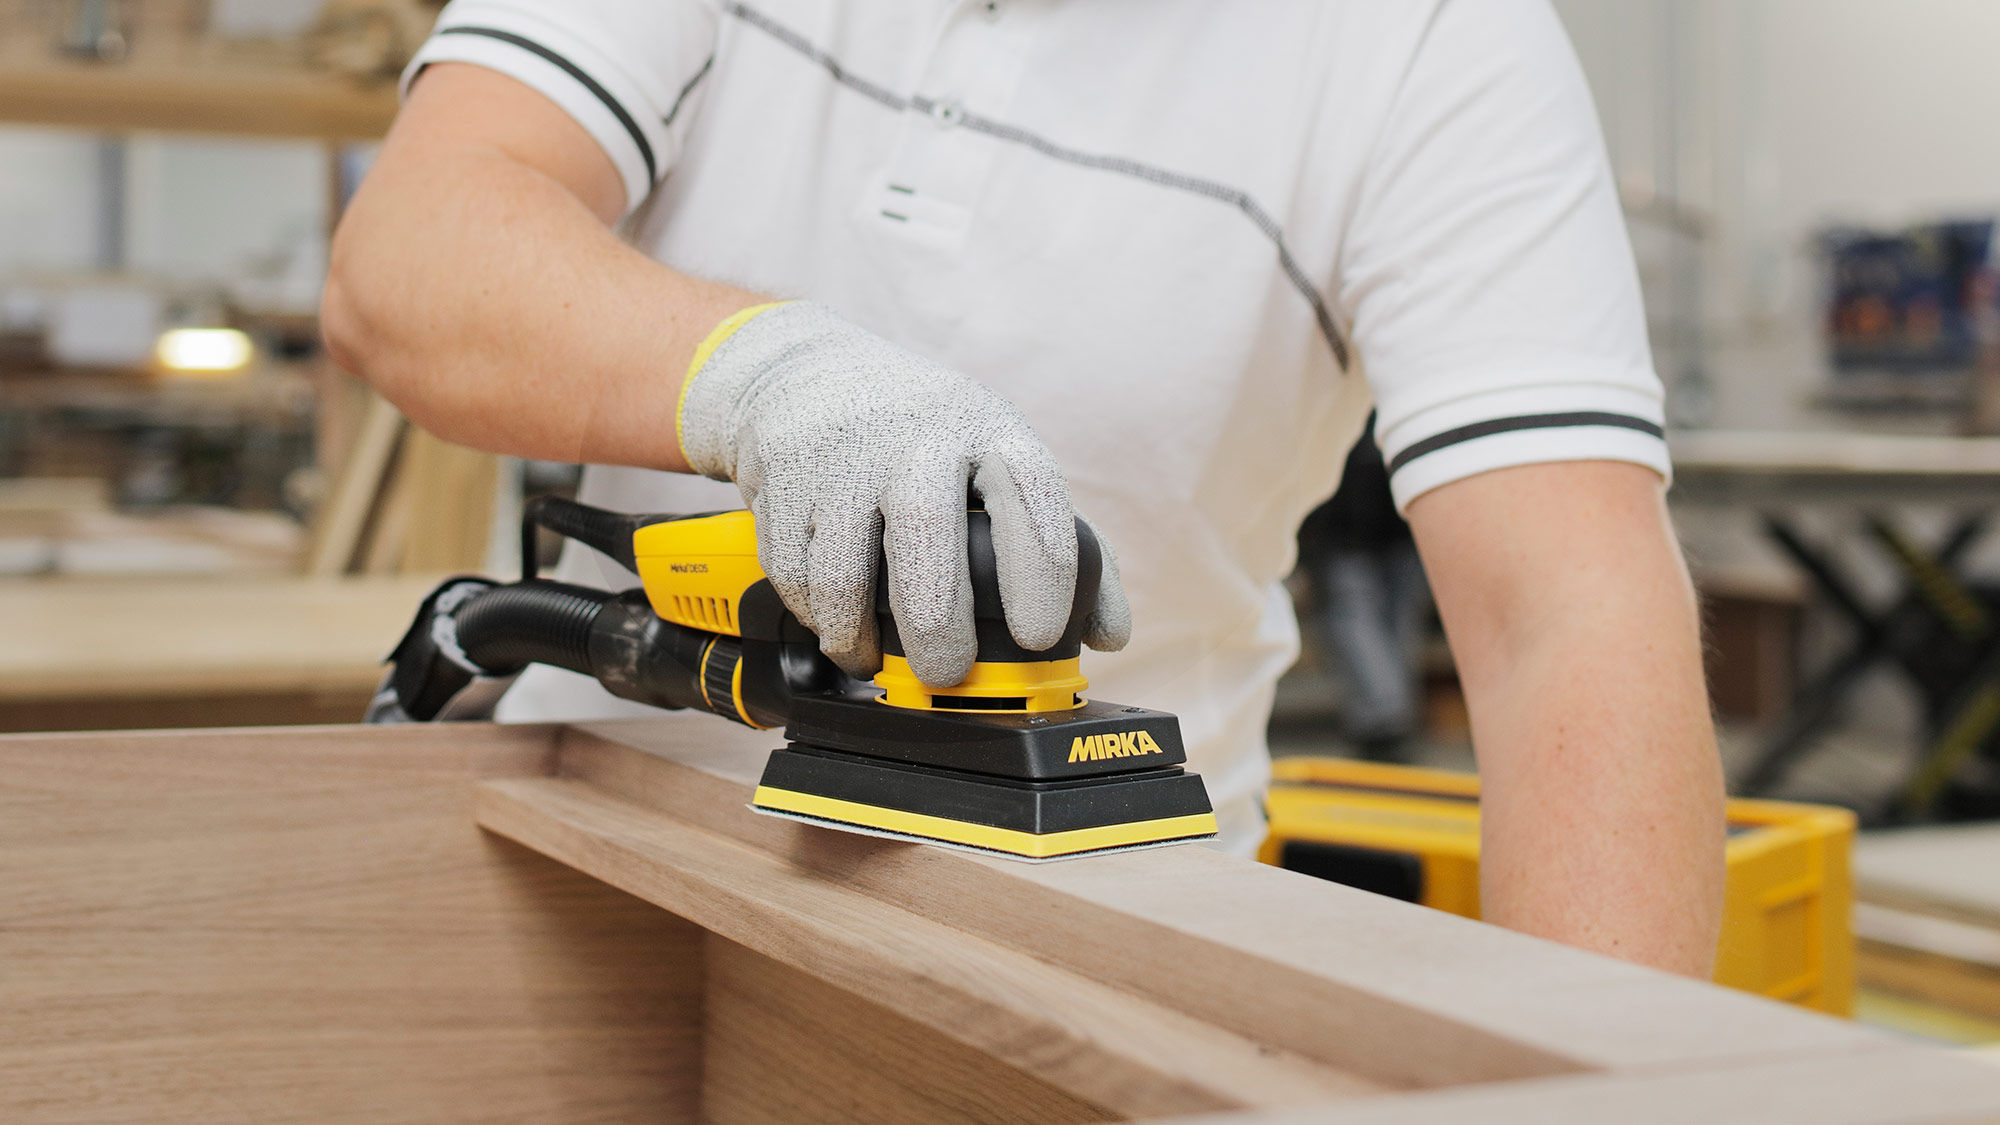
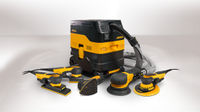
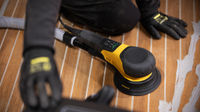
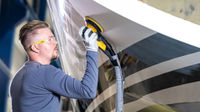
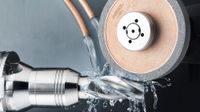
To remove scratches and imperfections, sand the surface with a Mirka® DEROS electric sander and Microstar® P1200 abrasive until the surface is completely matte. If there is heavy orange peel, sand the surface with Abranet® Ace P1000.

Damp sanding of high-gloss surface

2. Damp Sanding

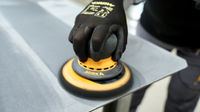
Switch to damp sanding with Abralon® P3000 (make sure both abrasive and surface are wet). To protect the sander and dust extraction system from moisture, turn off the dust extractor or use Mirka Vacuum Block Disc.

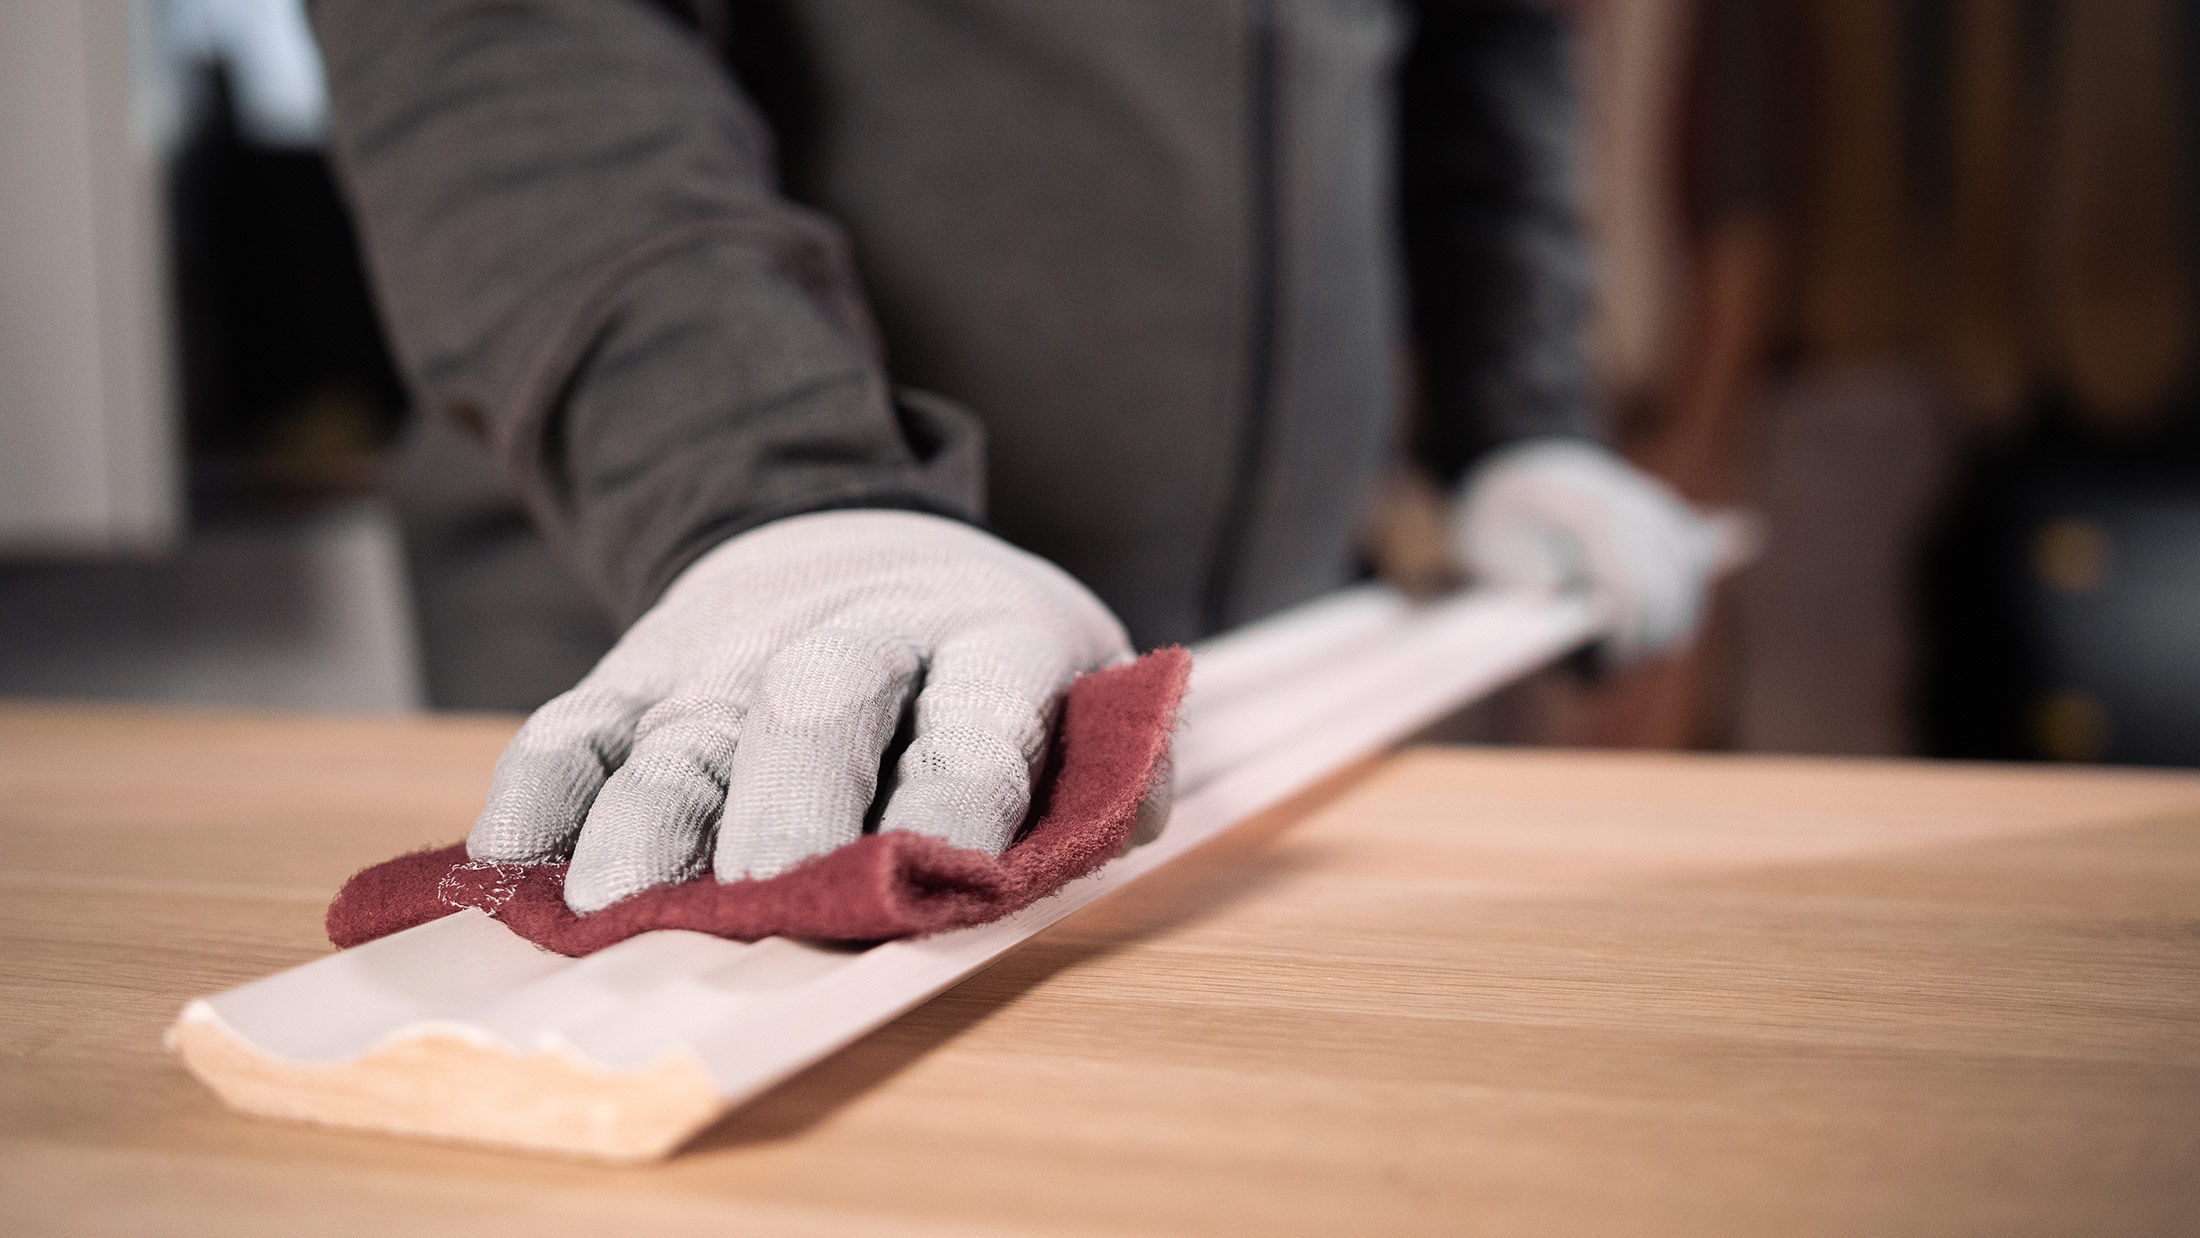
Make sure the surface is completely sanded, then wipe it off with a microfiber cloth. 

Polishing high-gloss surface

3. Polishing

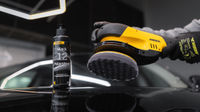
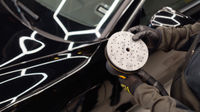
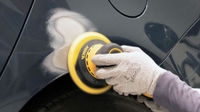
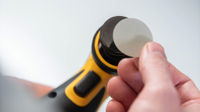
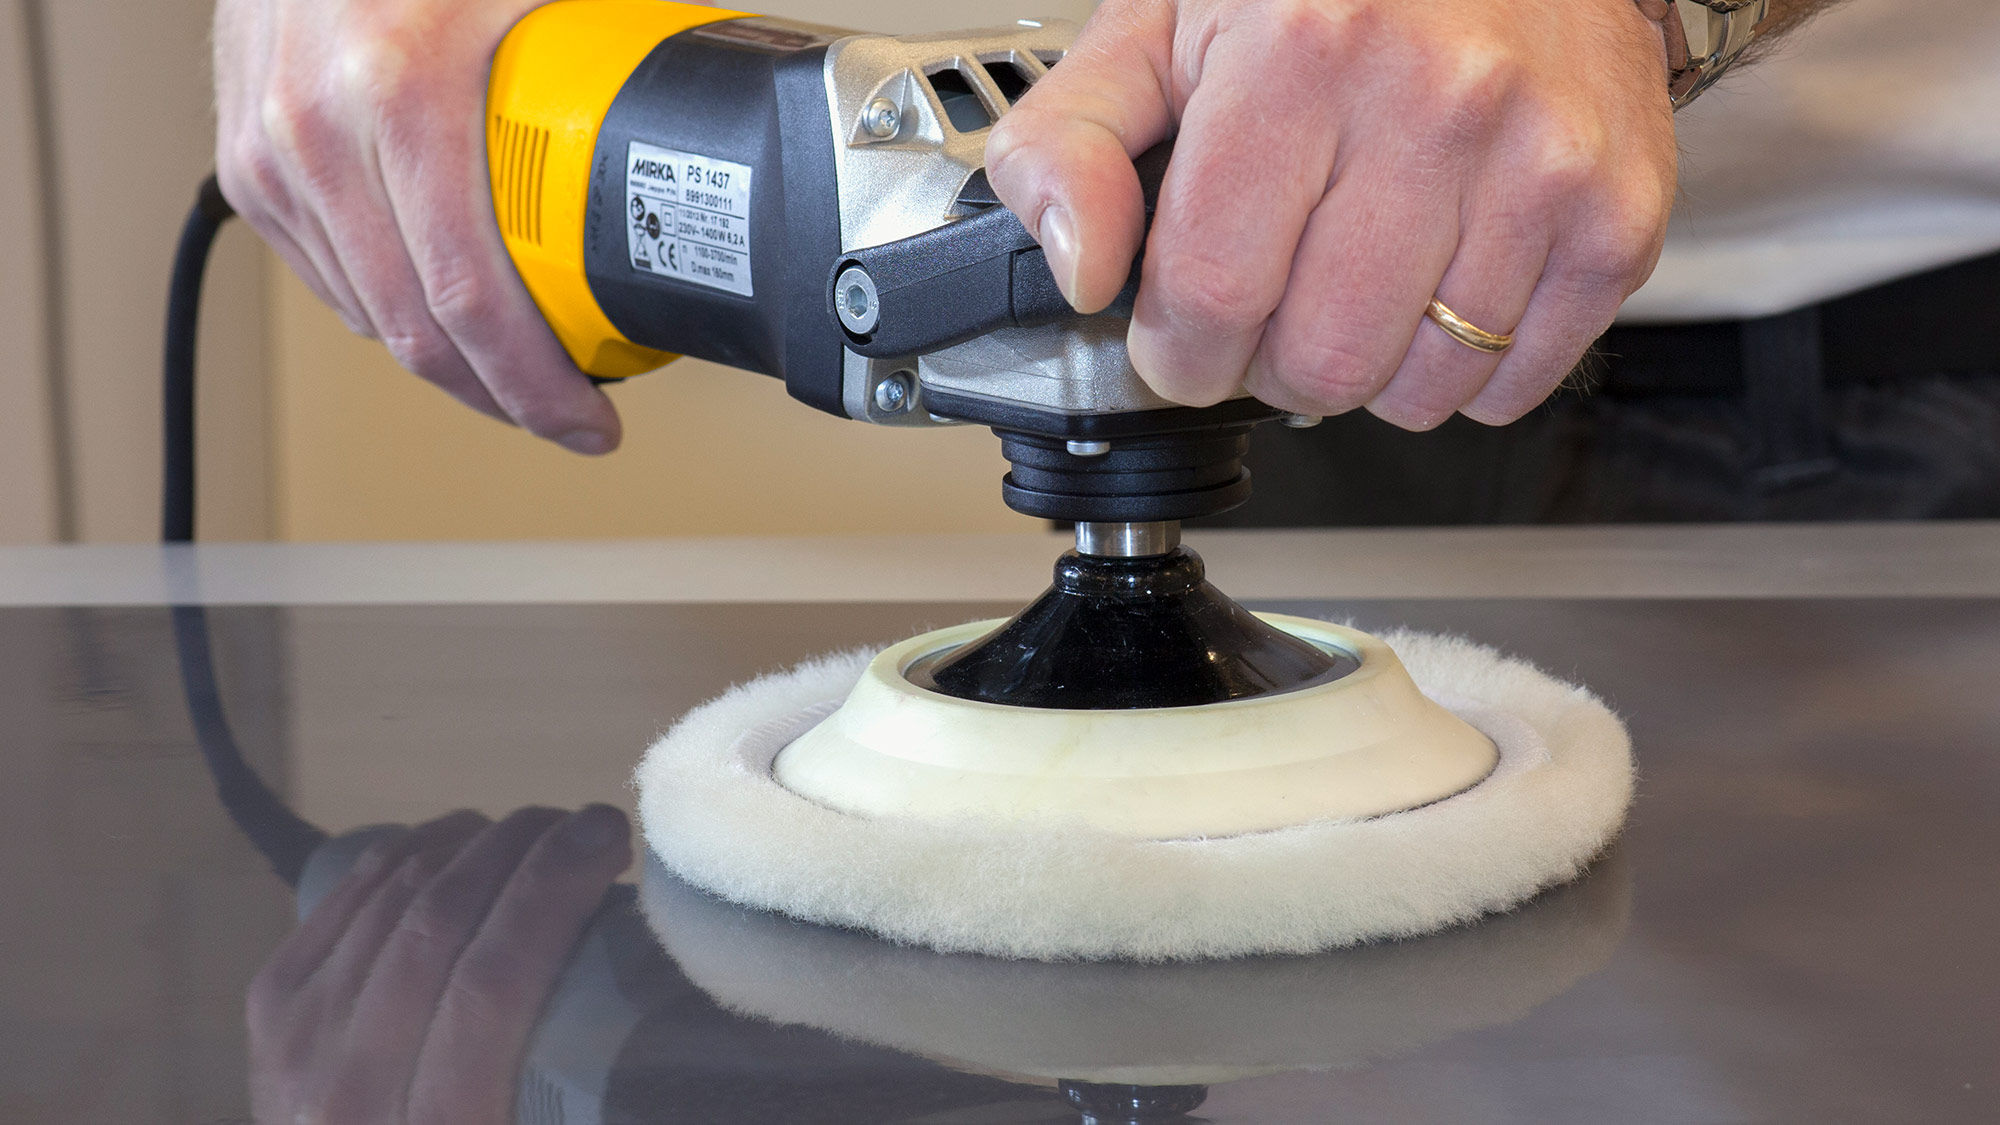
Polish the surface with Polarshine® 10 and lambswool pad.

For an even deeper gloss, polish a second time using Polarshine® 10 and a yellow waffle polishing pad (optional step).

High-Gloss Process on Wood

How to Sand and Polish Wood for a High-Gloss Finish

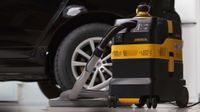
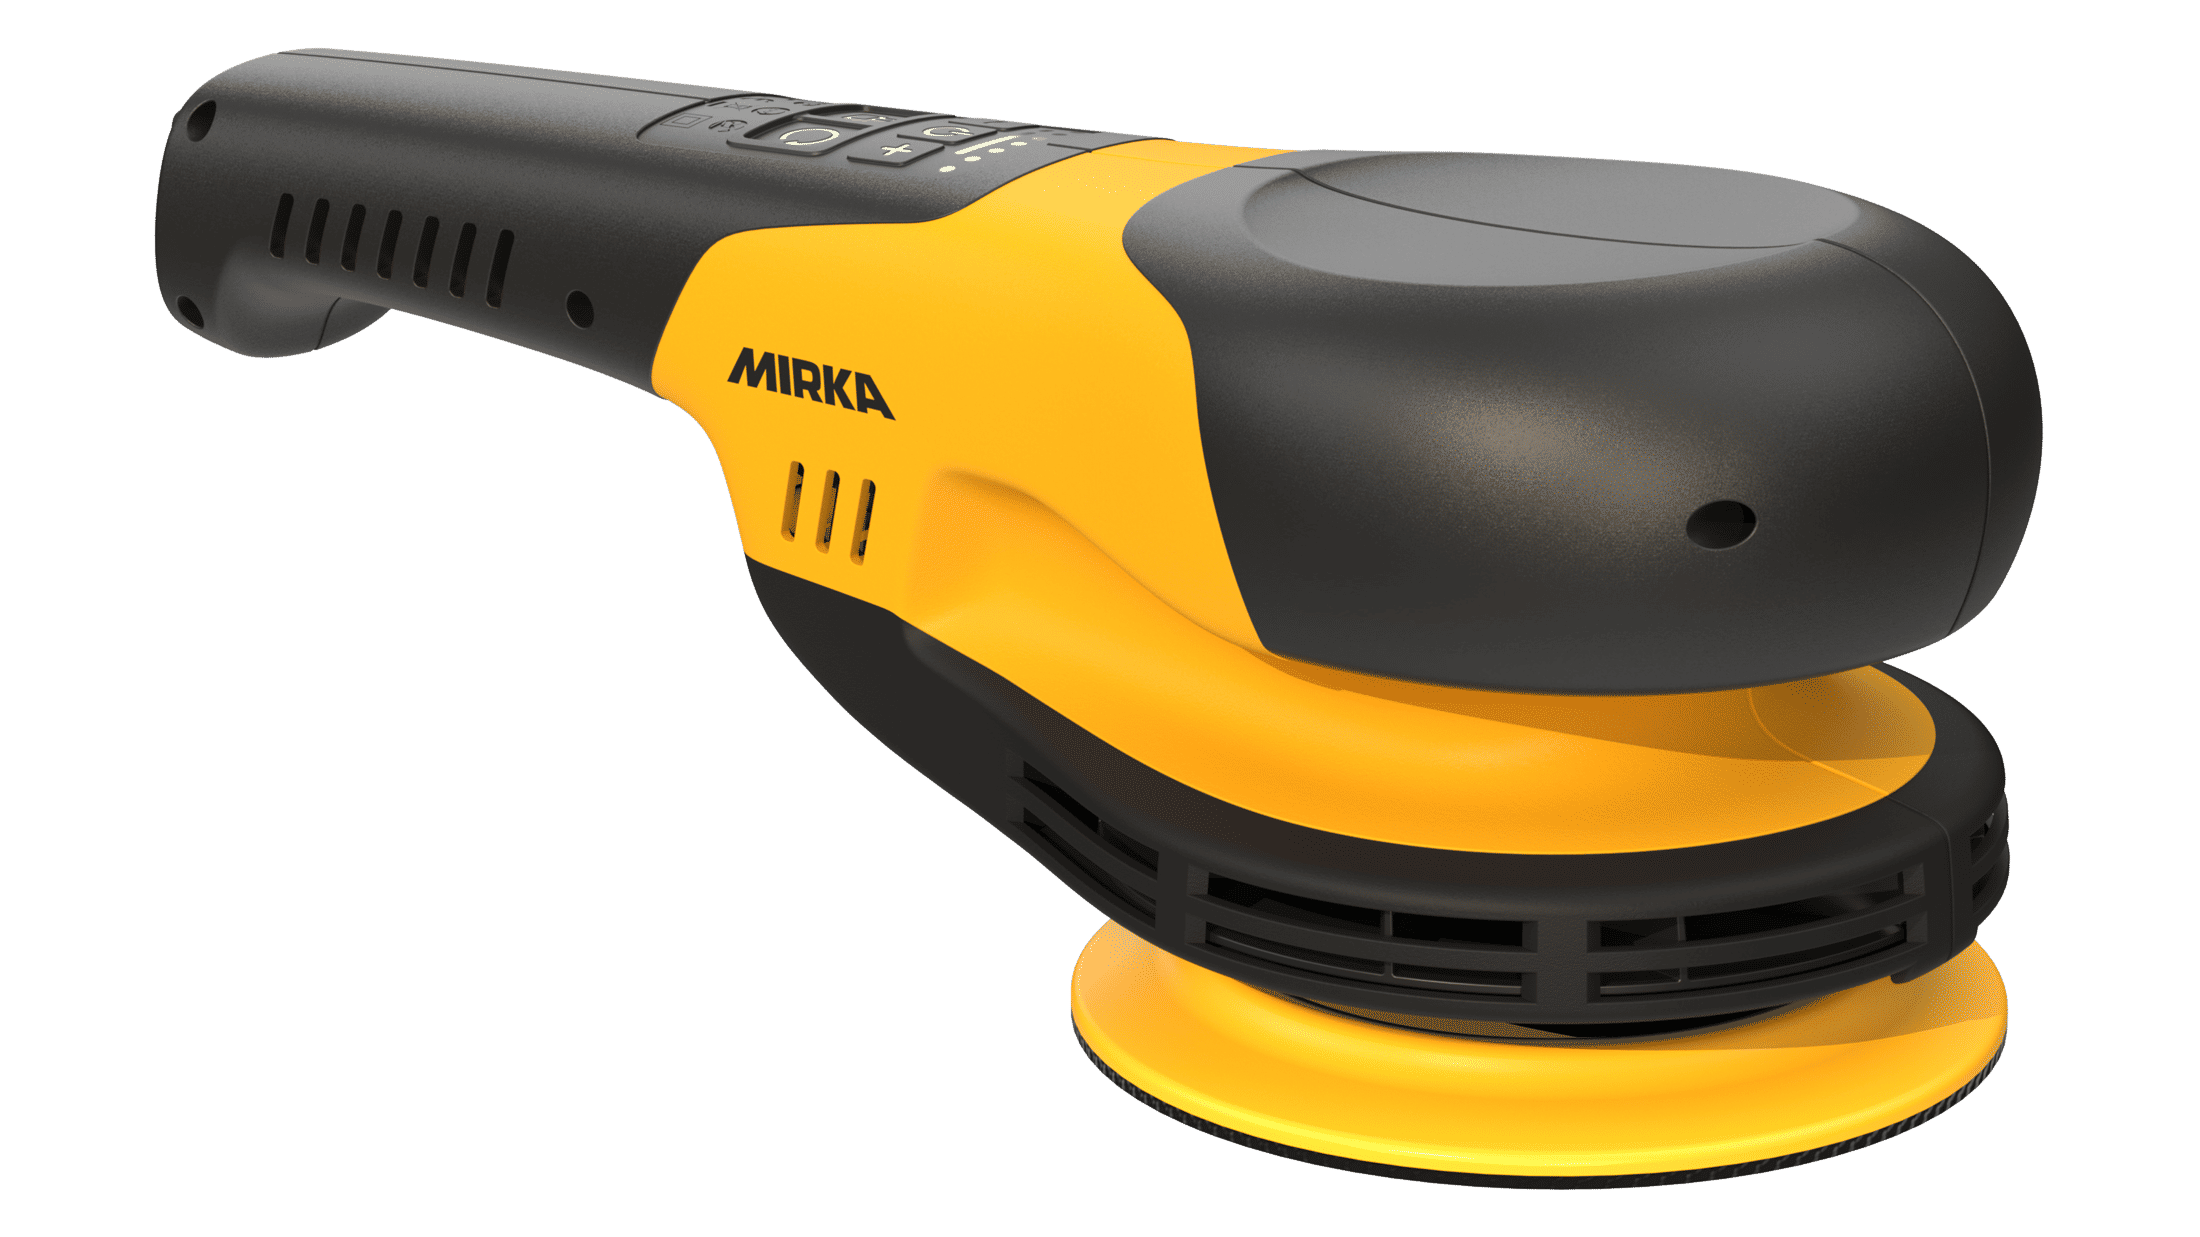
Corded 150 mm polisher

POLAROS® RP 600

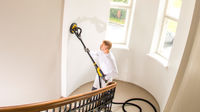
The POLAROS® RP 600 is a professional 150 mm rotary polisher, powered by a quiet 750 W brushless motor. 

POLAROS's low-profile, lightweight design offers superb control, making it ideal for detailing, bodywork, marine, wood, and glass applications. 

The unique, patent-pending Ramp Up and Ramp Down functions add to the POLAROS's usability by ensuring smooth starts without splatter and protecting the polisher and the surface from excessive pressure. 

Harness the power of modern polishing technology in every finish with POLAROS. 

Explore the POLAROS RP 600

A better choice for you and the environment

Water-Based Polishes

All polishes that Mirka produces are water-based and produced in Finland. There are many benefits of choosing a water-based polishing compound.

  • Effective permanent removal of scratches - Water-based compounds remove scratches permanently. Solvent-based compounds can lose gloss after cleaning the surface with a degreaser and in some cases, they may only temporarily hide the scratches.
  • Safer for the operator - No hazardous chemicals  
  • Sustainable  - Water-based polishes are better for the environment and do not contain benzene.

Learn more about our polishing products

Do you want to know more?

Contact Us

Please get in touch and our expert support team will answer your questions.

Go to contact form

What Is Surface Finishing? Process & Techniques

Uneven walls, rough ceilings, and unfinished woodwork are common issues in construction and home renovation.

These imperfections not only affect the look of a space but also reduce the performance and durability of coatings like paint or sealants. Poorly prepared surfaces can lead to peeling, cracking, and costly rework.

Surface finishing solves these problems by preparing and treating surfaces for a smooth, even, and long-lasting result. It creates a strong base for coatings, improves durability, and enhances the overall appearance of walls, ceilings, flooring, and wood elements.

In this article, we explain what surface finishing is, its key benefits, common processes, and the tools and techniques professionals use to achieve high-quality results.

What Is Surface Finishing?

Surface finishing in construction and renovation is the process of preparing and treating surfaces to achieve a smooth, even, and durable finish. It includes steps such as sanding, polishing, sealing, and coating.

The goal is to remove imperfections, improve surface quality, and ensure materials are ready for painting, staining, or protective treatments.

Proper surface finishing improves both the appearance and performance of walls, ceilings, flooring, woodwork, and other building elements, leading to longer-lasting and higher-quality results.

Benefits of Surface Finishing in Construction and Home Renovation

Improved Aesthetics

A well-finished surface looks clean and uniform. Smooth walls, ceilings, and woodwork enhance the overall appearance of the space and allow paints and decorative finishes to stand out.

Better Coating Adhesion

Properly prepared surfaces help paint, sealants, or decorative finishes bond effectively. This reduces the risk of peeling, cracking, or early deterioration.

Increased Durability

Surface finishing protects materials from moisture, wear, and environmental damage. Sealed and coated surfaces last longer and require fewer repairs over time.

Reduced Rework and Costs

Sanding and smoothing before finishing minimizes defects such as uneven textures or visible seams. This reduces costly touch-ups and speeds up project completion.

Health and Safety Improvements

Modern surface finishing processes often incorporate dust control and safer materials. This reduces airborne particles and creates a cleaner, safer workspace for workers and occupants.

Common Surface Finishing Processes

Perform Sanding and Smoothing Surfaces

Sanding is the foundation of surface finishing. It removes surface imperfections like bumps, ridges, and old paint while leveling uneven areas. This step creates a clean, smooth base that ensures coatings and finishes bond effectively and look uniform.

For construction and home renovation, sanding helps prepare walls, ceilings, and woodwork for painting, sealing, or decorative treatments.

Key Benefits:

  • Produces an even, defect-free surface that improves paint adhesion and coating performance.
  • Reduces the risk of visible seams, tool marks, or texture variations after finishing.
  • Enhances job efficiency by preventing costly rework caused by poor surface preparation.
  • Improves health and safety when combined with dust control methods, reducing airborne particles and cleanup time.

Ensure Surface Uniformity on Walls and Ceilings

After sanding, the surface may still have visible seams, uneven patches, or tool marks. Ensuring surface uniformity involves carefully inspecting walls and ceilings and refining any remaining imperfections.

This step often includes light spot sanding or touch-ups using finer abrasives to level the surface before moving to the coating stage.

Consistent surface texture is especially important in large, open areas where lighting can reveal flaws.

By correcting these issues early, professionals avoid rework and ensure a smooth, professional result after painting or sealing.

Key Benefits:

  • Creates a uniform surface that is ready for coatings.
  • Reduces the visibility of seams, marks, or uneven areas.
  • Improves finish quality and consistency across wide wall and ceiling areas.
  • Saves time by preventing surface defects from showing through final coatings.

Apply Coating and Sealing

Coating and sealing are the final steps in surface finishing. This process adds a protective layer to prevent moisture penetration, wear, and environmental damage while enhancing the overall look of the surface.

In construction and home renovation, coatings extend the lifespan of flooring and woodwork.

Key Benefits:

  • Strengthens the surface, reducing future maintenance and repair needs.
  • Enhances appearance by providing a uniform, durable, and professional-looking finish.
  • Improves long-term sustainability by reducing the need for frequent refinishing or replacement.
  • Supports healthier work environments by minimizing surface degradation and dust release over time.

Tools and Techniques for Surface Finishing

Use Wall and Ceiling Sanders

Sanding walls and ceilings is one of the most important steps in surface finishing. It removes surface imperfections, old coatings, and joint ridges while creating an even surface for paint or decorative finishes to bond properly.

The technique involves working in overlapping passes to ensure uniform pressure and consistent results, especially on large vertical and overhead areas.

The Mirka® LEROS is designed for full‑size projects such as wide walls and ceilings. Its 180° flexible sanding head follows your movements and easily reaches edges and corners, reducing the need for repositioning.

At just 7.7 lbs., it reduces strain on your back and shoulders during long sessions.

The 5 mm random orbital movement delivers a smooth, swirl‑free finish, and when paired with a dust‑free system, it keeps the air cleaner and the surface visible throughout the process.

For confined spaces like bathrooms, closets, and corridors, the Mirka® LEROS‑S provides the same ergonomic benefits in a compact 35″ design.

Its two grip points offer full control, and its flexible 9″ sanding head allows even finishing in tighter areas without compromising speed or quality.

Use LEROS for wide areas and LEROS‑S for tight spaces to speed up wall and ceiling finishing, reduce physical strain, and achieve consistent, paint‑ready surfaces.

Use Compact Sanders for Detail Work

Surface finishing often extends beyond open walls. Trim, frames, staircases, shelves, and built‑in furniture require detailed sanding to eliminate imperfections and prepare for coatings.

This technique calls for precise control, often at different angles and in tight areas where larger sanders cannot reach.

The Mirka® DEROS delivers high sanding power in a compact, ergonomic body, providing the performance of pneumatic sanders without external air systems. Its patented brushless motor ensures long service life with low maintenance, while its integrated vibration sensor and Bluetooth® connectivity via the myMirka® app help monitor tool usage and minimize operator strain.

For corners, edges, and profiles, the Mirka® DEOS offers a low‑profile (4″ height) lightweight design that gives you closer control and better maneuverability. It is 50% more effective in stock removal than standard sanders, reducing sanding time while maintaining smooth, even results.

Use Mirka® DEROS and DEOS to handle detailed surfaces faster and with less effort, ensuring every corner and contour has a smooth, professional finish.

Use Abranet® Abrasives for Dust-Free Sanding

Efficient sanding techniques rely heavily on the right abrasive. Abranet® abrasives use an open mesh structure that allows sanding dust to pass through the entire abrasive surface into an attached dust extractor.

This technique prevents clogging, maintains consistent cutting performance, and extends abrasive life.

Using Abranet® in surface finishing projects helps maintain an even sanding pattern, keeps the workspace cleaner, and makes imperfections easier to detect during the process. This improves overall finish quality and saves time on cleanup.

Add Abranet® to your sanding workflow to extend abrasive life, reduce clogging, and achieve cleaner, higher‑quality finishes.

Use Dust Extractors for Clean and Safe Workspaces

Even the best sanding techniques produce dust that can harm indoor air quality, increase cleanup time, and affect coating adhesion. Pairing sanders and Abranet® abrasives with a dust extractor ensures particles are removed at the source.

The technique is straightforward: connect your tool, use proper hose management to avoid obstruction, and let the extractor maintain airflow throughout sanding.

Mirka dust extractors feature HEPA filtration, automatic filter cleaning, and modular accessories for organizing tools and abrasives.

This creates a healthier workspace, reduces time spent on post‑sanding cleanup, and prevents dust from settling on freshly prepared surfaces.

Use dust extractors with your sanding tools to keep workspaces cleaner, protect worker health, and deliver higher‑quality finishes faster.

Conclusion

Hand on wooden surface.

Surface finishing is a key step in achieving high-quality results in construction and home renovation. It improves surface appearance, ensures coatings bond effectively, and increases durability.

By applying proper processes such as sanding, polishing, and sealing, professionals can reduce rework, improve safety, and deliver lasting finishes. Investing time in surface preparation supports efficiency, customer satisfaction, and the long-term performance of walls, ceilings, and other building elements.